
There sure is! You can choose to automatically show or hide checked out items in the results list by using Scout preferences. Go to Builder > Searching and look at the Scout column. In the Unavailable Items row, check whether you want to hide or show unavailable items.
Builder
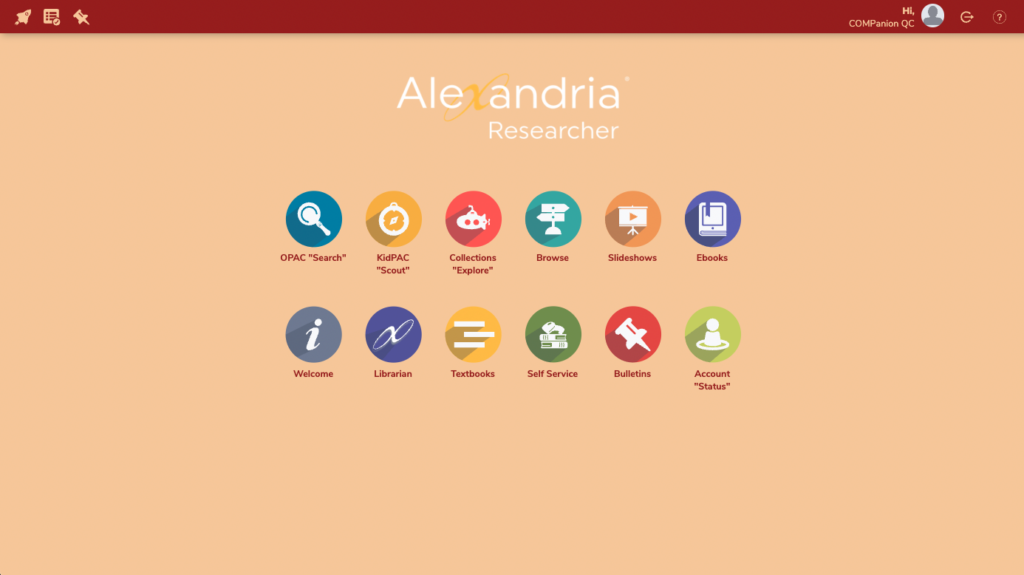
Customize your patron experience. Builder is the hub for all our Researcher builders—bulletin boards, explore builder, maps, and reviews.
To access it directly, add /builder to the end of your Alexandria URL.

Training Workshops Playlist

Related Tips

Contact Support

Builder FAQs
Content
Builders


| If you are in a centralized catalog you can now save site-specific Builder preferences across all of your sites at once using the new Save To All Sites button. |
Display
Select custom Explore Panes and styles that will be used in different areas of Researcher.
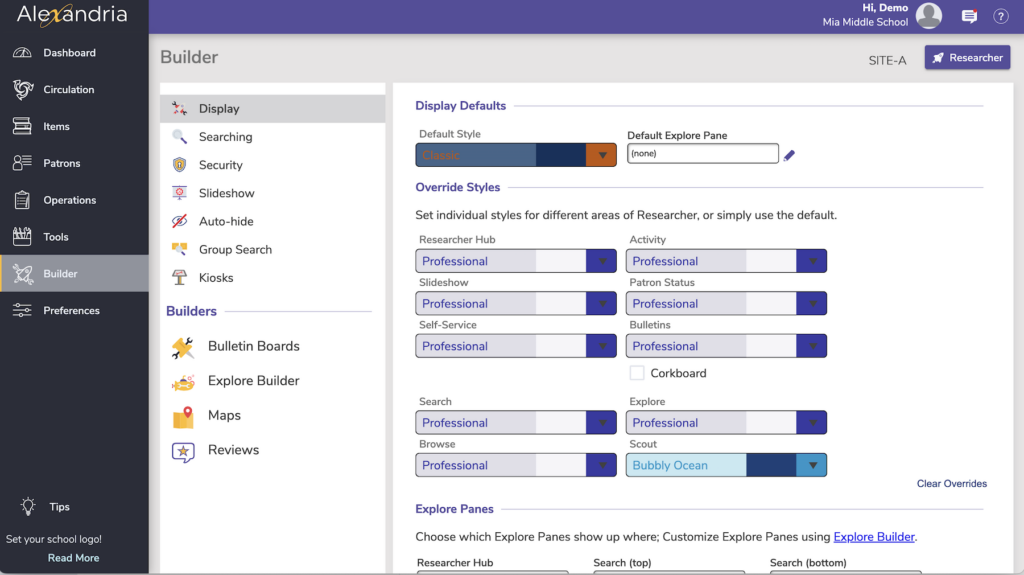
Styles
Select a Default Style (color scheme) to unify your patron interfaces, or pick a different style for each part of Researcher.
Introducing custom styles, where you get to pick your own color combinations in Researcher! Available for Researcher Hub and Search/Browse/Explore.
You can match your Researcher to your school colors, or even change them up for the seasons.
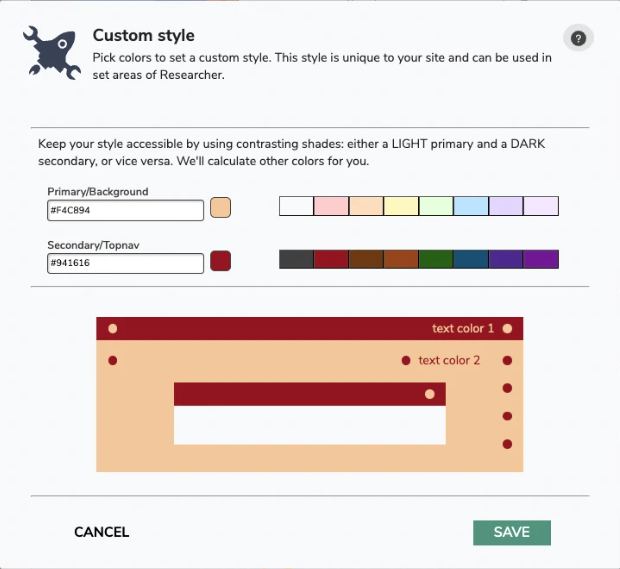
Choose a light and a dark color to keep your Researcher style accessible. We have a built-in color checker, and the custom style will only save if it meets AA compliance.
There is even a color picker you can use to get your exact school colors. If you want a “dark mode” look, choose a dark color fir the first and a light color for the second.
The color checker in the Custom Styles dialog is looking for AA compliance, so if you want to meet AAA compliance, you’ll want to check the colors separately.
Scout Seafoam

Scout Classic
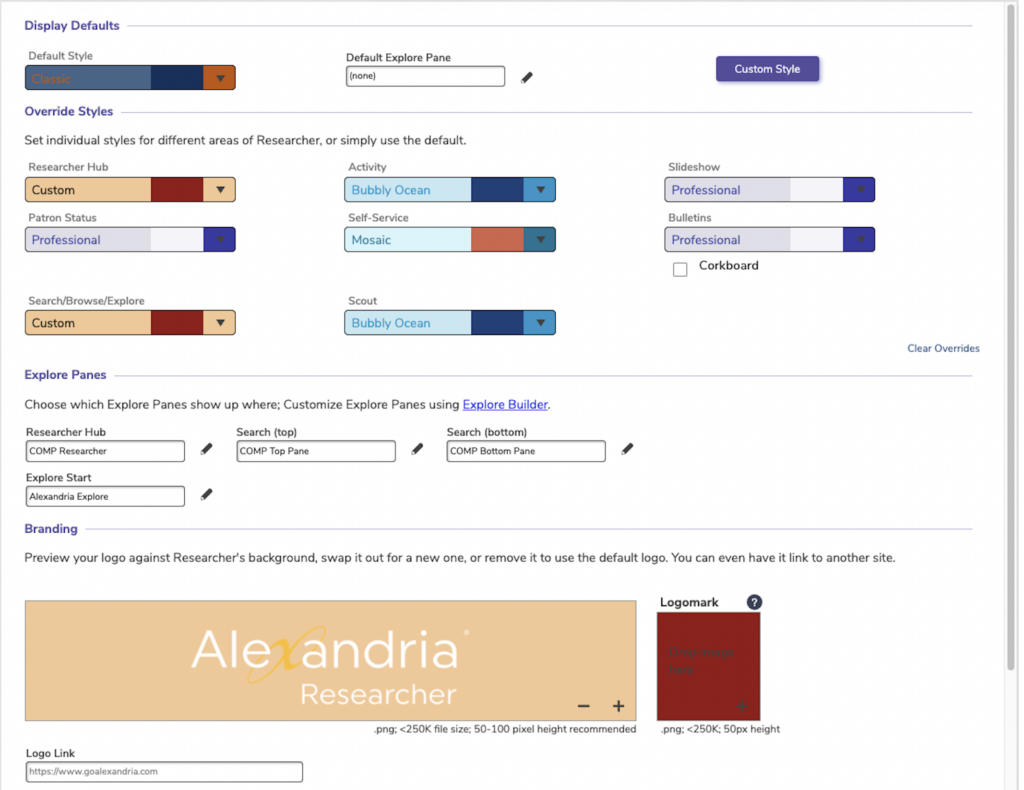
Custom colors

Explore Panes
Choose which Explore Panes show up for each area: Researcher Hub, Search (top), Search (bottom), and Explore Start. You can also set the (top/bottom) search panes to ‘none’ if you don’t want them showing.
Customize Explore Panes using Explore Builder.
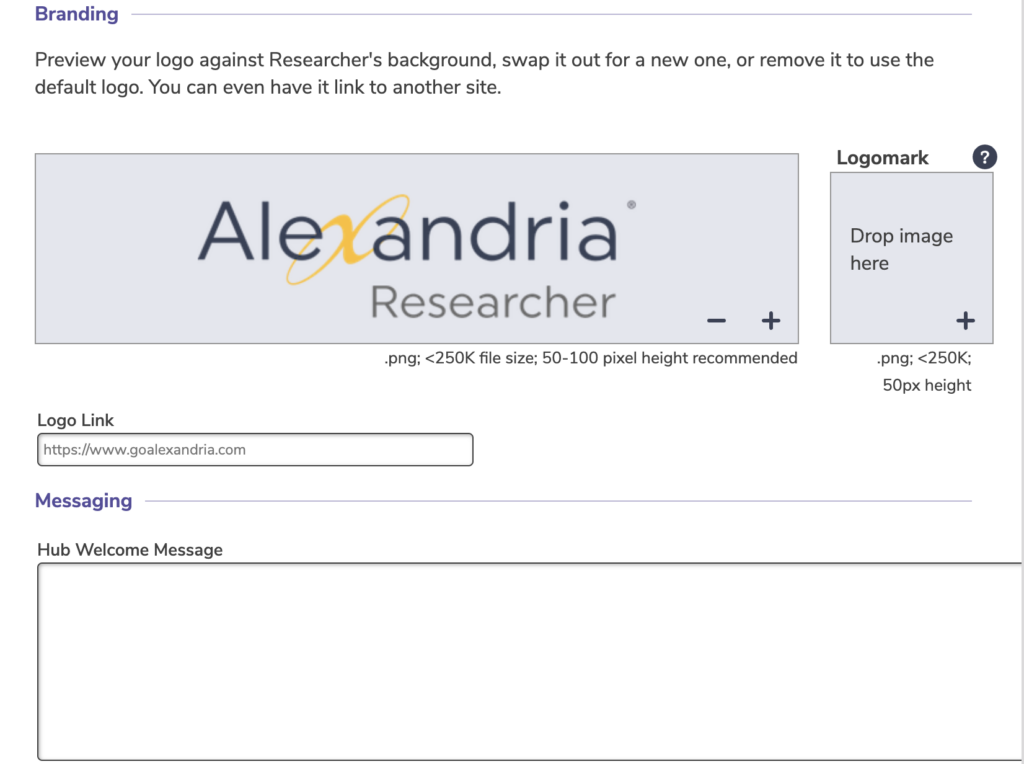
Branding
Upload your logo to show on your Researcher hub, and even link your logo to another site (e.g. your school homepage).
You can also set a logomark (icon) that shows in the top bar of new search interfaces, and a welcome message under Messaging.
| We recommend a small, uncomplicated square image that is 50×50 pixels. Learn more. |
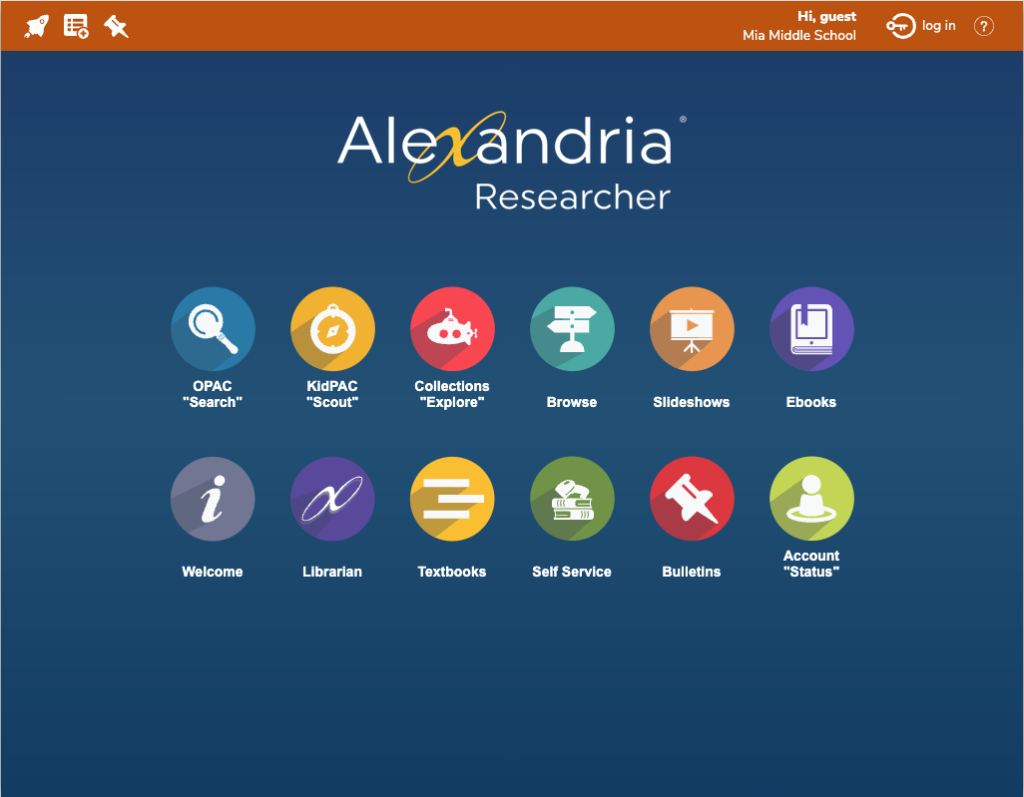
Be sure to open Researcher to see what it looks like!
Searching
Here’s where you can get particular about what shows and doesn’t show in search interfaces. Turn off the features you don’t use in order to simplify things for your patrons!
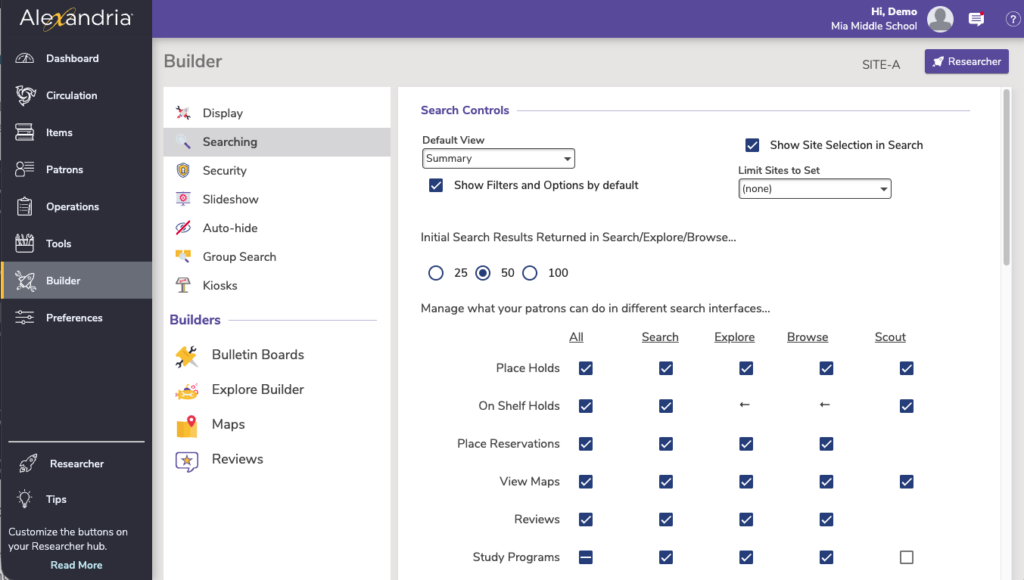
Search Controls
Edit your search controls, including managing what your patrons can do in different search interfaces.
- Default View. Select Summary, Shelf, or Brief as the default for search results.
- Show Site Selection in Search. Turn this on to allow your patrons to view catalogs of other sites, and to search all sites.
- Limit Sites to Set. For centralized catalog users, select which set (if any) you want results from at your site.
- Show Filters and Options by default. Turn this off to simplify the Search view for your patrons.
- Initial Search Results Returned in Search/Explore/Browse. Check to enable 25, 50, or 100 search results.
- Place Holds. This enables or disables the Place Hold icon that appears in the results control bar. This preference must be enabled in order for patrons to place hold requests on items via Researcher. Other hold settings are controlled by the patron’s security group and policies.
- On Shelf Holds. If this is selected, patrons can place holds on items that are on the shelf (rather than just grabbing them off the shelf to check out).
- Place Reservations. This enables or disables the Reserve menu item for search results. This preference must be enabled in order for patrons to request reservations via Researcher. Other reservation settings are controlled by the patron’s security group and policies.
- View Maps. This enables or disables the Maps icon that appears in the results control bar. If this preference is disabled, patrons will be unable to see maps to specified titles.
- Reviews. When checked, patrons are allowed to review items in your collection by clicking the star rating in the item result details. When this preferences is not checked, the rating stars disappear—as does the ability to review items.
- Study Programs. Check to enable the Study Program filter, browsing by Study Program, and to show study program information.
Search Details
- Lexile. Have your Lexile Score show or not show in your brief and/or expanded search results.
- Title Availability. When checked, this preference will show whether or not the items returned in a Search are available to be checked out.
- Unavailable Items. When this is checked, Unavailable items will show up in search results.
- Title. Check to display the title in Search results.
- Call Numbers. Enable call numbers to display with results. In Scout, Call Numbers will show in details either way; this controls whether Call Number shows with the title.
- Copyright Year. Include copyright year with results.
- Series. When checked, items will display any series information in search results.
- Copy Location. Enable copy location to show in Item details in Scout. NEW Also in Search/Explore/Browse!
- Enable Item Details. If enabled, clicking the title name (e.g. “The Catcher in the Rye”) in Search Results allows you to view Full Details for the selected item. Additionally, checking this box enables or disables the remainder of the Full Details preference settings described below.
- MARC Record link. This preference determines whether the View Full MARC Record link appears in the bottom-left corner of the Full Details dialog. When the View Full MARC Record link is clicked, it will open a new browser tab containing a text-only version of the title record in MARC format.
- Amazon.com link. Show the link to Amazon.com in the bottom-right corner of the Full Details dialog. Clicking on the Amazon graphic link will open Amazon.com in a new browser tab with the closest possible match based on the item’s ISBN/ISSN. Additionally, the Amazon link will not appear if the title record is lacking a valid ISBN/ISSN.
- Goodreads link. Show the Goodreads link in the Search/Browse/Explore item details.
Study Programs
Choose which program you want to highlight in search results.
Log Search Queries
Check to record patron search terms from Search and Scout. These terms are kept in the log for 30 days and can be retrieved via the Researcher Queries export.
Learn more in Researcher Statistics.
Security
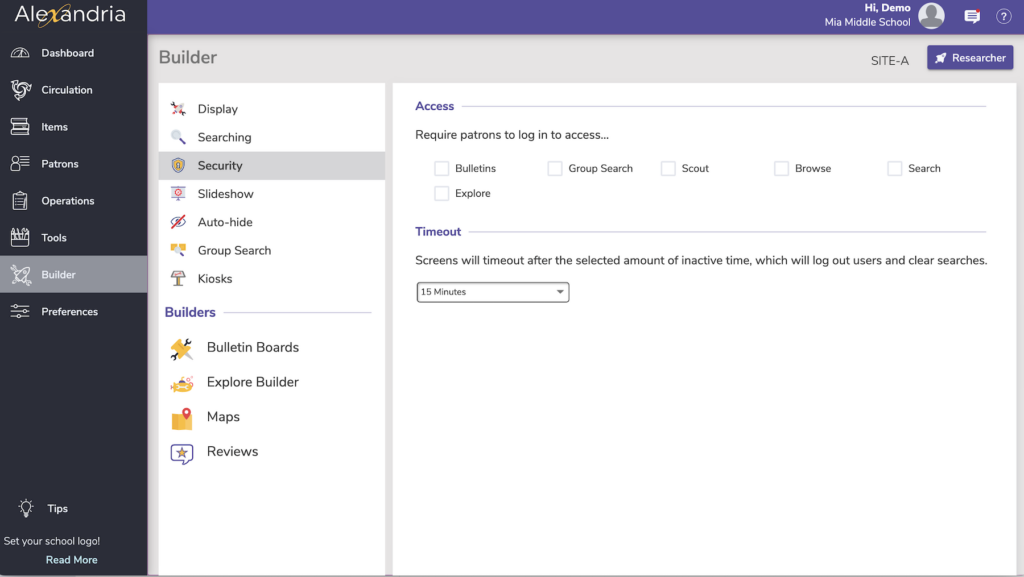
Access
Choose which areas of Researcher require patrons to log in. Only turn these on if you don’t want your collection open to the public.
Timeout
Screens will timeout after the selected amount of inactive time, which logs out users and clears searches.
Timeouts will only occur when you’ve logged directly into Researcher—when you open Researcher from Alexandria Librarian, it will not time out.
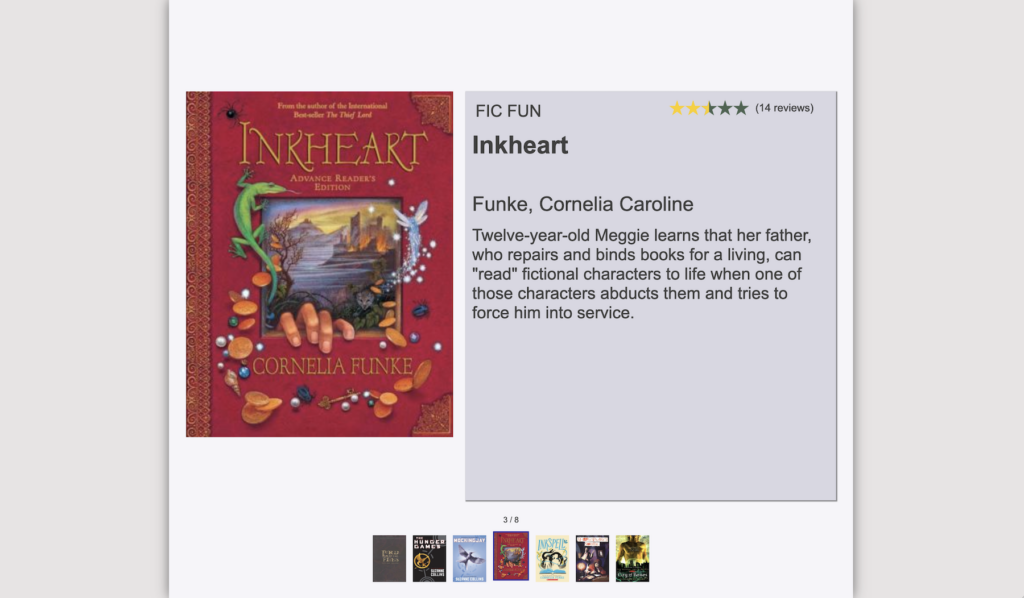
Slideshow
Slideshow gives you a fun way to dynamically display any list of titles in your catalog for educational or promotional purposes. You can limit the Slideshow to display on a television or projector that does not allow user input or to a dedicated display that does allow user input—such as a tablet device on a display table. By saving the URL generated by editing the settings, you can create an unlimited number of Slideshows.

Slideshow Name
Enter the name of your slideshow here. The name shows at the top of the slideshow.
Source
Choose what items are displayed in Slideshow.
- Search String. Enter a search string ((smart::harry potter)) to perform a relevancy-based Smart Search. You can even paste a Search URL in this field, and Slideshow will search for and extract the search string. The possibilities are endless!
- Read Search Strings for more information on using search strings and building syntax.
- Predefined Searches. Use this to select some of our commonly-used search strings without having to understand the syntax. Recently Added Titles, Highest Rated Titles, and Titles With Awards are just a few of your available options.
- Saved List. You can also choose from one of your public saved lists. In other words, you can make a slideshow of very specific items such as reading lists, featured books, or class picks.
 | Slideshows will only display the first 100 items in the search results or saved list. |
Layout
Choose between a Split or Preview layout. If you open a slideshow on a mobile phone, it will default to the mobile layout.
- Split. The current slide displays cover art on the left and item details on the right. Click the arrow on the left to go back a slide, and click the arrow on the right to move to the next slide.
- Preview. A carousel containing the items in your list displays below the current slide.
- Mobile. The current slide displays item details only, and a carousel containing cover art for other items in your list shows below.
Speed
Set the duration of the slide interval in seconds. The default is 5 seconds, but you can set it to as long as 60 seconds.
Transition
Choose the type of transition: Drawer, Fade, Ken Burns, or Push.
View & Copy
Press the View button to preview the slideshow interface to make sure it’s working as expected. Then copy the slideshow URL to use in Explore Panes, your library website, and more.
| Want to add a custom Slideshow to Explore? Read Custom Slideshow URLs to learn how! |
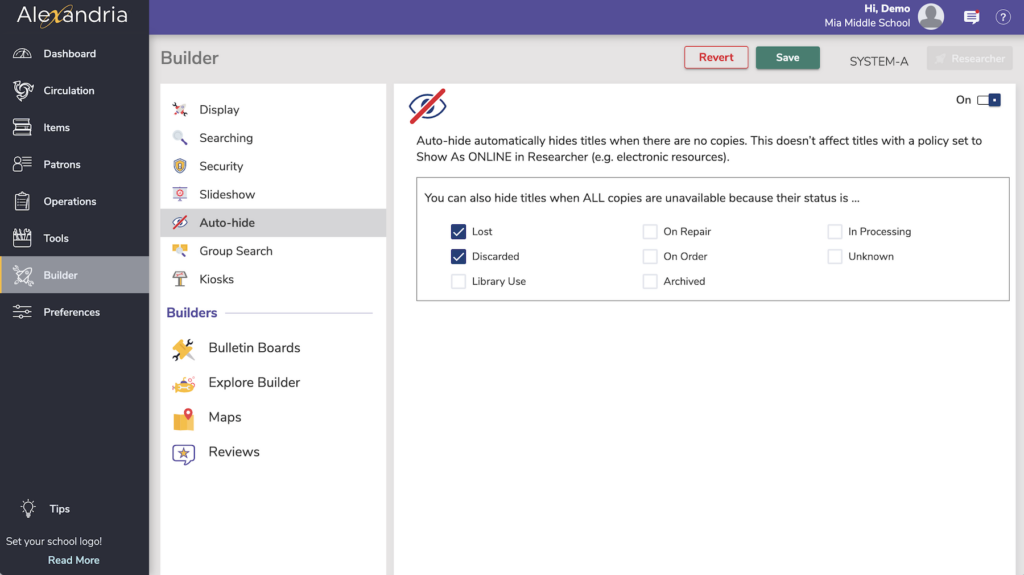
Auto-hide
Auto-Hide allows you to hide titles that do not have any physical copies in circulation from your Search, Explore, Browse, Scout, and Slideshow results. Electronic resources will not be hidden. This can be helpful when adding title record information in advance of incoming copies (e.g. On Order, In Processing) or if you want to hide titles when all the copies are Lost or Discarded.
Toggle this setting ON to automatically hide titles that have zero copies and are not electronic resources. You must turn this on to enable any sort of auto-hide, including the “Also Hide Title…” options below.
Here are a few things you should know before you enable this preference:
- Titles will only be hidden if all copies are checked out to a system patron you’ve chosen to hide from search results, but they do not have to be checked out to the same system patron. For example:
The title in question has four copies, all of which are checked out to a system patron: two are Lost, one is In Processing, and one is On Repair.- The title will be hidden if you’ve opted to hide Lost, In Processing, and On Repair items.
- The title will be shown if you’ve opted to hide Lost and On Repair but not In Processing.
- If the status of a previously hidden copy is updated to Available or it’s checked out to a system patron that you have not opted to hide, the title will be included in search results again.
- Title records that have the Don’t Show in Researcher setting checked in its assigned Item Policy—or Hide item in Researcher set in its title record—are hidden from search results, regardless of their status and your Auto-Hide selections.
These options allow you to automatically hide titles with all of their copies checked out to any combination of System Patrons (status) that you have checked:
- Lost
- Discarded
- Library Use
- On Repair
- On Order
- Archived
- In Processing
- Unknown
You can train your teachers to find hidden items in Researcher using these easy steps:
- Go to the Search module.
- Type in your search term(s) (e.g. “projectors”) and add any other search criteria.
- Hold down Option / Alt on your keyboard while hitting the Return key.
- Hidden items that match your search criteria will show up in the results!
| You can also search for hidden items by adding && (hidetitle::1) to a search string. For example, to search for projectors, you would type ((smart::projectors) && (hidetitle::1)). |
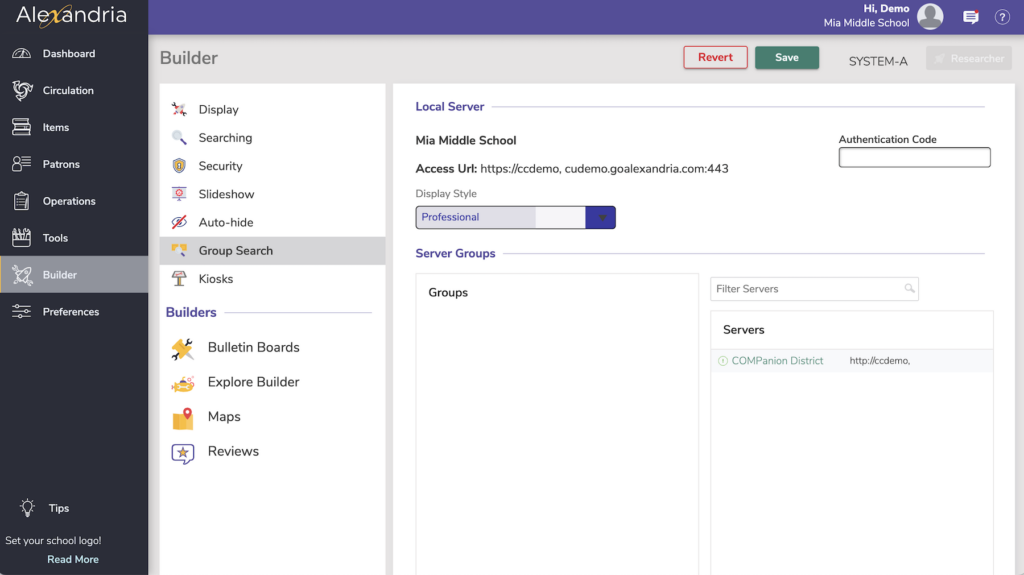
Group Search
Group Search is used for Distributed Catalogs to create search groups that store Alexandria Data Station DNS or IP addresses. Once properly configured, you can search these addresses from the Group Search interface. You may add as many search groups as you need to manage your Alexandria libraries and/or collections.
Learn more about Group Search and Group Search Settings.
Kiosks
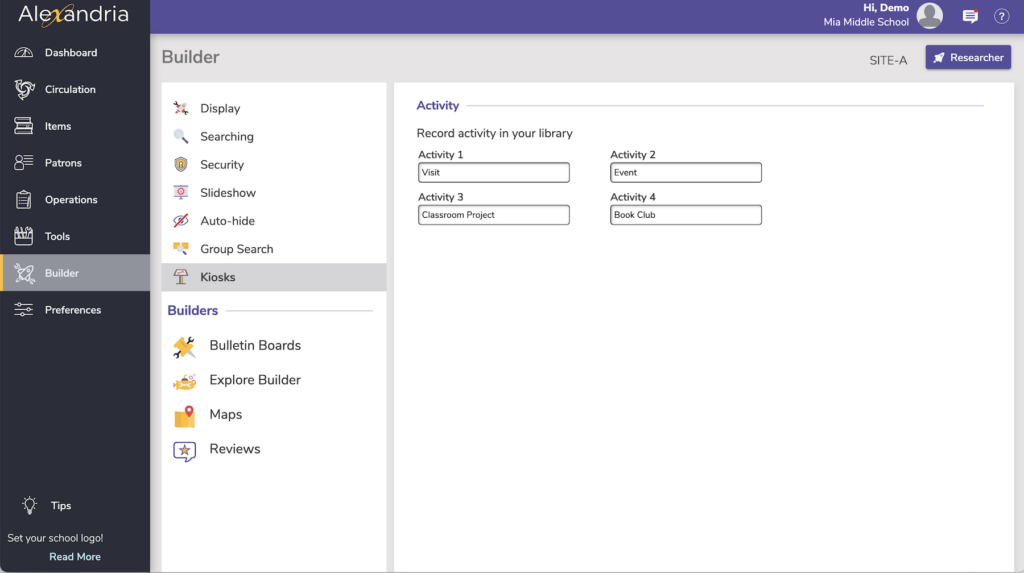
Activity
Activity is an unattended kiosk interface that allows you to keep count of patron visits, volunteers, and event attendees. Information gathered from Activity can be presented to administrators or funding sources for planning and budgeting purposes.
Use the space in Activity 1 – Activity 4 to set the buttons that show in your Activity kiosk. Leave a button empty if you aren’t using it. If the text is too long for the button, it will truncate (with “…”).
Defaults (examples): Visit, Event, Classroom Project, Book Club.
See also Researcher and Researcher Best Practices.