
Beginning-of-Year Procedures
Here are some answers to common questions and tips for beginning your school year with Alexandria. Please note that several of the procedures described here, such as updating calendars, removing graduated students, and updating patron policies, overlap with our End-of-Year Procedures. If you took these steps at the end of the previous school year, you don’t need to do them again! Also note that procedures involving calendars and patrons overlap with Textbook Tracker, meaning you only have to do those procedures once to count for both Alexandria and Textbook Tracker.
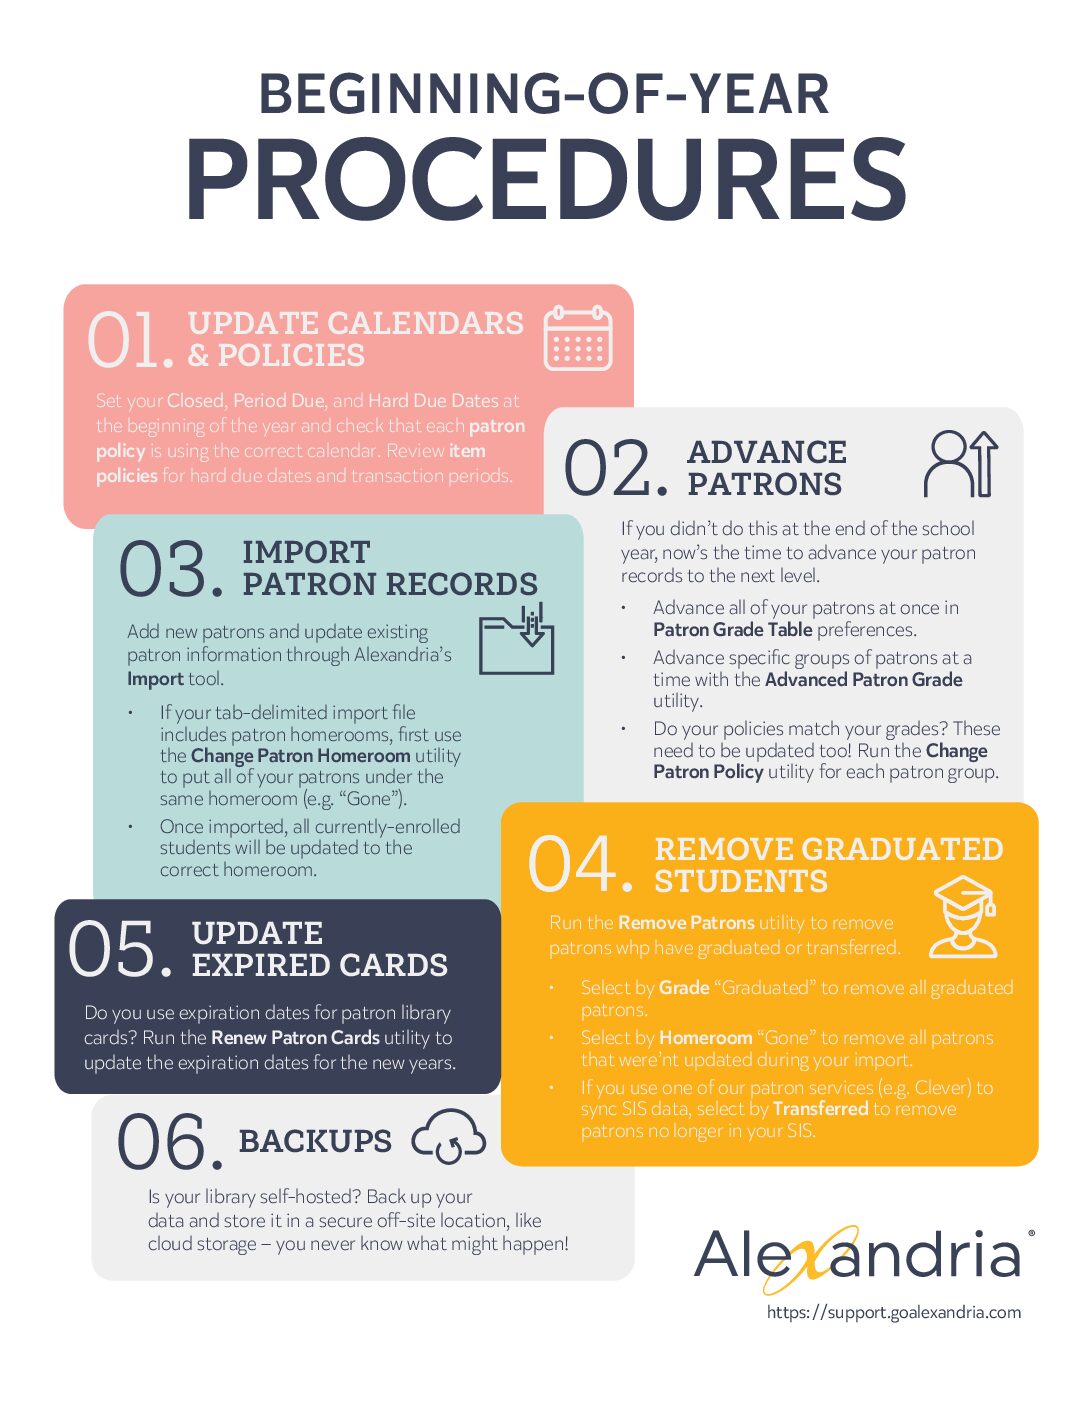
- Update Calendars and Policies
- Import Patron Records
- Import new patrons
- Update locations, grades, and policies
- Remove patrons
- Update Expired Accounts

1 Update Calendars and Policies
Set your Closed and Period Due dates and review policies.

2 Import Patron Records
Add and remove patron information.

3 Update Expired Accounts
Renew patron accounts.
Additional Resources

Beginning-of-Year FAQs

Back-to-School Workshop

Alexandria Refresher
Infographic
 | Before running any of the data-changing utilities described in these steps, create an archive so you have a restore point if something unexpected happens. If you are self-hosted, be sure to Back Up Your Data before and after these operations! |
Update Calendars and Policies
Calendars are used in conjunction with Patron Policies to accurately perform circulation-based calculations, like due dates, fines, holds and reservations, etc. Alexandria will not adjust the due date after an item has been checked out, so it’s important to establish your Closed and Period Due dates at the beginning of the year, before any items or resources are checked out. Read Calendars to learn more.
- Go to Tools > Calendars.
- Select a calendar from the list on the left.
- Choose a date and click once for Closed, twice for Period Due.
- To close the same day of the week for the entire month, click on one or more day of the week headings at the top of the calendar.
- Click + to add a note to a particular date.
- Click Save and move on to the next month, or the next calendar.
- Repeat step 2-4 for each calendar.
| Period Due is a date by which all items should be returned to the library. The circulation period just before this date will be shortened so items are returned in time. For example, if you set a Period Due date of May 13, all items checked out before May 13th—that would have been due after the 13th—will be assigned a new due date of May 13th. Set a Period Due date to remind patrons to return their borrowed items before the end of the year or another specified period. |
It is important to review your Policies at the beginning of the year. Patrons are assigned to a calendar according to their Patron Policy. Go to Tools > Policies and check that each patron policy is assigned to the correct calendar and that Apply Period Due Dates is checked.
Review policies and how to assign them, and remember:
- If using a hard due date on an item policy, ensure it is set correctly for the year and not expired
- Verify the transaction period is set for items
- You can have multiple patron and item policies – if you change the standard policy, it does not change for the others
- There may be exceptions that need reviewing as well
Import Patron Records
Most libraries import and remove patron records once a year. Depending on how you manage your patrons, there are different steps to ensuring your patron database is properly kept clean and up-to-date.
The following links will take you to the appropriate part of Patron Imports Best Practices.

SIS
Using SchoolDay or Clever

Manual Import or FTP
Running Quick or Saved Patron Imports
Manual Entry
Adding patrons through Patrons Management
Remove graduated patrons
See End-of-Year Procedures > Remove graduated patrons.
Update Expired Accounts
Do you use expiration dates for patron accounts? Run the Renew Patron Accounts utility to update the expiration dates for the new year. It will reset and update the Account Exp date for all matching patrons to a date X number of days from when the utility is run, as specified in their Patron Policy.
For example, if the patron’s policy has Days Patron’s Account is Active set to 365 and the utility is run on May 30, 2019, the patron’s new expiration date would be May 29, 2020.
 | This utility will only work when Preferences > Patrons > Patron Rules > Disable account expiration dates is unchecked. |
The number of days a patron’s account is active after renewal is determined by patron policies.
- Go to Operations > Utilities.
- Select the Patrons > General category on the left.
- Choose the Renew Patron Accounts utility on the right.
- On the Selections tab, enter the criteria for the patrons whose accounts you want to renew. To renew ALL expired patron accounts, leave the default settings.
- Run the utility.
0 Comments