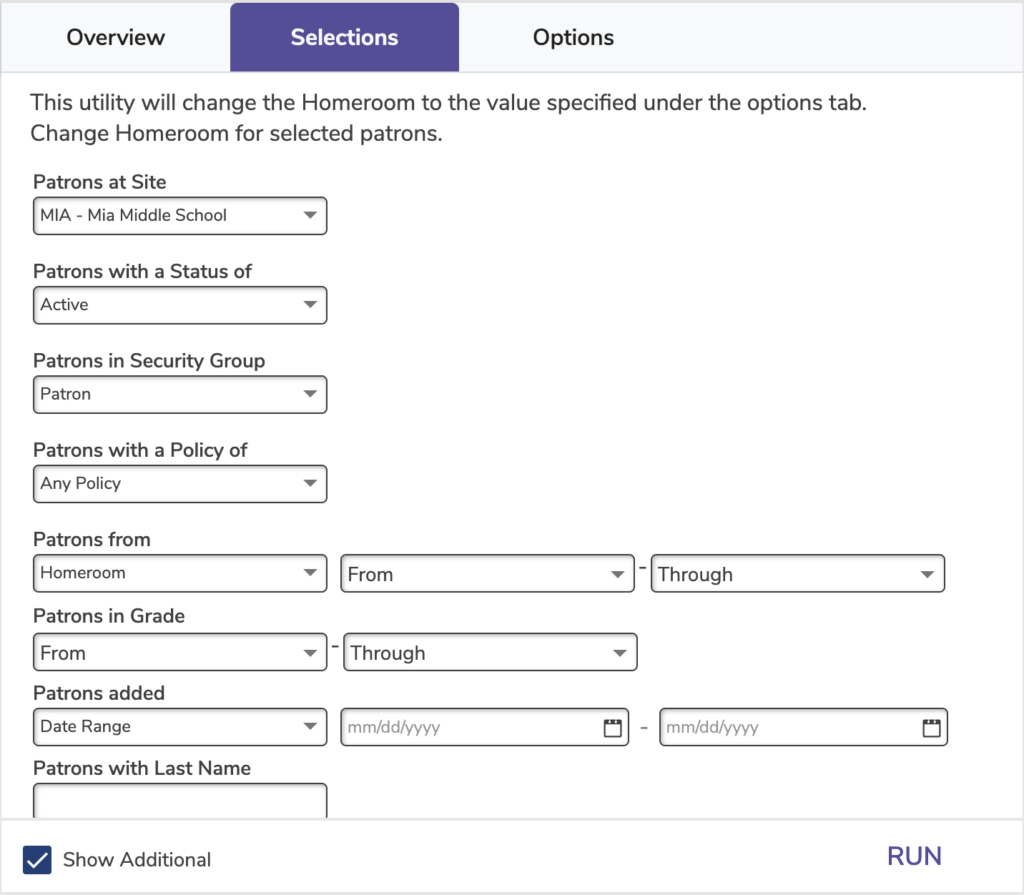
No, the Advance Patron Grade utility will only update the Grade (Level) field. All other information, including homerooms, will need to be updated manually, with a utility, or with an import file.

Utilities are used to change large amounts of information in your database at once.
To log in directly, add /utilities to the end of your Alexandria URL.

Utilities Video

Tip of the Week

Contact Support

Utilities FAQs
Utilities contains a few different areas, including:
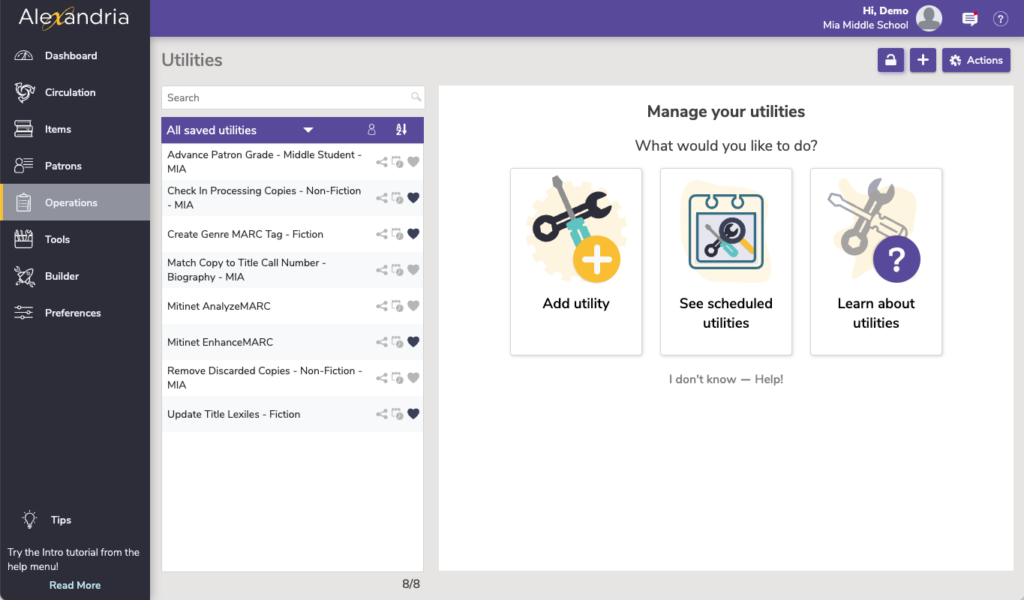
The utility templates are listed by category on the left, with more description of the utility on the right.

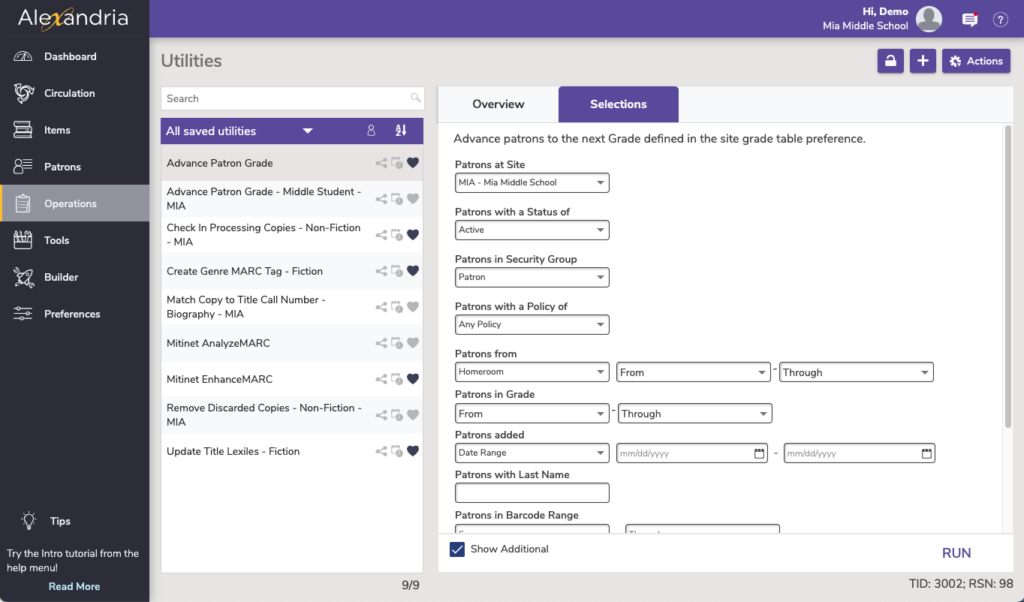
The overview tab shows the Utility Name, who created the utility, any notes about the utility, as well as selections to Favorite, Share, Schedule, and Notify.

Name. Enter or edit the name of the utility here.
Created By. This information is automatically populated with the utility creator’s name and site ID code.
Notes. You can provide general usage notes about the utility here (e.g. Utility created for Marjorie – Run daily!).
Favorite. When this option is checked, the utility is classified as a “favorite.” This is especially helpful if you find yourself creating the same utilities regularly.
Share. Shares the utility across all sites (for accounts with multiple sites).
Schedule. Check this box to unlock the utility scheduling capabilities. The Frequency dropdown menu allows you to specify how often you would like to fun the utility. You can select Once, Daily, Weekly, Monthly, Yearly from this drop-down menu. Use the Around dropdown to choose a general time for your utilities to run.
Notify. Check this box if you want to enable email notification, sent upon utility completion.
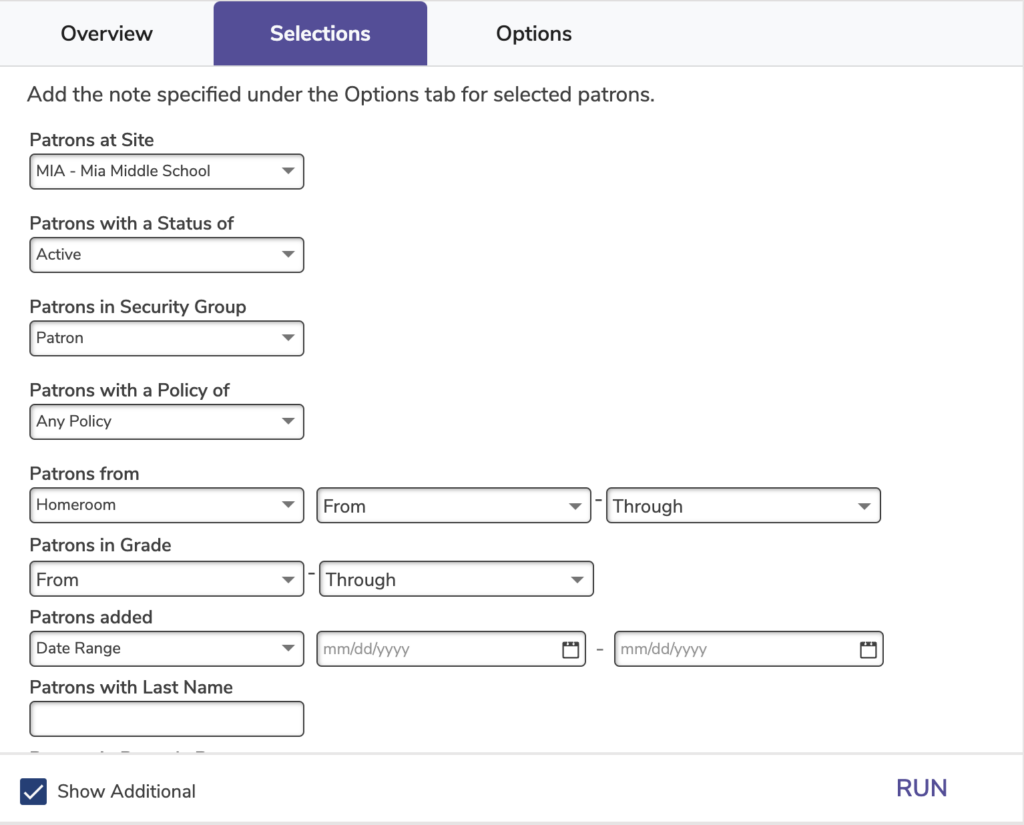
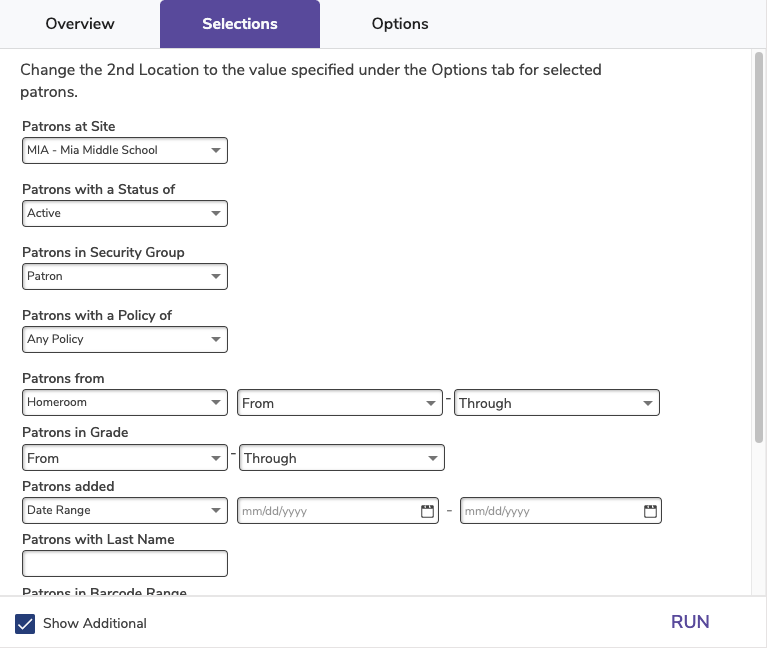
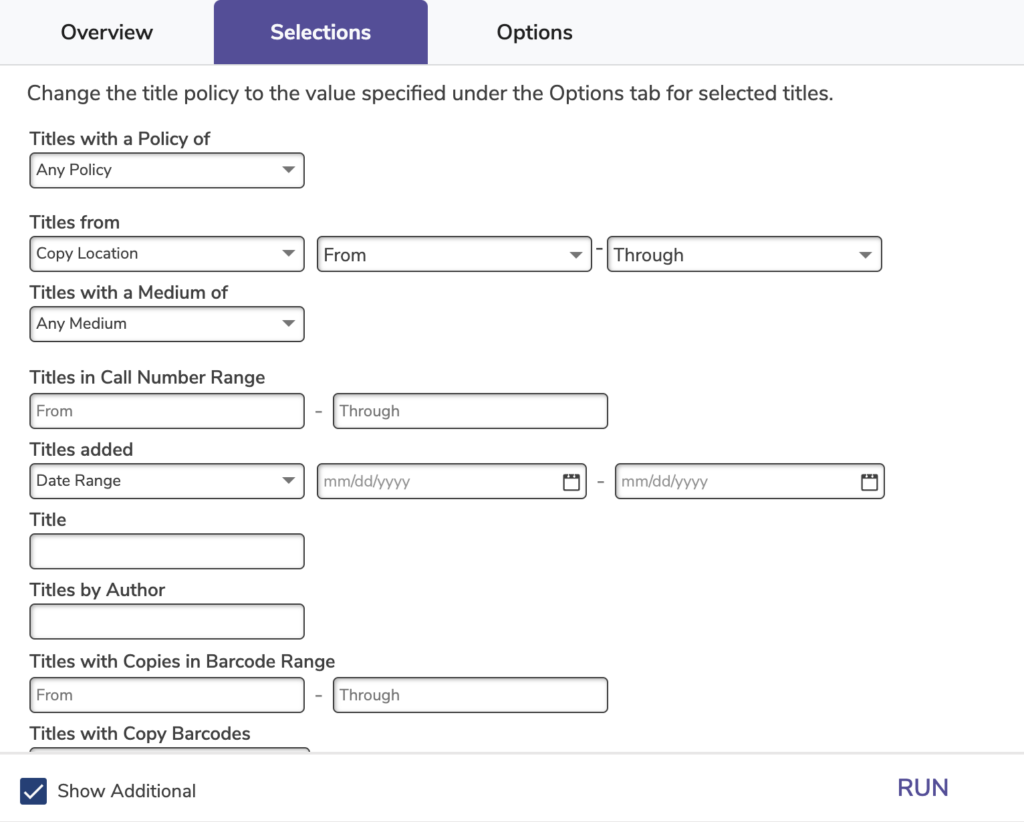
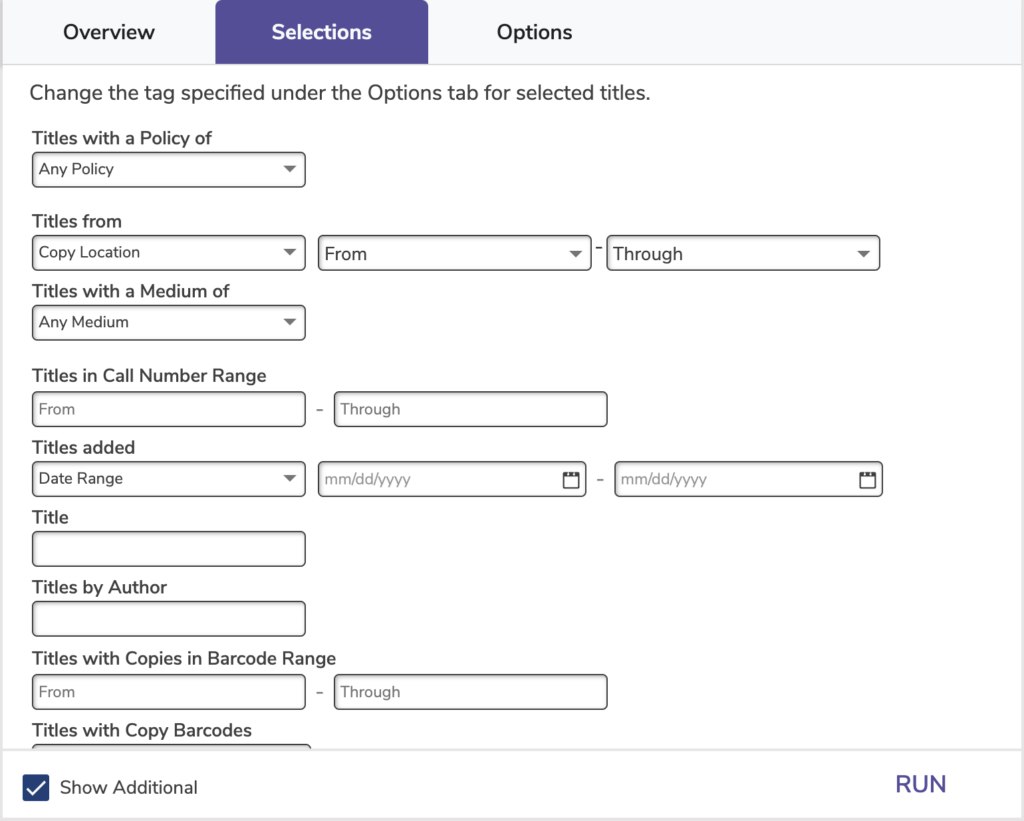
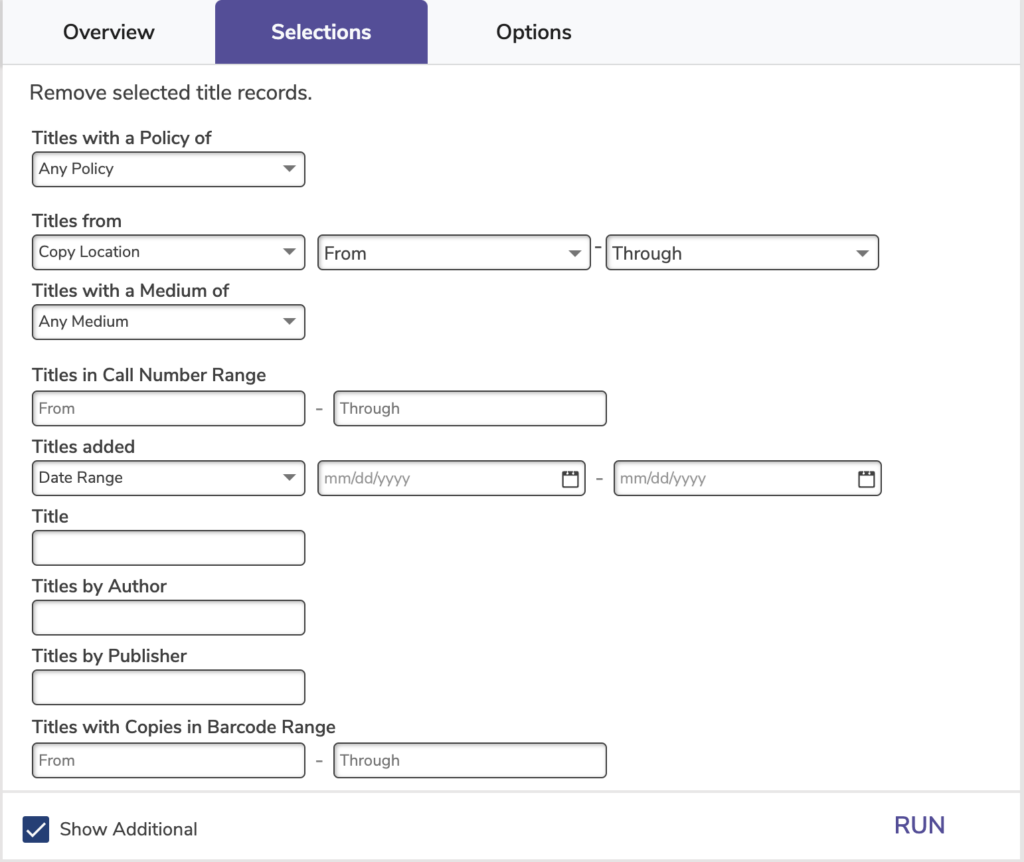
The Selections tab is where you build the utility to suit your needs. If you find some of your utilities lacking the necessary selection information, try checking the Show Additional box for more options. The settings in this tab vary per utility.
Textbook Tracker Utilities interface works the same as Alexandria. The available utilities, and some selections/options, will differ.
See the Textbook Tracker YouTube playlist.
Patrons | Titles | Copies | Circulation | Periodicals | Database
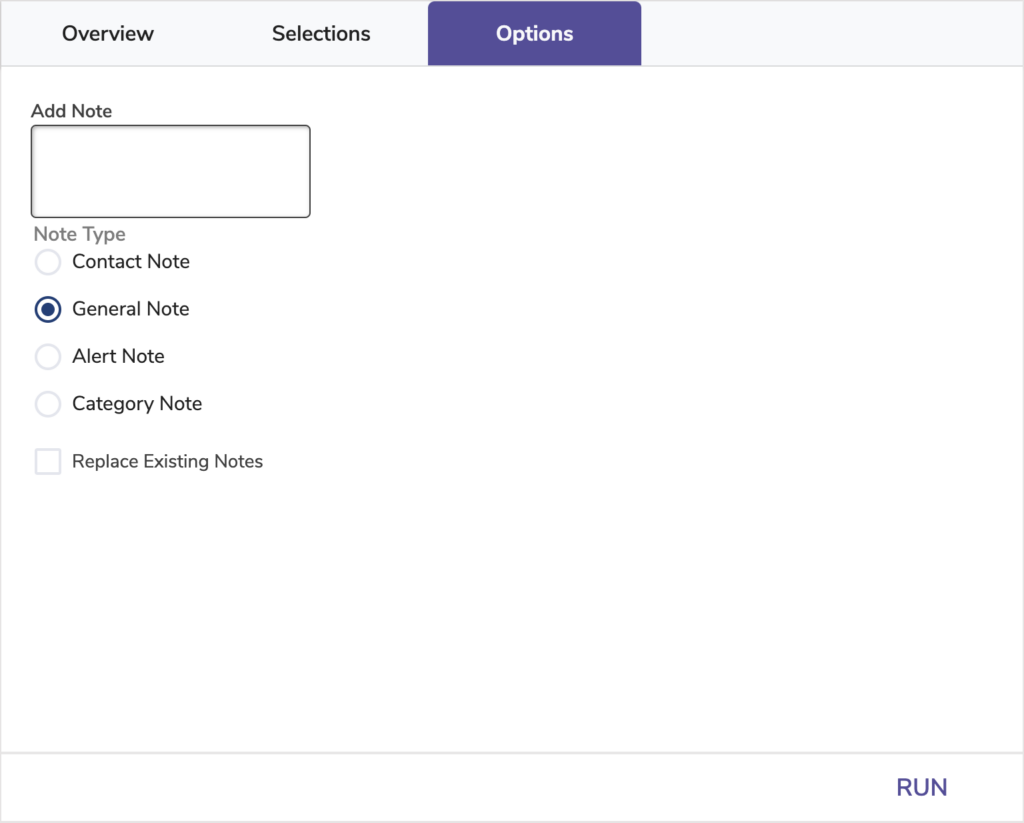
Adds or appends a Contact, General, Alert, or Category note to selected patrons
Use:
Moves specified patrons to the next grade (i.e. level)
 | “Grade” is a localization term that can be altered in Terminology Preferences. |
You can customize your grades (i.e. levels) in the Grade Table in Patron Preferences.
If you name your policies after grades, then you’ll need to update those policies after running this utility. This has to be changed on a policy-by-policy basis using the Change Patron Policy utility.
Use: Run this utility if you need to be specific about what types of patrons need to be moved to the next grade level. If you would like to advance all patron grades at the same time, use the Advance All Grades utility on the Grade Table tab of Patron Preferences.
Read the Manual Entry section of our Patron Imports Best Practices for more information.

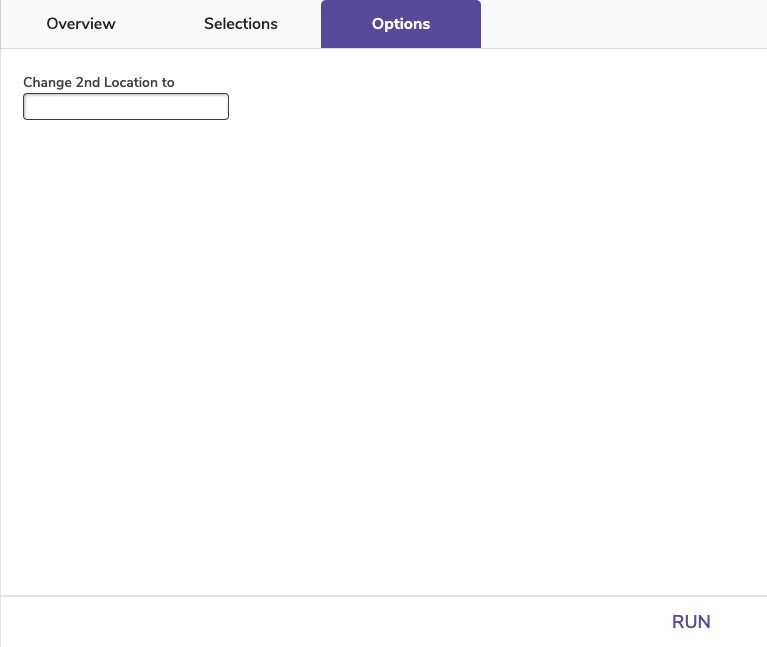
Changes or adds a 2nd location for specified patrons
| “2nd Location” is a localization term that can be altered in Terminology Preferences. |
You can also use Authority Control to edit, combine, or remove individual 2nd locations.
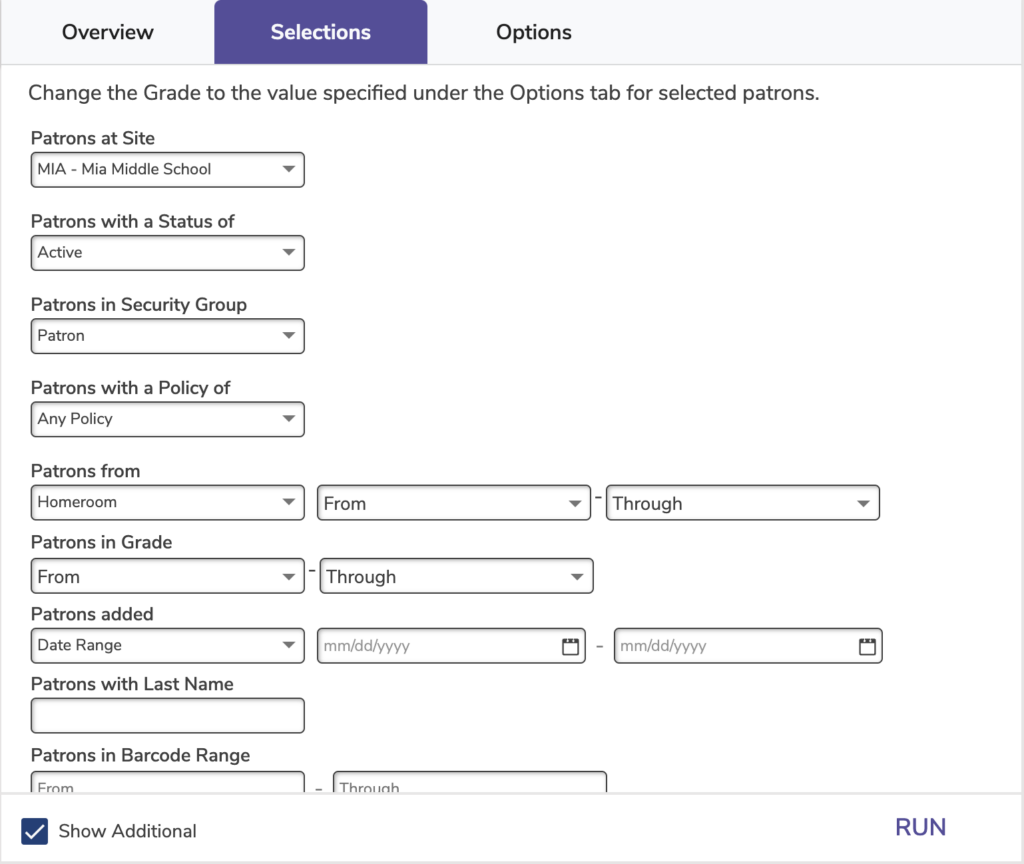
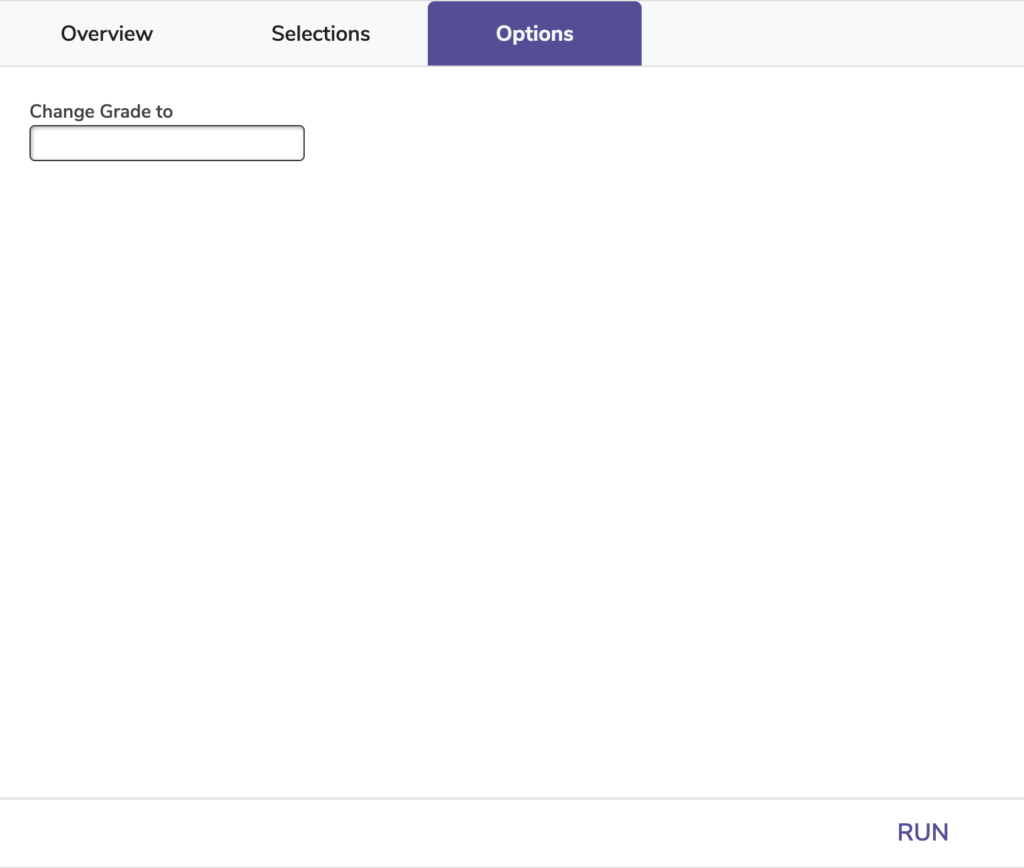
Changes the grade (i.e. level) of selected patrons to the specified grade
| “Grade” is a localization term that can be altered in Terminology Preferences. |
Use: Run this utility if patrons were accidentally imported or added with the wrong grade and the correct grade needs to be added.

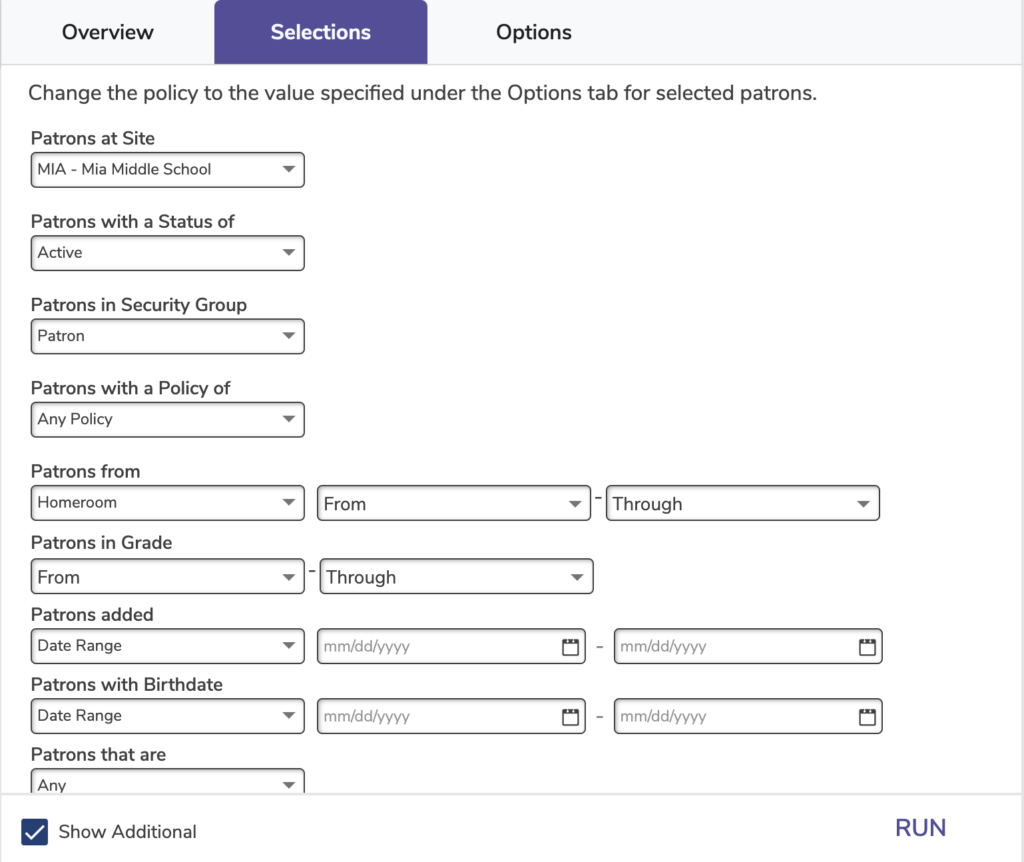
Changes the policy of selected patrons to the specified policy
 | Newly changed patron policies will not affect the loan periods or fines for currently checked out items. To adjust these based on the newly changed policies, run the Recompute Due Dates utility after this utility. |
Use: If you base policies off of grades, run this utility at the end or beginning of a school year to update patron policies after advancing patron grades. Use the Patrons in Grade selection to specify the grade(s) to which you want to assign a particular policy.
| Check out our Beginning-of-Year Procedures and End-of-Year Procedures for more tips on preparing your library for summer or the new school year. |

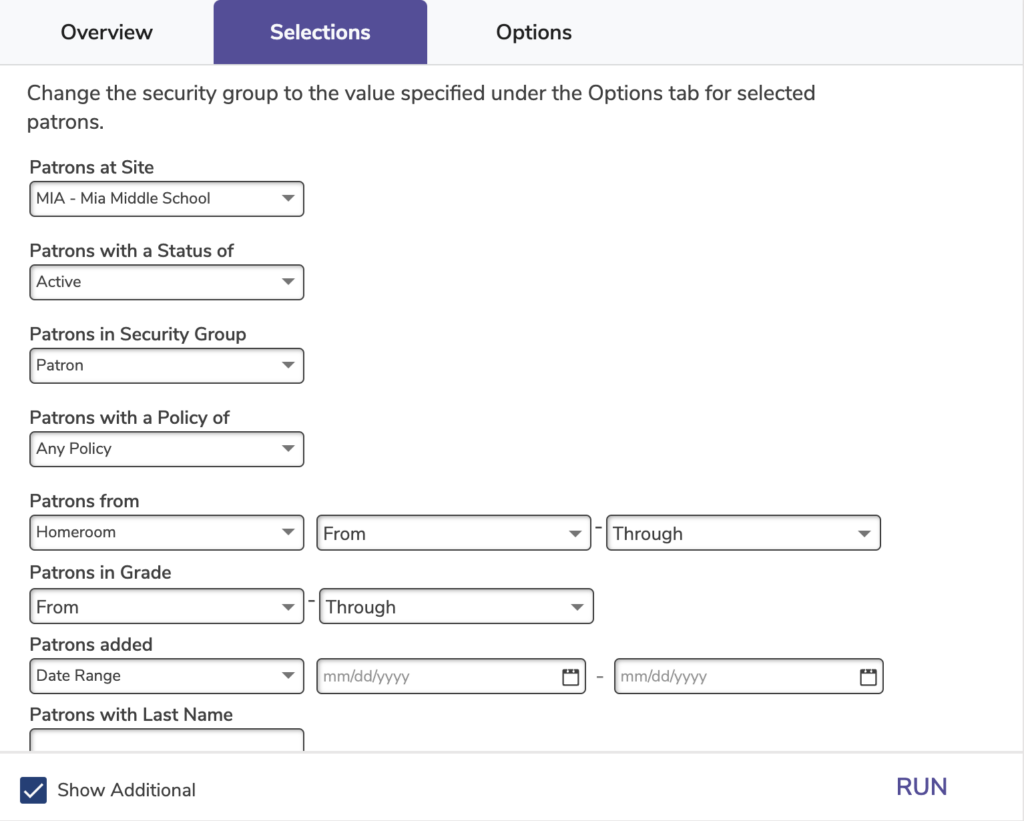
Changes the security group of selected patrons to the specified security group
| Security Level controls which security groups a user can modify. For example, patrons assigned a security group with Security Level 2 can only modify groups with a Security Level of 3 or lower (3, 4, 5). However, this rule does not apply to District Administrators (Level 0).Tip box for helpful additional information you want to highlight on the page. It is a table with the light yellow background with the tip of the week lightbulb image from the media library. |
Use: Run this utility if you assign security group by grade. In the Patrons in Grade selection, enter the grade(s) you want to assign a specific homeroom.

Changes the status of selected patrons to the specified status
Use:


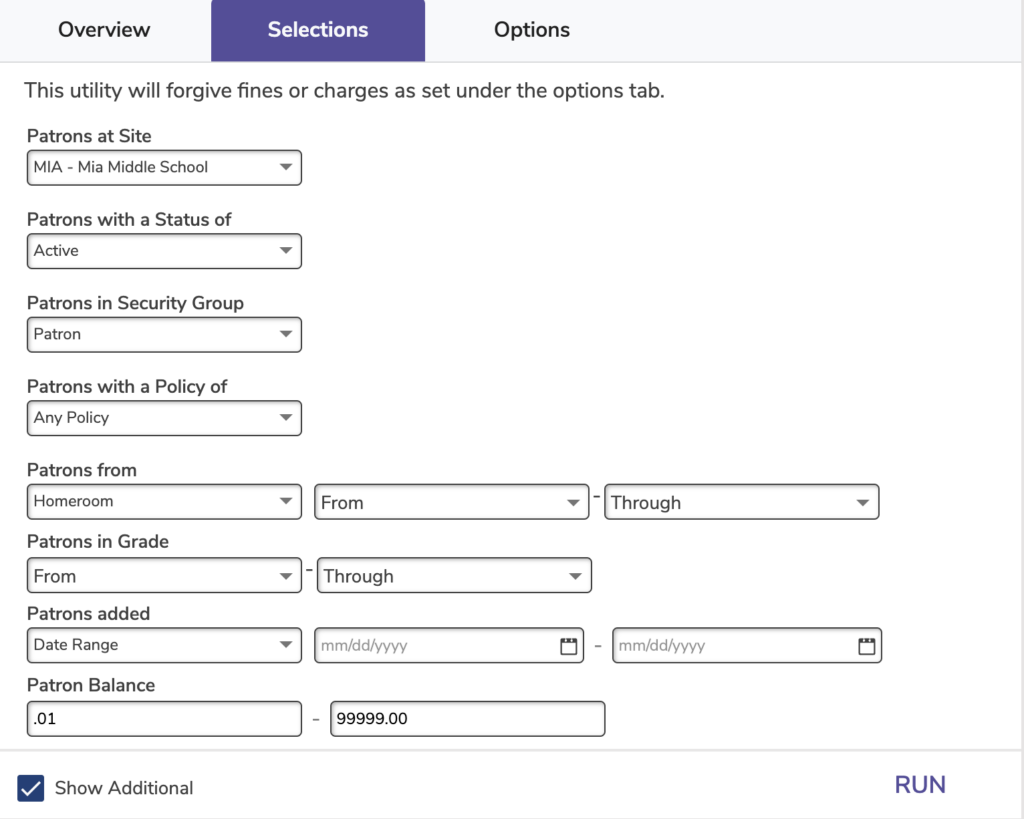
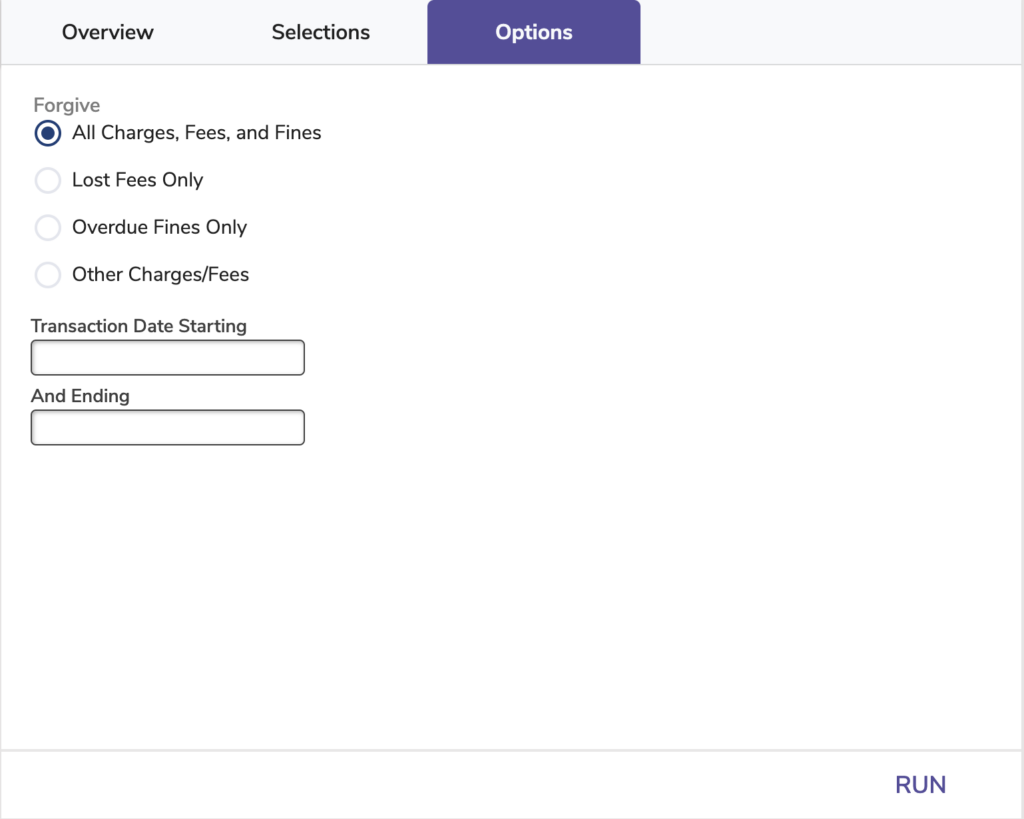
Forgives selected charges, fees, or fines created during the specified transaction date range
What’s included in each charge category?
Use:
Moves selected patrons from their current site to the specified site
Use: Run this utility if you accidentally imported patron records to the wrong site and need to move them.


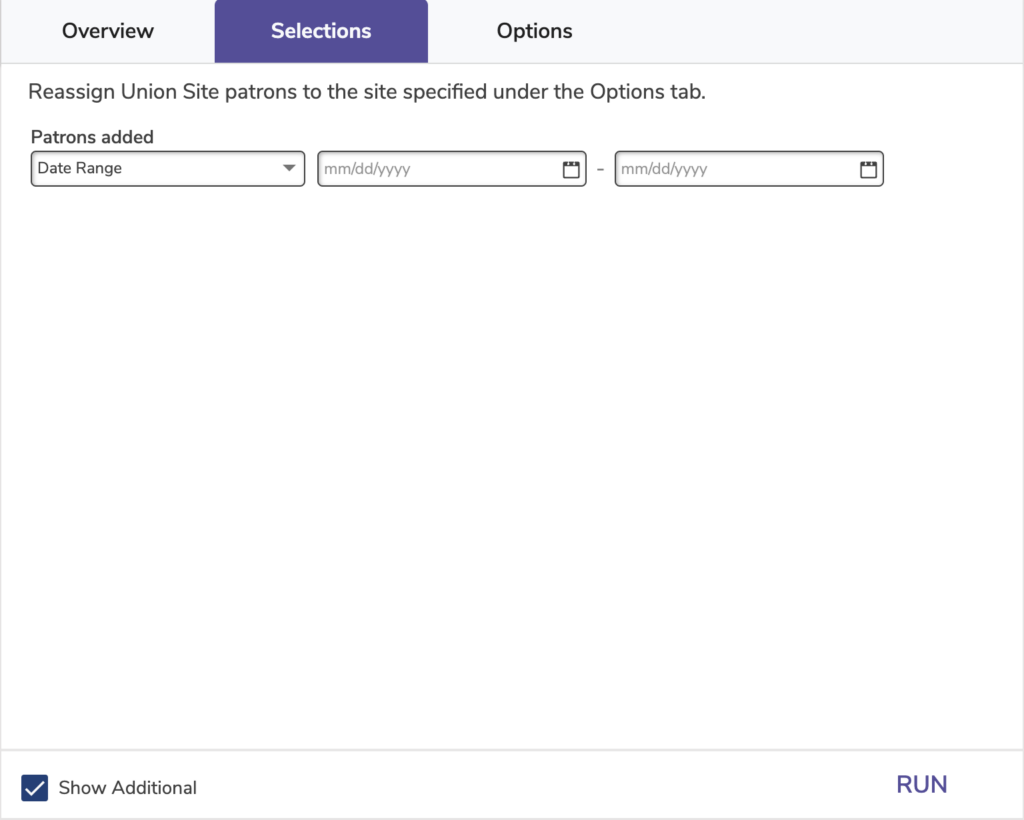
Changes selected patrons’ assigned site from the Union Site to the specified site
Use: Patrons are assigned to the Union Site when imports are run with an invalid or non-existent site code. If you made a mistake while importing patron records and they are now assigned to the Union Site, run this utility to assign them to the correct site.

Removes everything but Lexile history from selected patrons’ histories
The Patron History report shows recent payments (including credits), renewals, lost items, refunds, Lexile history, and returned items for individual patrons. After running this utility, everything but Lexile history is removed.
Use: Run this utility when you need to clear up space in your database, start with a clean slate on statistics, or remove information because of privacy concerns.

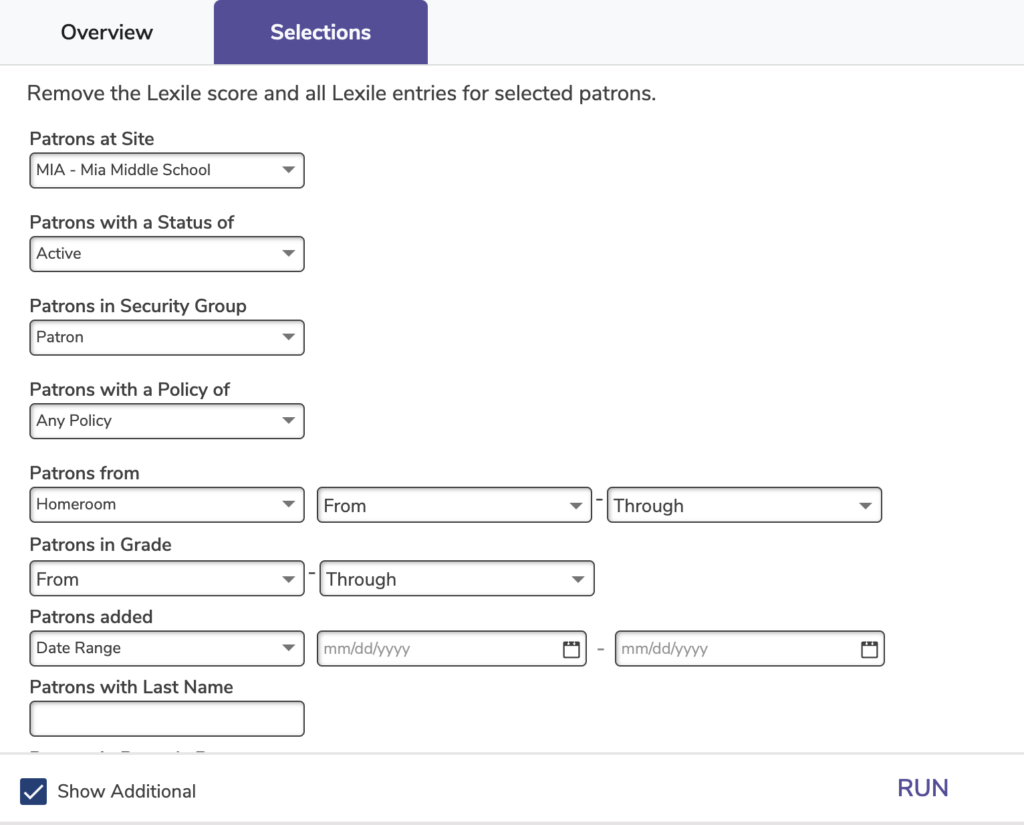
Removes the current Lexile score and clears the Lexile table for selected patrons
| You must have the Lexile add-on to use the Lexile table. |
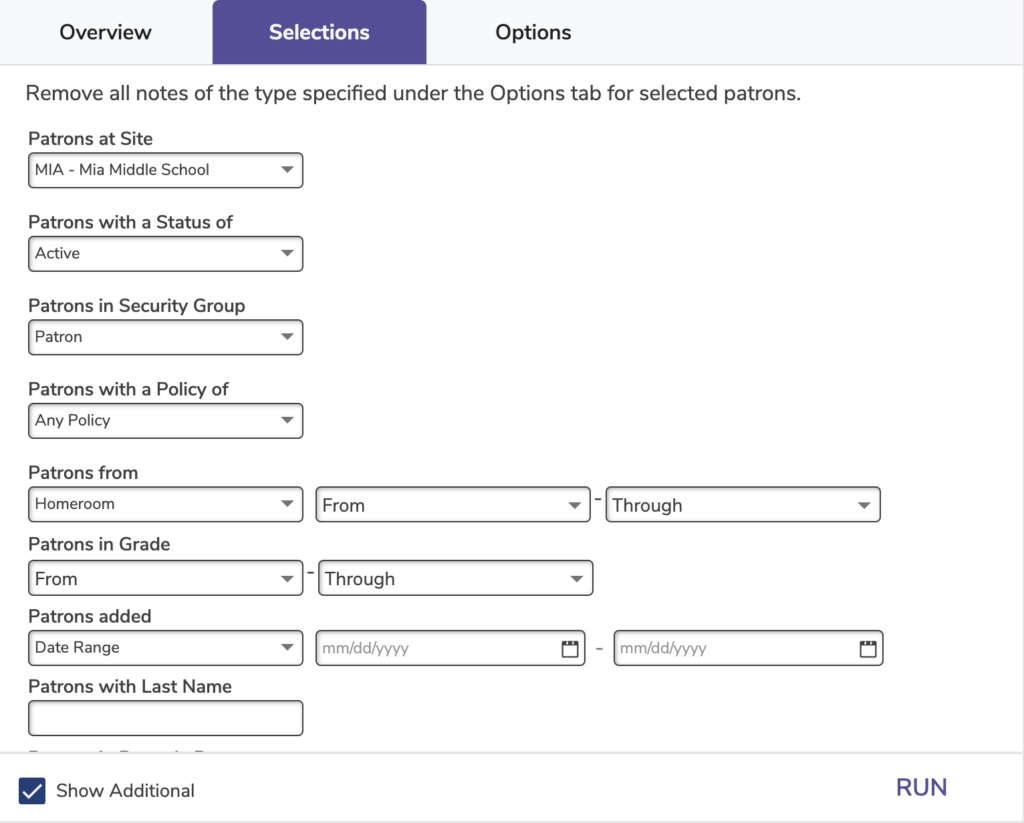
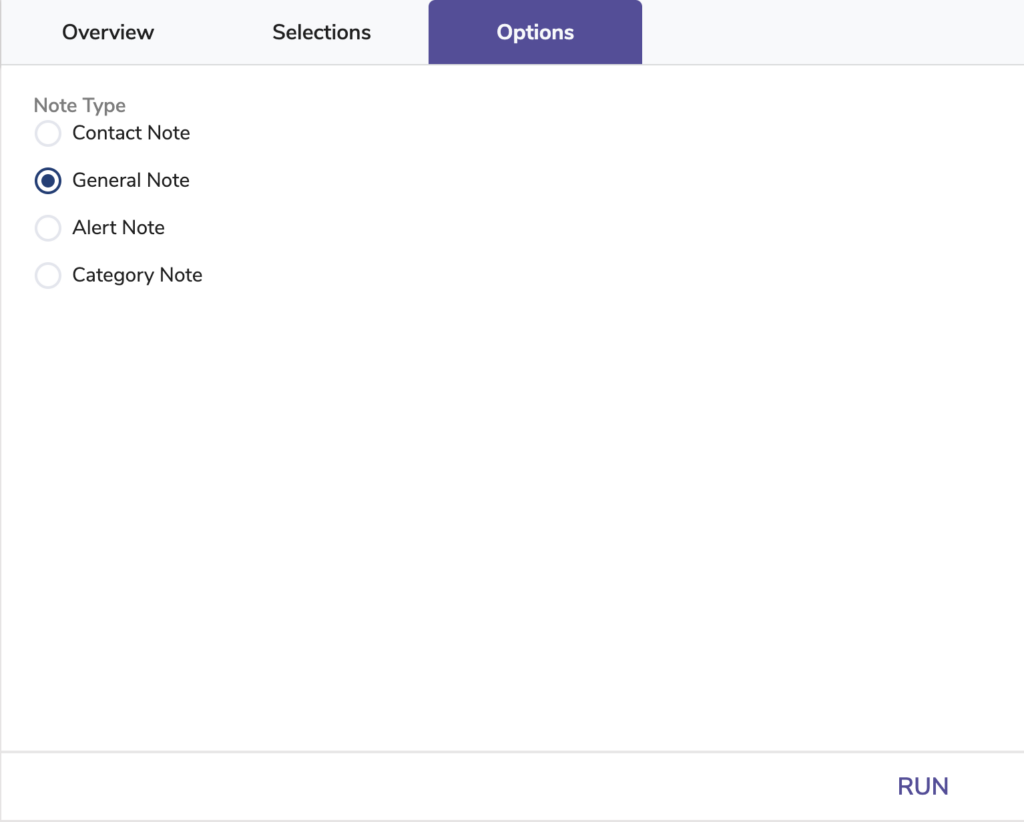
Removes all Contact, General, Alert, or Category notes from selected patrons
Use: Run this utility to remove old and temporary notes past librarians may have left.
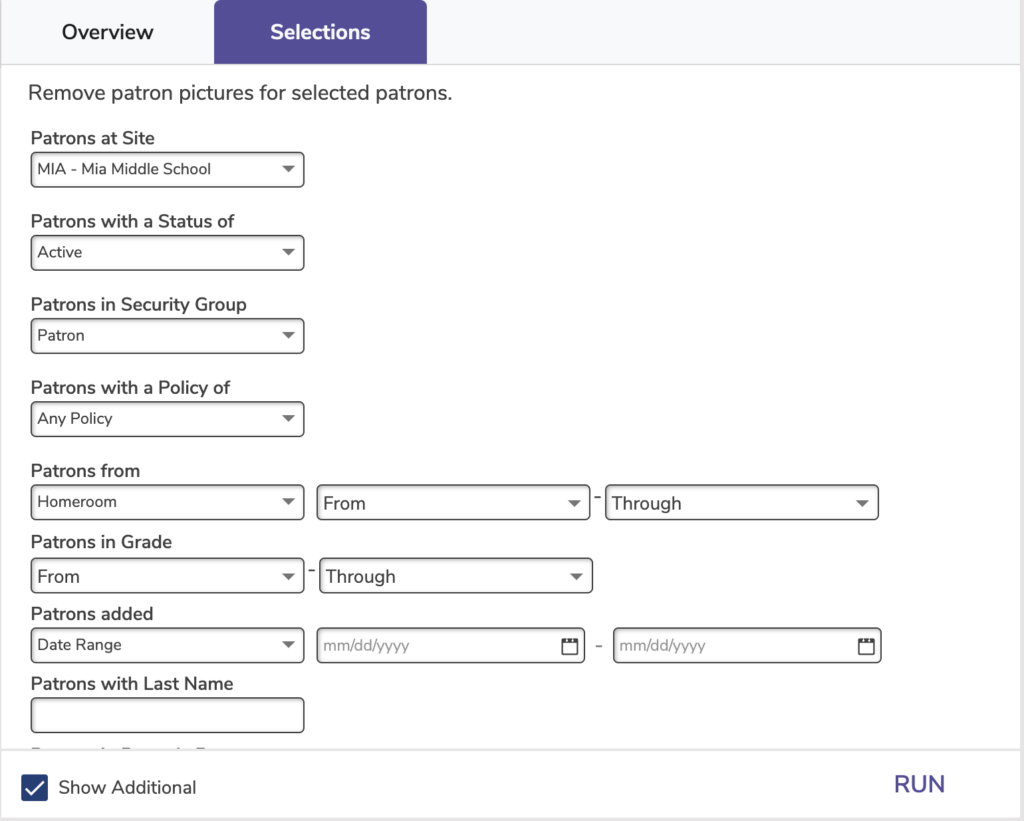
Removes pictures for all selected patrons
Use: If you need to remove patron pictures because they need to be replaced or removed because of privacy concerns, run this utility.

Removes selected patron records from your database
Use:
Removes a group of reviews at once
Use: Run this utility every now and then to clear out all rejected reviews from the Reviews Management module.

Use one or more Selections to specify the type of reviews to remove:
Review Date: Enter a creation date range or relative creation date of reviews you would like to remove.
Review Status: Specify the current status of reviews you would like to remove.
Patron Barcode: Enter the barcode of a patron whose reviews you would like to remove.
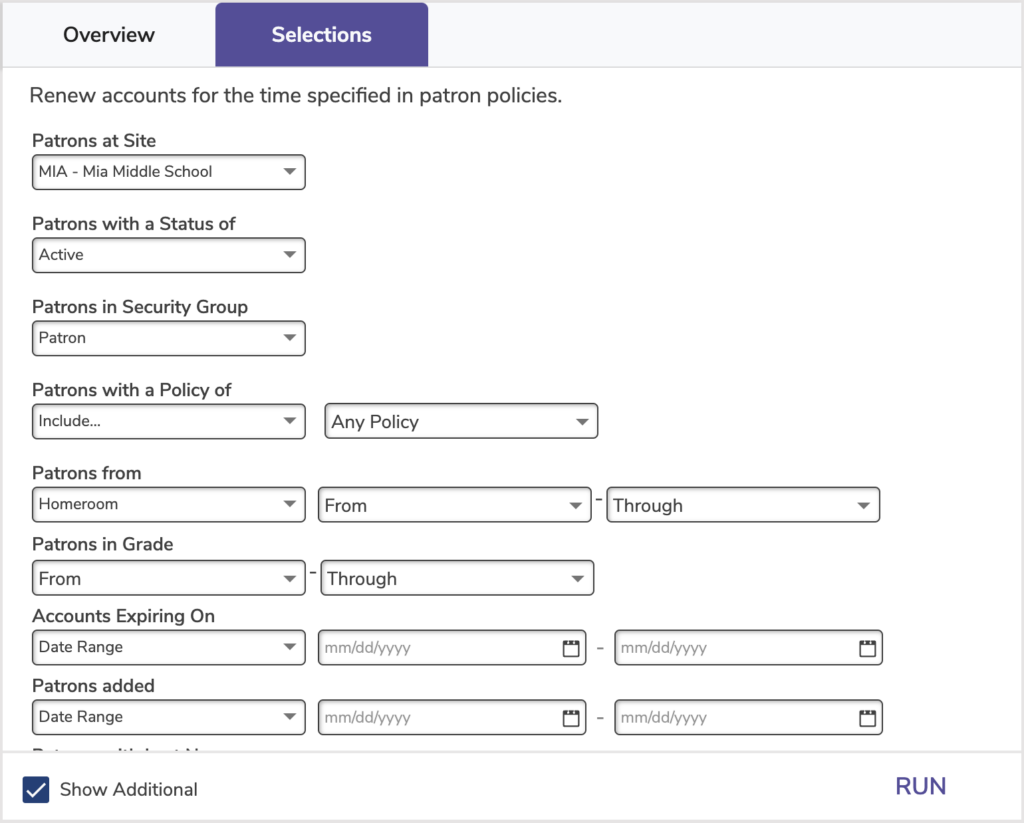
Renews the accounts of all selected patrons
| This utility will only work when Preferences > Patrons > Patron Rules > Disable account expiration dates is unchecked. |
The number of days a patron’s account is active after renewal is determined by patron policies.
Resets patron usernames and/or passwords to the chosen formats
Operators must have these specific security permissions to run this utility:
Note that operators can only change the passwords of those with a lower security level than themselves.
Use:

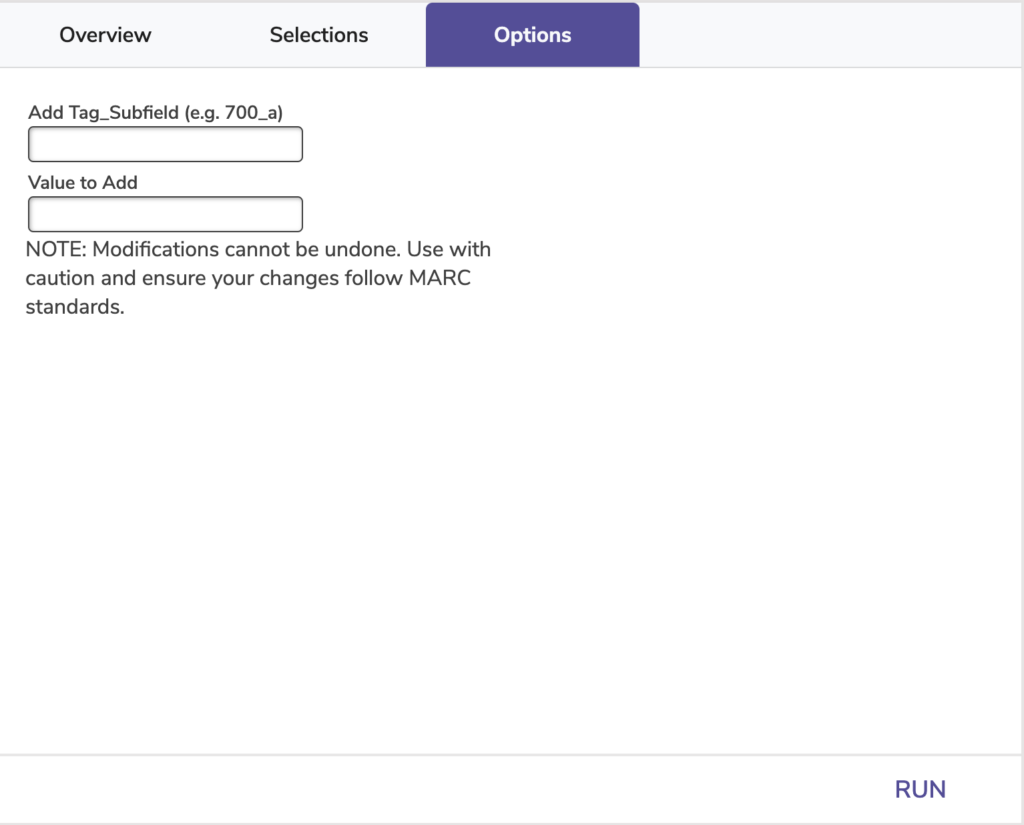
Adds a specific MARC tag to selected titles
Use: If an author or series name is commonly misspelled, you can add another MARC tag with the misspelling. That way, the title will still show up in Researcher results even if the search criteria are misspelled.

Changes the medium (245_h MARC tag) of selected titles to the specified medium
Use: Run this utility if you accidentally imported items with the wrong medium and need to correct the mistake.


| Change Medium to: Specify the new medium you would like selected titles to have. |
Makes series volumes uniform and easy to sort by converting the volume number to a padded three digit number and adding a prefix
| Tip box for helpful additional information you want to highlight on the page. It is a table with the light yellow background Check out our Cataloging Series and Serials article for more information on series volumes and why it’s important to catalog them correctly. |
Use: Run this utility to standardize all of your series’ volumes, which will make it easier for patrons to find what they’re looking for in Researcher. Here’s an example of how you could run this utility to standardize the volume numbers of your Harry Potter series:
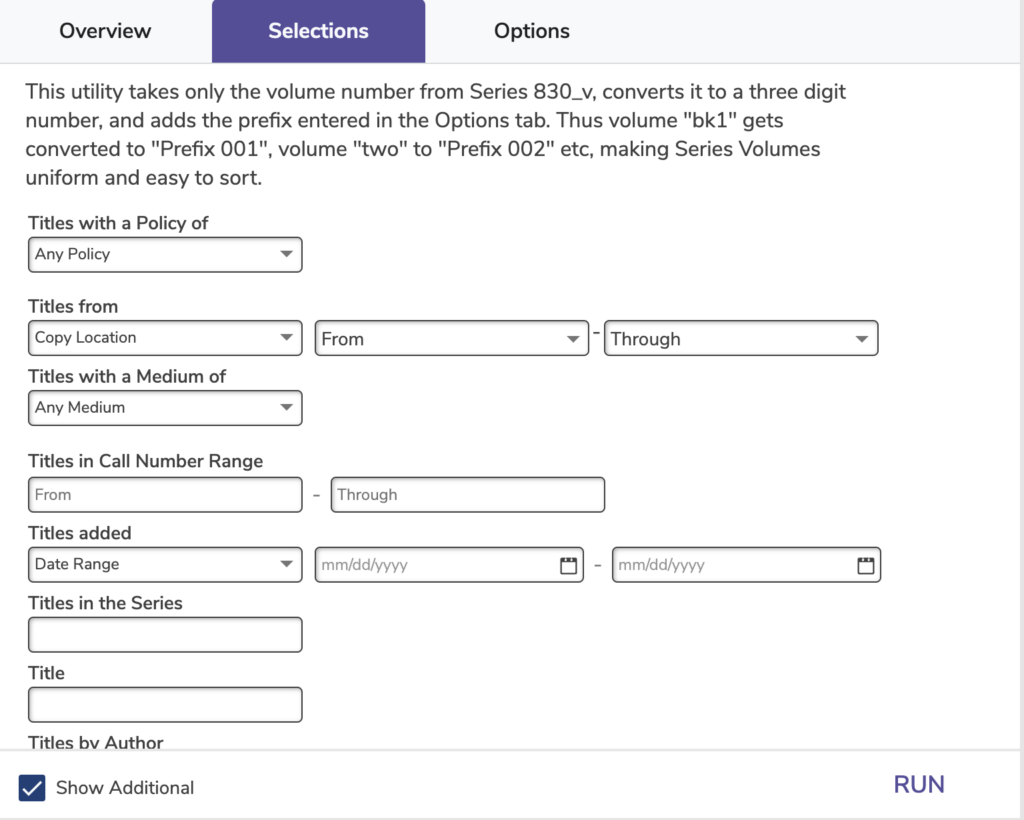
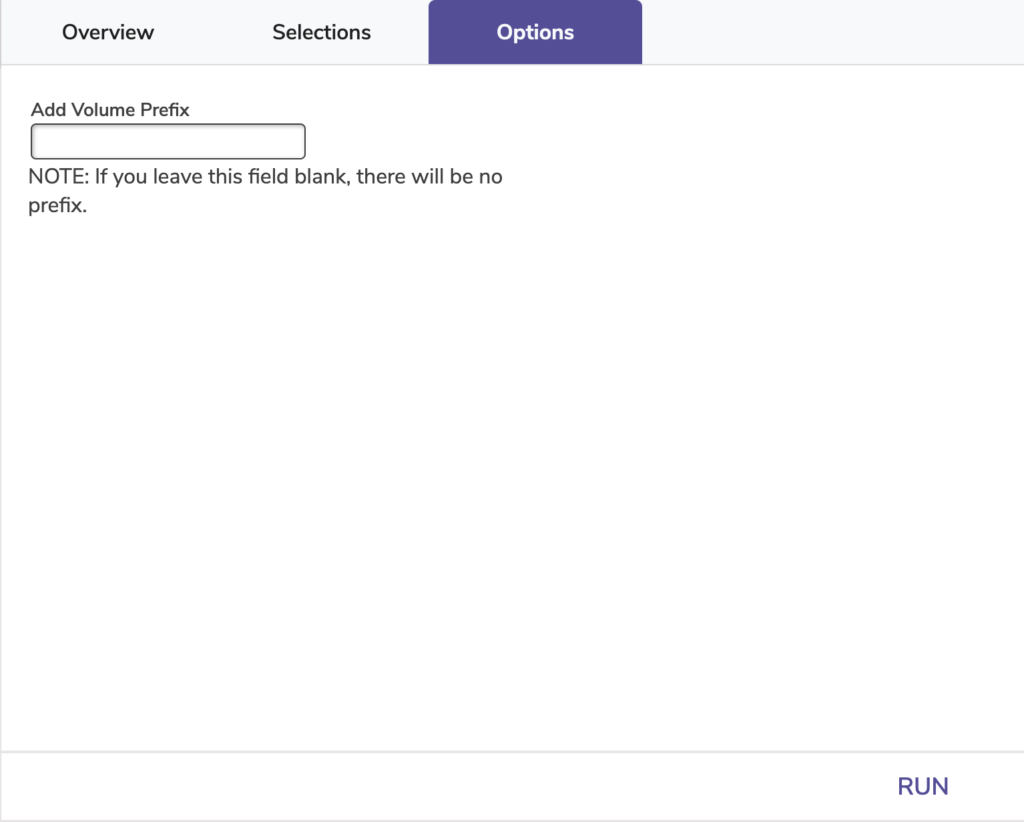
| Add Volume Prefix: Specify the prefix you would like to add before the volume number. If you leave the this field blank, no prefix will be added. Numbers, letters, and standard symbols are accepted. |
How will your old volume numberings convert? Here are some before and after examples using the prefix “Book.” Examples that don’t convert well are in bold, and the ones that don’t change are in italics.
| Before | After |
|---|---|
| Book 1 | Book 001 |
| V. 1 | Book 001 |
| 12 | Book 012 |
| 100 | Book 100 |
| one | Book 001 |
| b1 | Book 001 |
| Vol. # twenty | Book 020 |
| Vol 1234 | Book 1234 |
| v#1 | Book 001 |
| # 1 | Book 001 |
| twenty-two | twenty-two |
| bookone | bookone |
| s1b2 | Book 012 |
| 1.2 | Book 012 |
| 01-02 | Book 102 |
| This utility can’t change everything. If the 830_v field is nonsense or something Alexandria can’t identify, the results will also be nonsense. |
Changes various components of selected title call numbers (prefixes, case, slashes, and matching to copy call numbers).
Use:

Copies with a Genre of: This selection includes all terms that look similar. For example, a selection for “Fantasies” would also include “Fantasy.”
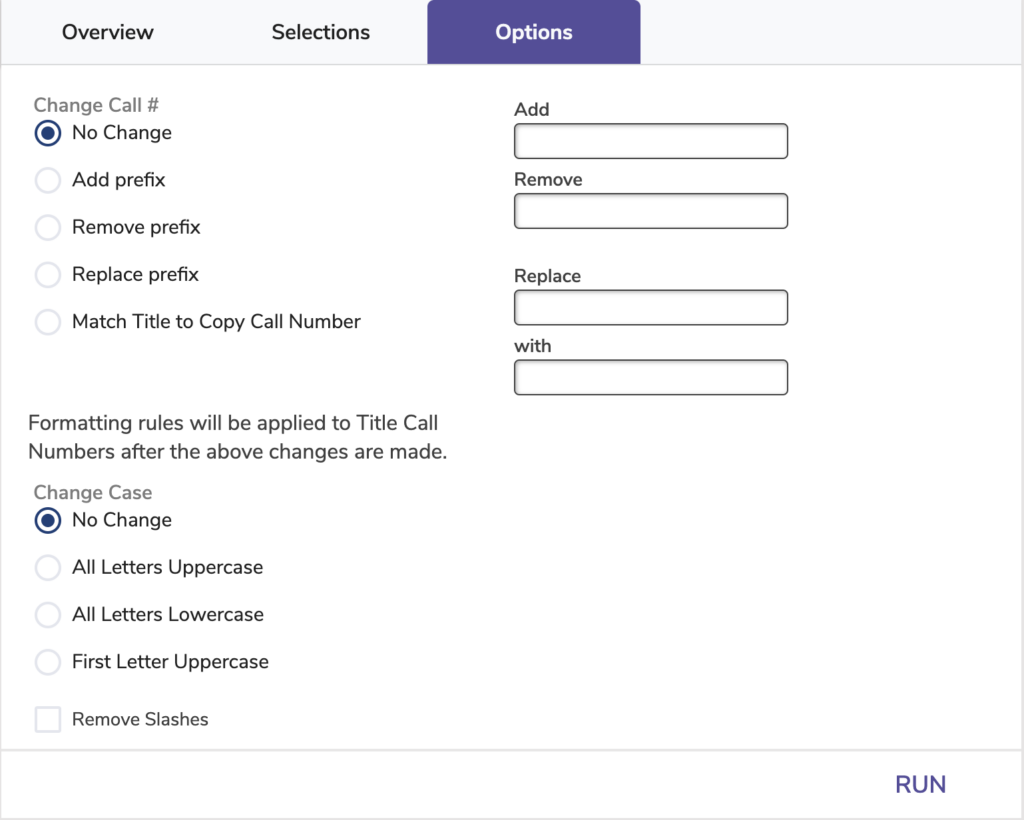
No Change: Choose this option if you don’t want to make any prefix changes.
Add prefix: Appends the new prefix entered into the Add field to the front of selected call numbers. If adding a prefix results in exceeding the 50 character limit, that call number will be skipped.
Remove prefix: Removes the text entered into the Remove field from selected call numbers. Additional spaces are removed as well if there are still characters left.
Replace prefix: Replaces the existing call number entered into the Replace field with the new call number entered into the with field. The Replace field isn’t case sensitive (e.g. “fiC” would replace both “FIC” and “fic”). If replacing a prefix results in exceeding the 50 character limit, that call number will be skipped.
Match Title to Copy Call Number: Changes selected titles’ call numbers to match the first copy’s call number.
| Removing and replacing only affect the first word of a call number. For example, if the original call number is “FIC BIO,” you could change “FIC” to “P” but not just “F” to “P.” Also, you could change “FIC” to “P” but not “BIO” to “P.” |
No Change: Choose this option if you don’t want to make any case changes.
All Letters Uppercase: e.g. FIC BIO
All Letters Lowercase: e.g. fic bio
First Letter Uppercase: e.g. Fic Bio
When checked, this option will remove all forward slashes (“/”).
Changes the policy of selected titles to the specified policy
| Run the Recompute Due Dates utility after this utility if you want to update due dates for checked out items based on new policies. |
Use:
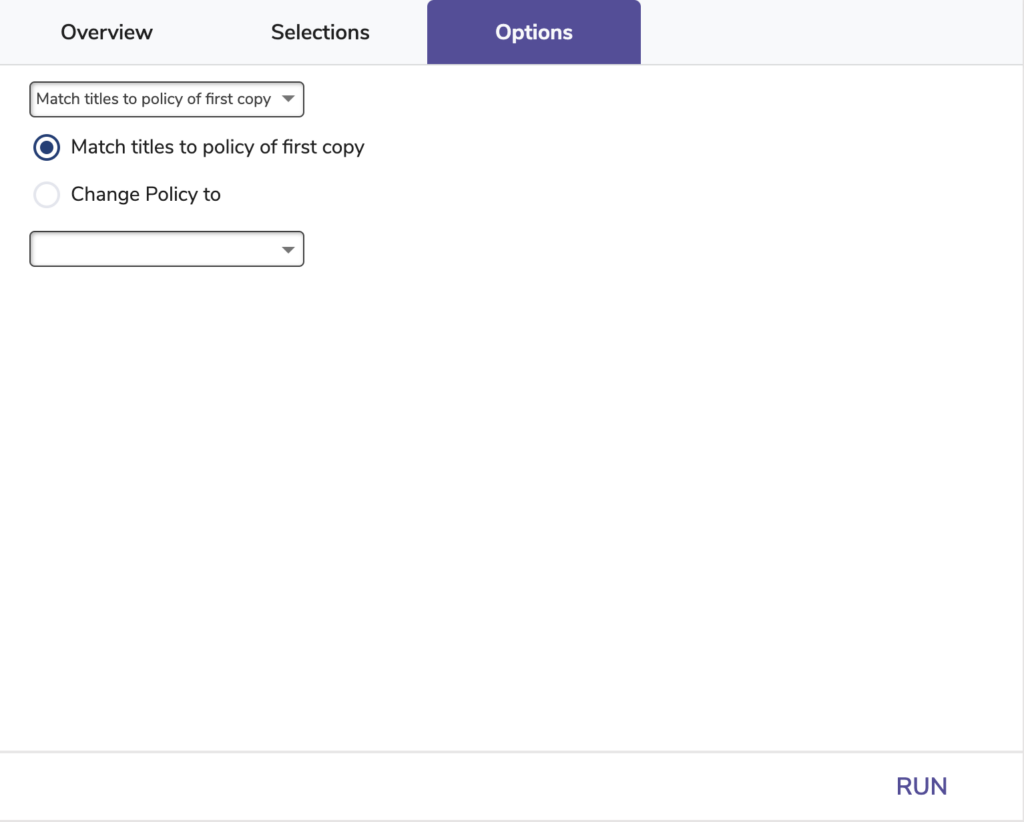
Match titles to policy of the first copy: When selected, the utility will change title policies to match that of the first copy.
Change Policy to: Specify the new policy you would like selected titles to have.
Changes a specific MARC tag for selected titles
Use: Run this utility to change your series titles. For example, if you wanted to change a series title from “The Hunger Games trilogy” to “The Hunger Games,” you would enter these options before running the utility:
| Check out our Cataloging Series and Serials article for more information on series and why it’s important to standardize them. |
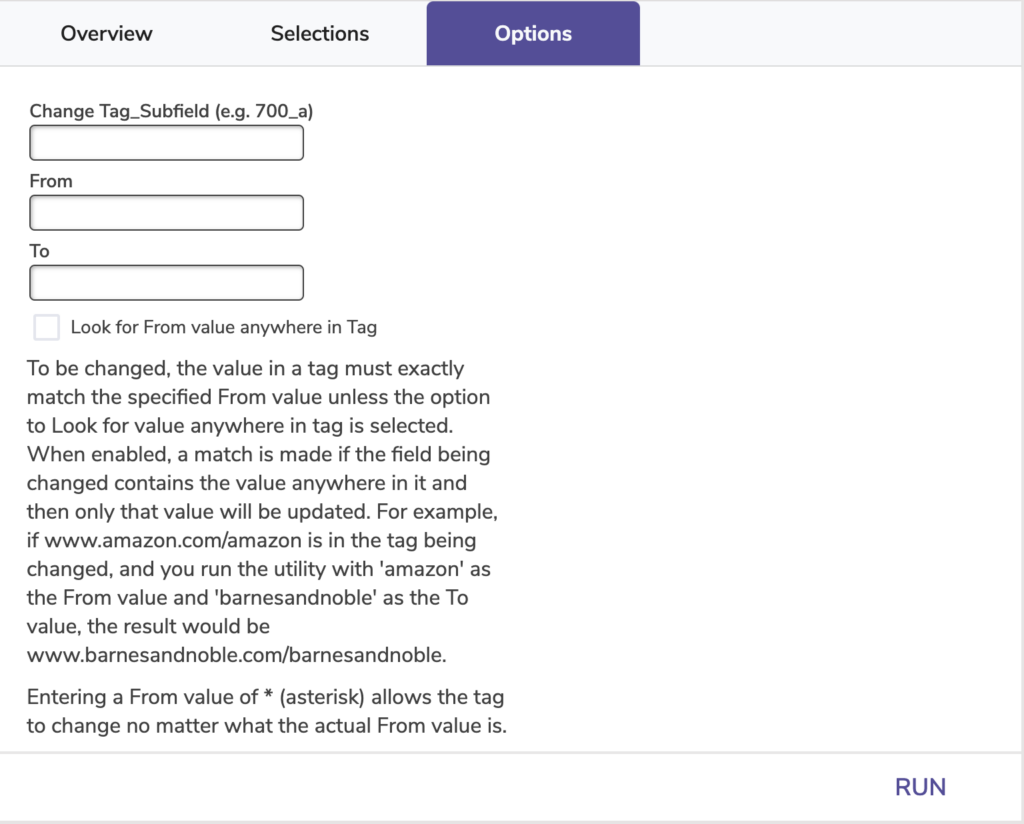
Change Tag_Subfield (e.g. 700_a): Specify the tag and subfield you want to change; both are required.
From: Enter the value to change, which must match exactly. If this value is left blank, no changes will occur. Entering a value of * (asterisk) allows the tag to change no matter what the actual value is.
To: Enter the new value for the specified tag.
Look for From value anywhere in tag: When enabled, a match is made if the field being changed contains the value anywhere in it and then only that value will be updated. For example, if www.amazon.com/amazon is in the tag being changed and you run the utility with “amazon” as the From value and “barnesandnoble” as the To value, the result would be www.barnesandnoble.com/barnesandnoble.
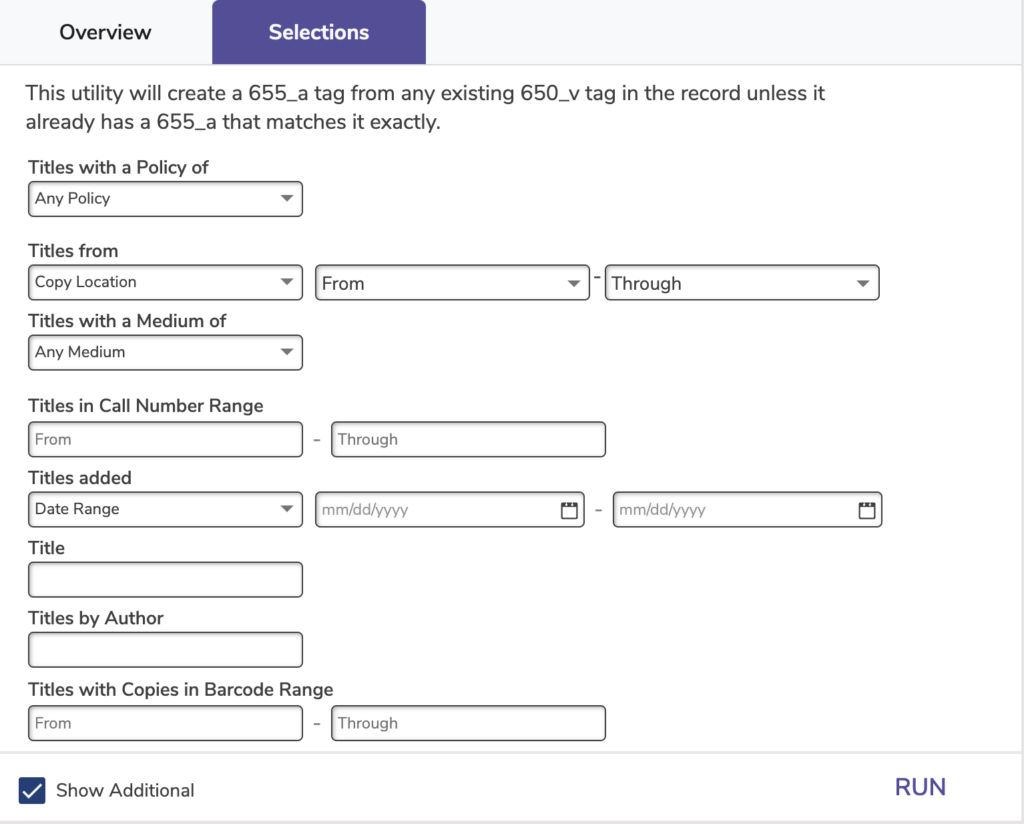
Creates a 655_a tag using information in any existing 650_v tag for selected titles
Researcher uses the 655_a tag to display and search by genre, so it’s important to have genres listed there. The 650_v tag is sometimes used for genre but is considered outdated.
Use: Run this utility if you have imported new MARC records that only list the genre in the 650_v tag.
Looks at the series title and volume in 490_a and 490_v and copies those values to 830_a and 830_v for records without an existing 830 tag
Alexandria uses the 830 tag for series searches in Researcher, so it’s important for your series information to be in that tag.
Use: Run this utility if you have imported new MARC records with series information in the 490 tag instead of the 830 tag.
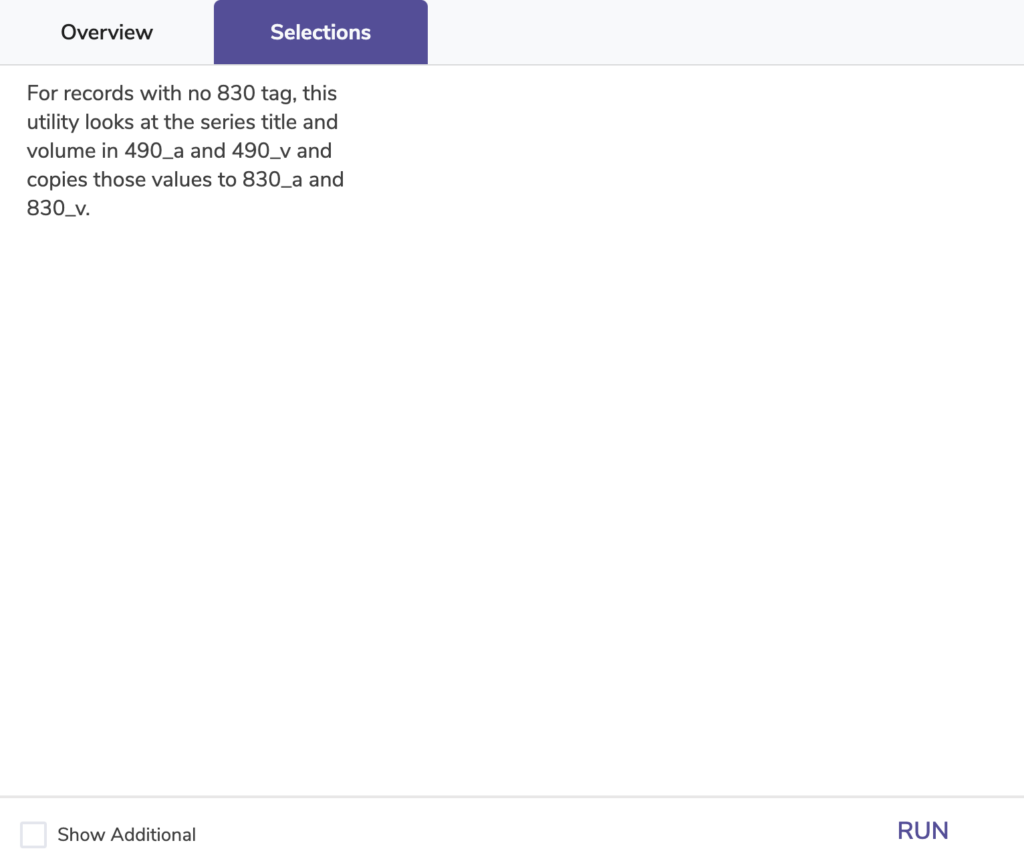
There aren’t any selections or options, so it will run on all of your titles.
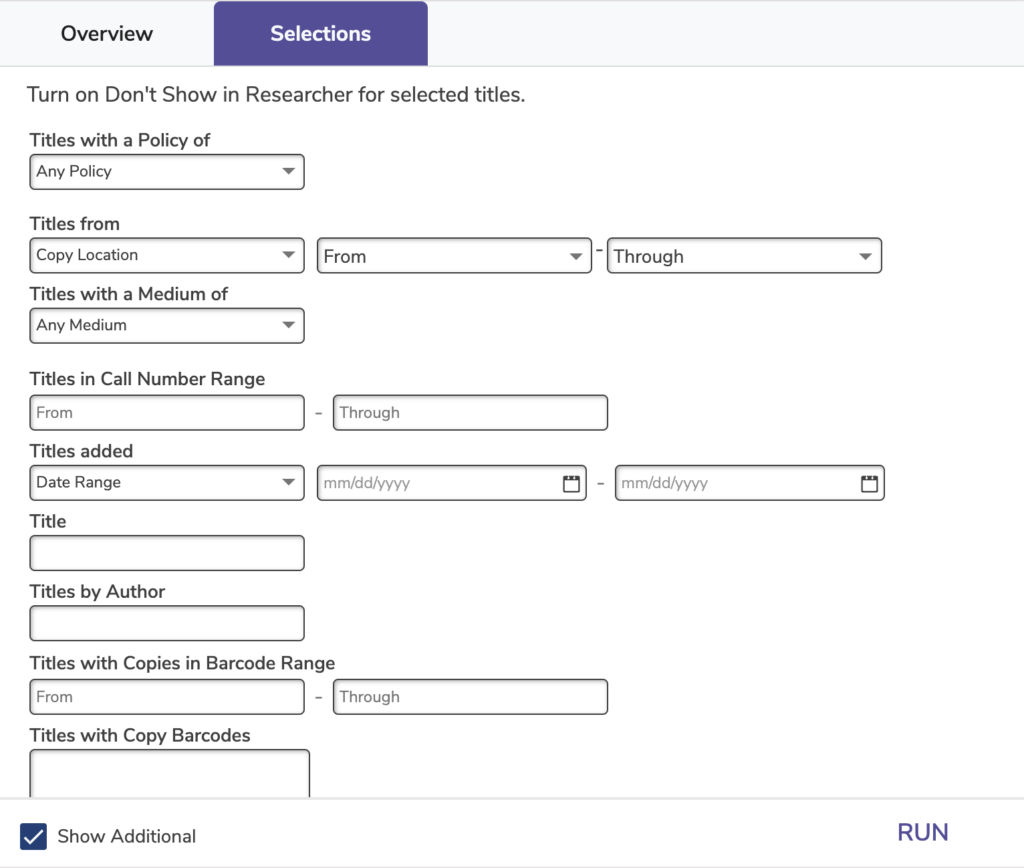
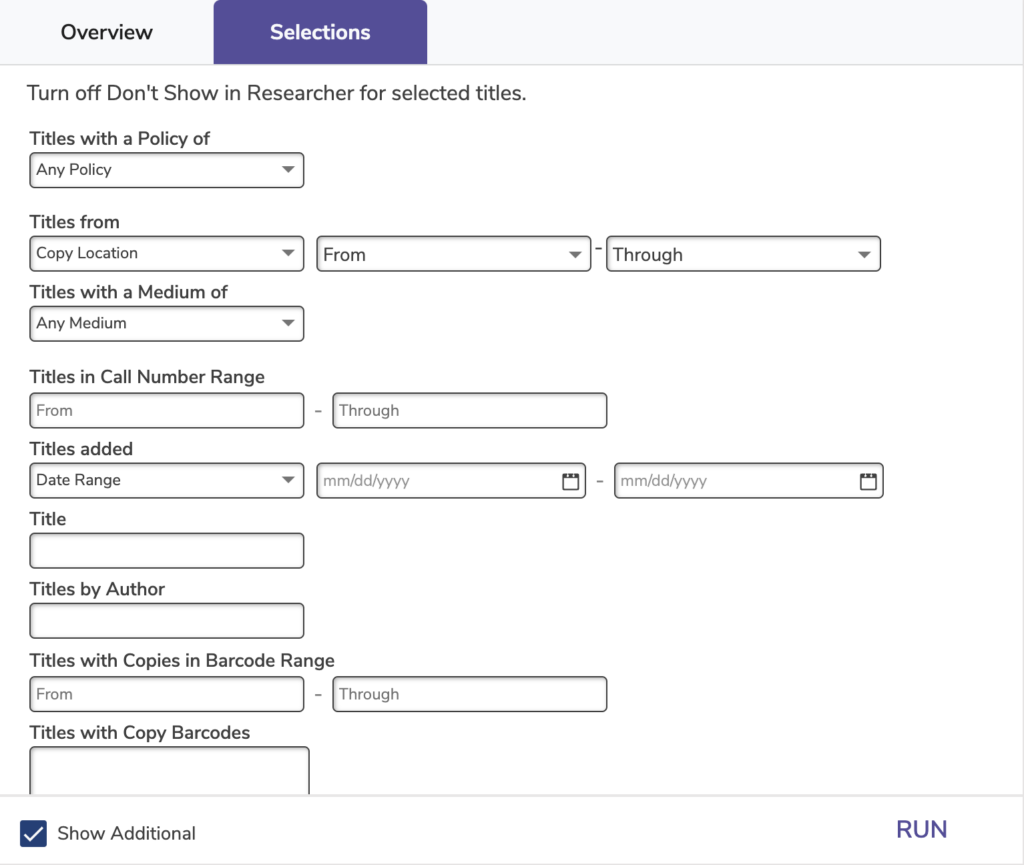
Hides selected titles in all Researcher modules
Running this utility turns on the Don’t Show in Researcher option in selected title records.
Use: Run this utility to hide teacher-only materials in Researcher.
| You can view hidden items in Researcher by holding down Alt / Option while searching. |

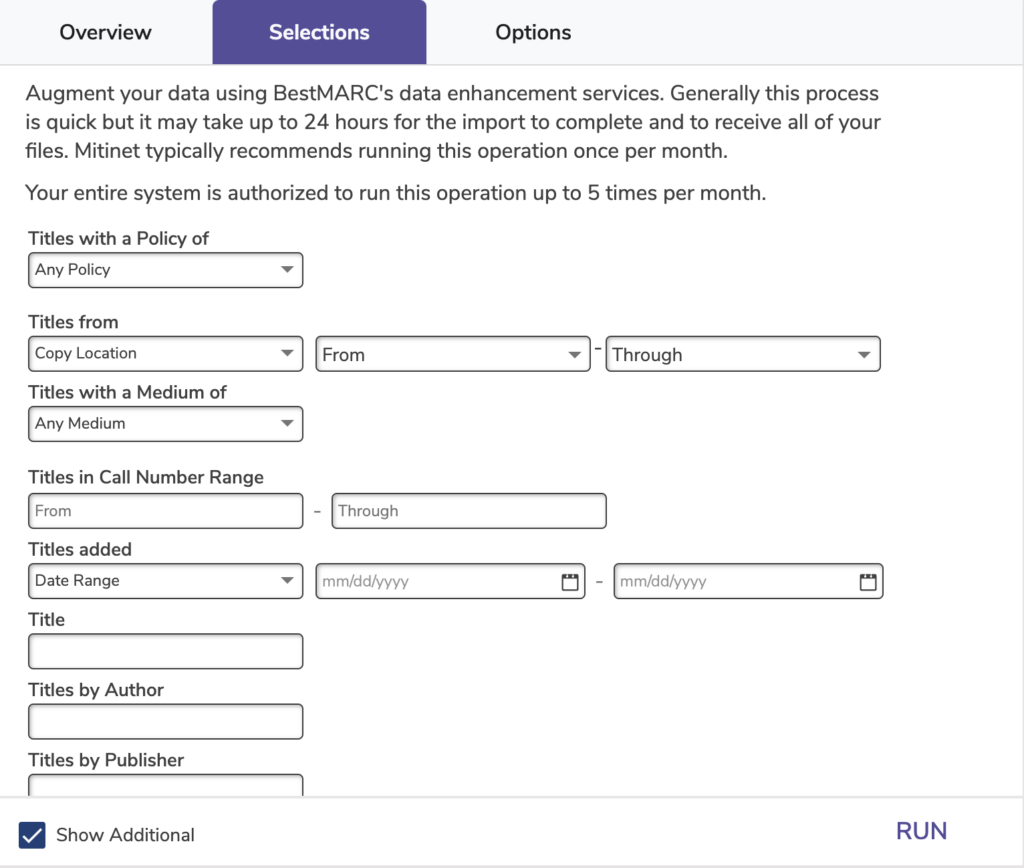
Sends your MARC data to Mitinet for analyzing and returns a diagnostics report
Use: Run this utility to identify areas in your MARC records that can be improved with a Mitinet cleanup
(Mitinet MARC Update) or the Mitinet EnhanceMARC utility.
Although the process is generally fast, it could take up to 24 hours to receive your report. To find it, go to Operations Management and make sure Show All Operations is selected at the top. Look for the operation titled Mitinet AnalyzeMARC Report and click on its summary file. The file will contain a link to your report.
Enhances and updates your library’s MARC records
Use: Run this utility once a quarter to quickly clean up and update your MARC records. This will improve your catalog’s quality and searchability!
| Before you run this utility for the first time, get a diagnostics report on your MARC records with the Mitinet AnalyzeMARC utility. Then you can get a better idea of what needs to be changed. |
Select which records to update.
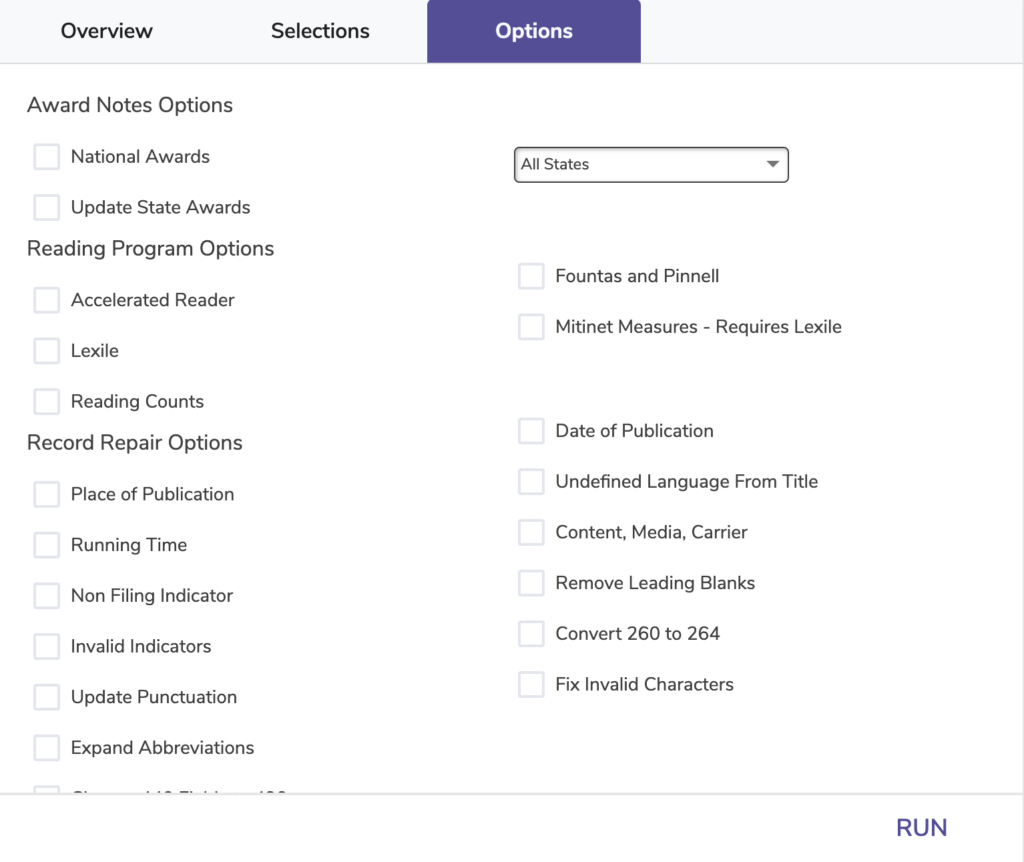
Use these options to choose how you would like to clean up and enhance your MARC records. Convert to RDA, add reading program information, update subjects, and more! See BestMARC’s Enhancements documentation for more information on each option.
| We do not recommend using the Update Punctuation option as it’s unnecessary in Alexandria and records look better without it. Note that if you decide not to use this option, you may notice unresolved punctuation errors in your AnalyzeMARC diagnostic. That’s okay. |
Removes the cover art of selected titles

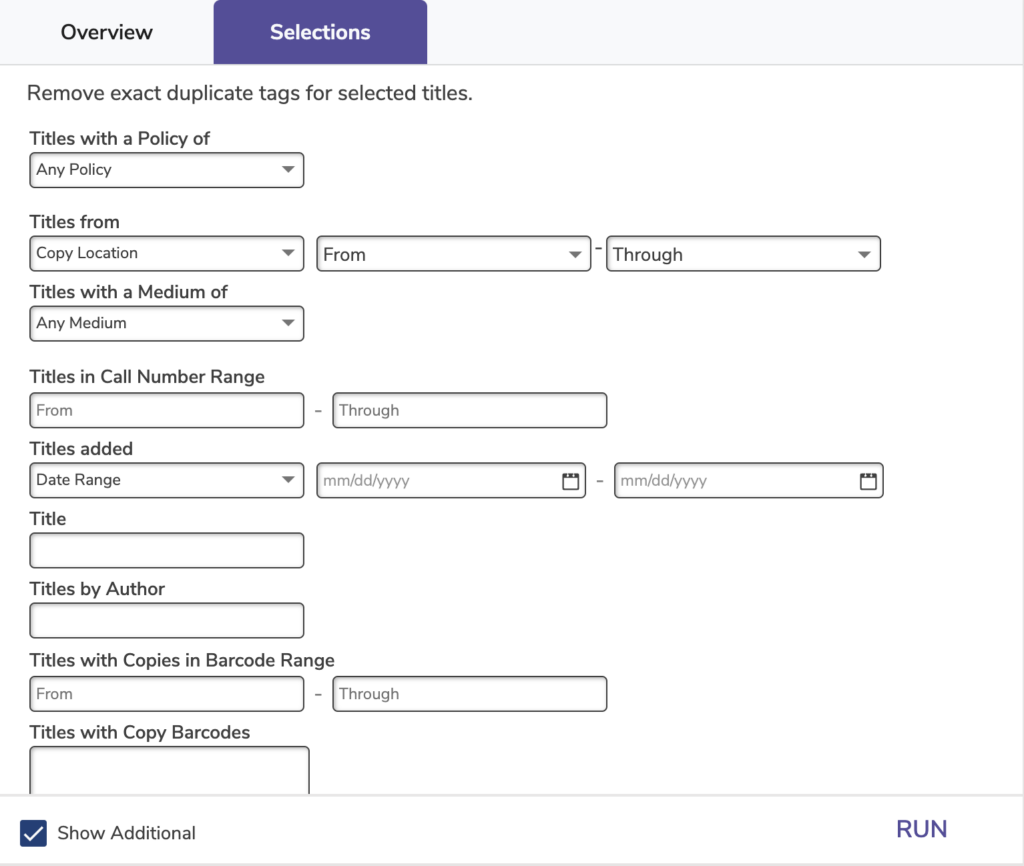
Remove exact duplicate MARC tags
Use: This utility lets you quickly remove duplicate MARC tags in multiple titles for quick, in-house cleanup.
| This is a basic utility meant for simple and straightforward cleanup. In general, we recommend data cleanup services (e.g. Mitinet) or modifying title records manually in Alexandria. |
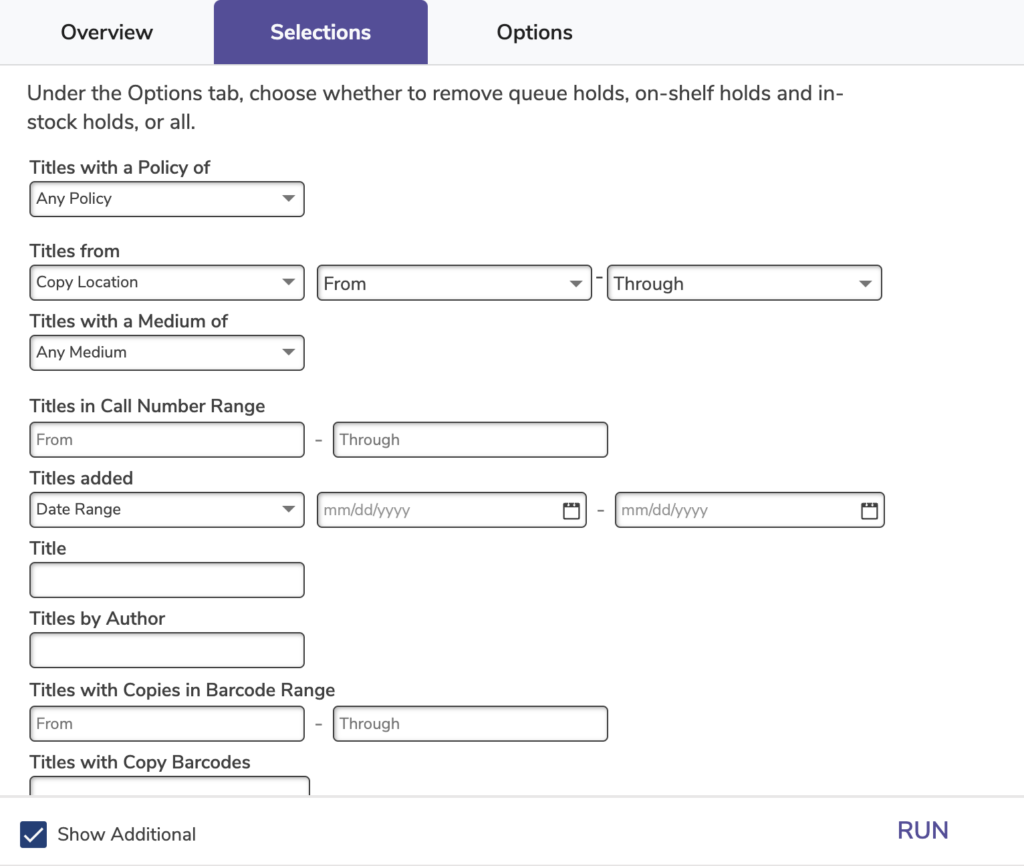
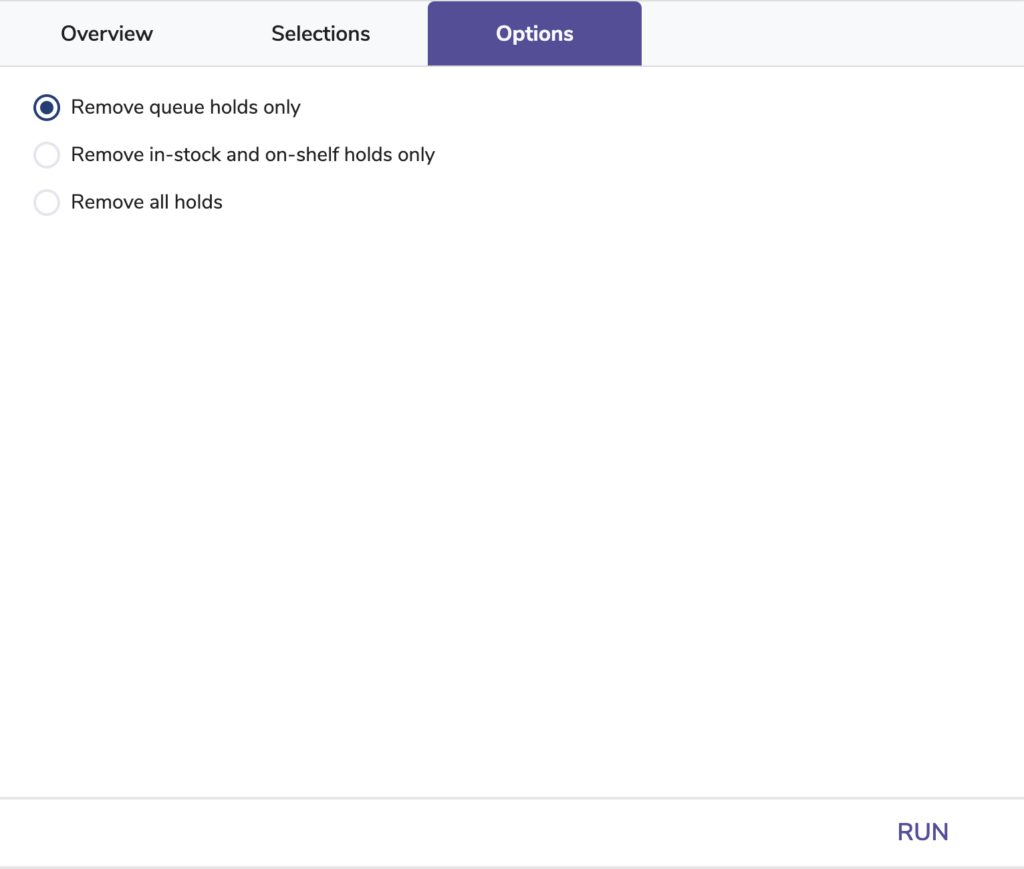
Removes queue, in-stock/on-shelf, or all holds on selected titles and their copies
Removes all selected title records and their copies
There are three ways to handle copies that are checked out:
Use: Run this utility if you made a mistake while importing item records and need to remove those titles before trying again.
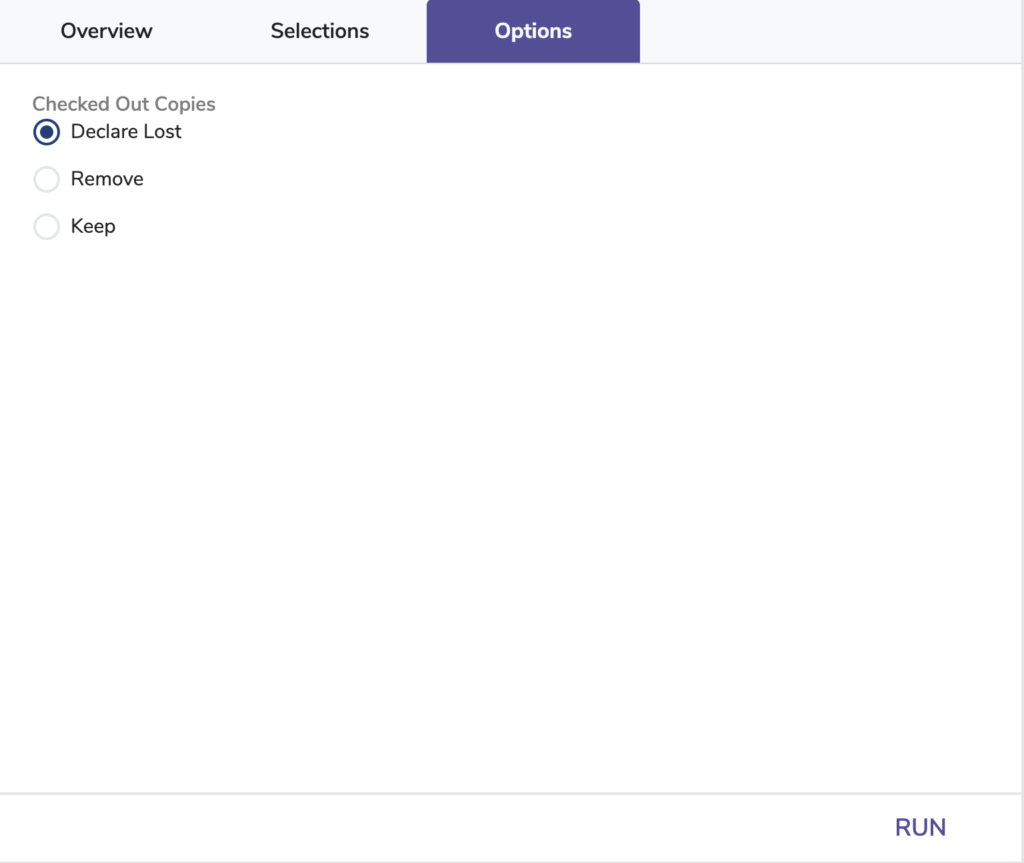
| Checked Out Copies: Choose what to do with copies that are currently checked out. |
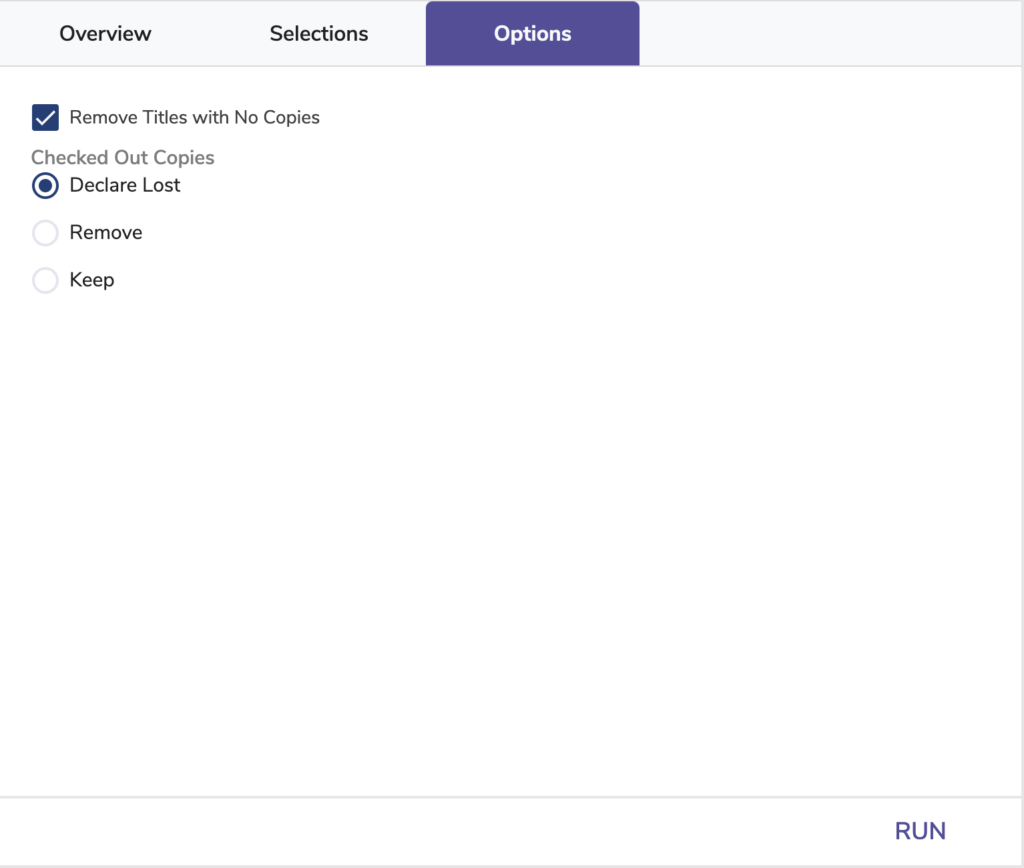
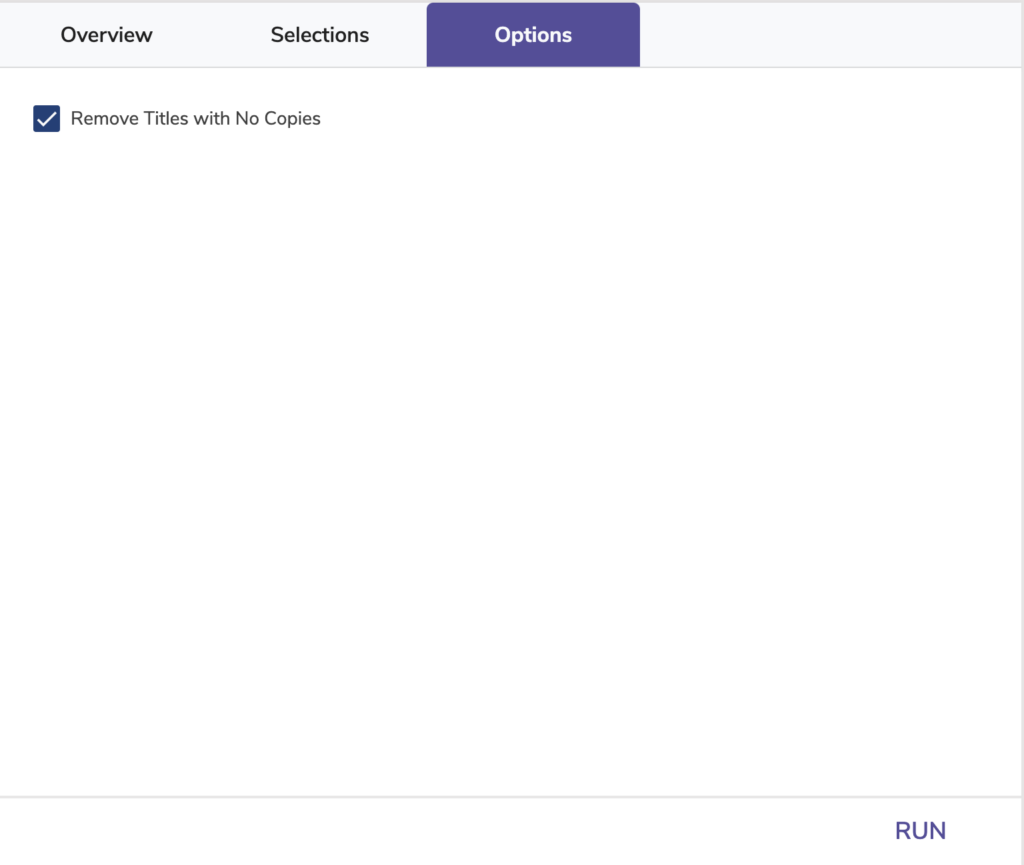
Removes selected title records that don’t have any copies
| Make sure your selection does not include items that purposely don’t have any copies, such as electronic resources. |
Use: Run this utility to clear out old titles with no copies left that you don’t intend to replace. This can sometimes happen as copies are lost and discarded.

Removes a specific MARC tag from selected titles, or remove just a subfield when specified.

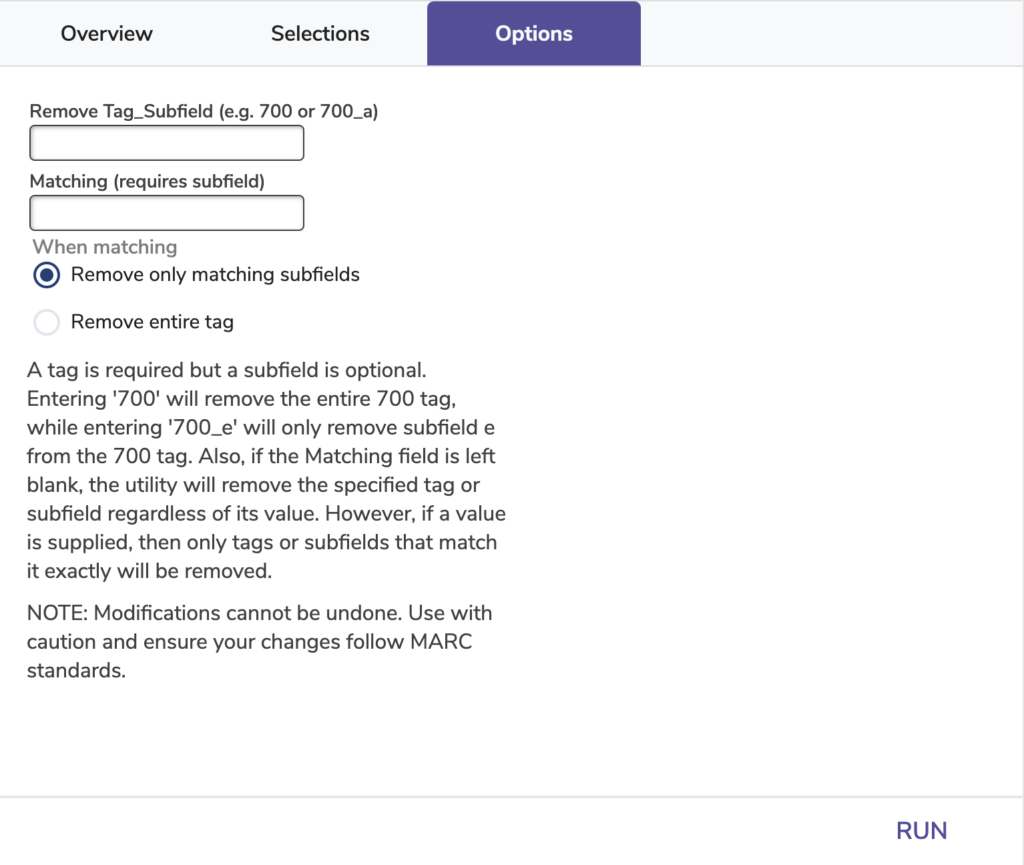
Remove Tag_Subfield: Specify the tag and—optionally—a subfield to remove. If you only specify a tag, everything in that tag will be removed instead of just one subfield.
Matching: Specify a value to remove. If left blank, the utility will remove the specified tag or subfield regardless of its value. However, if a value is supplied, then only tags or subfields that match exactly will be removed. This field is not case sensitive.
Makes selected titles visible in all Researcher modules
Running this utility turns off the Don’t Show in Researcher option in selected title records.
Changes a specified MARC tag number to another MARC tag number for selected titles
Run this utility to change a tag number if you find information is mistakenly stored under another tag. For example, you notice the 500 tag in some of your title records contains the series, which should be in the 830 tag. Instead of manually fixing this, simply run this utility with “500” as the From tag and “830” as the To tag on the Options tab. This will change all of your 500 tags to 830 tags for selected titles.


Switch Tag Number From: Specify the tag number to change. Individual subfields can’t be switched, only the entire tag. Any tags that are invalid for the new tag specified will be removed during validation.
To: Specify the new tag number.
| This utility is only available to those registered for Expanded Lexile Services. If you’re interested in adding this integration, contact our Sales Team. |
Updates title lexiles automatically using the lexile server
Use: Save and schedule this utility to run periodically to ensure your books always have updated Lexiles. This removes the need to export and send data to Follett Library Services or other vendors to get Lexiles added to your titles.


Lexile Server Address: The place where lexile information is gathered. This usually does not need to be changed.
Allow Title Matches: When looking for updates on the Lexile server, Alexandria uses ISBN to match and compare books. If you would like to allow matching based on title + author as well, check this box.
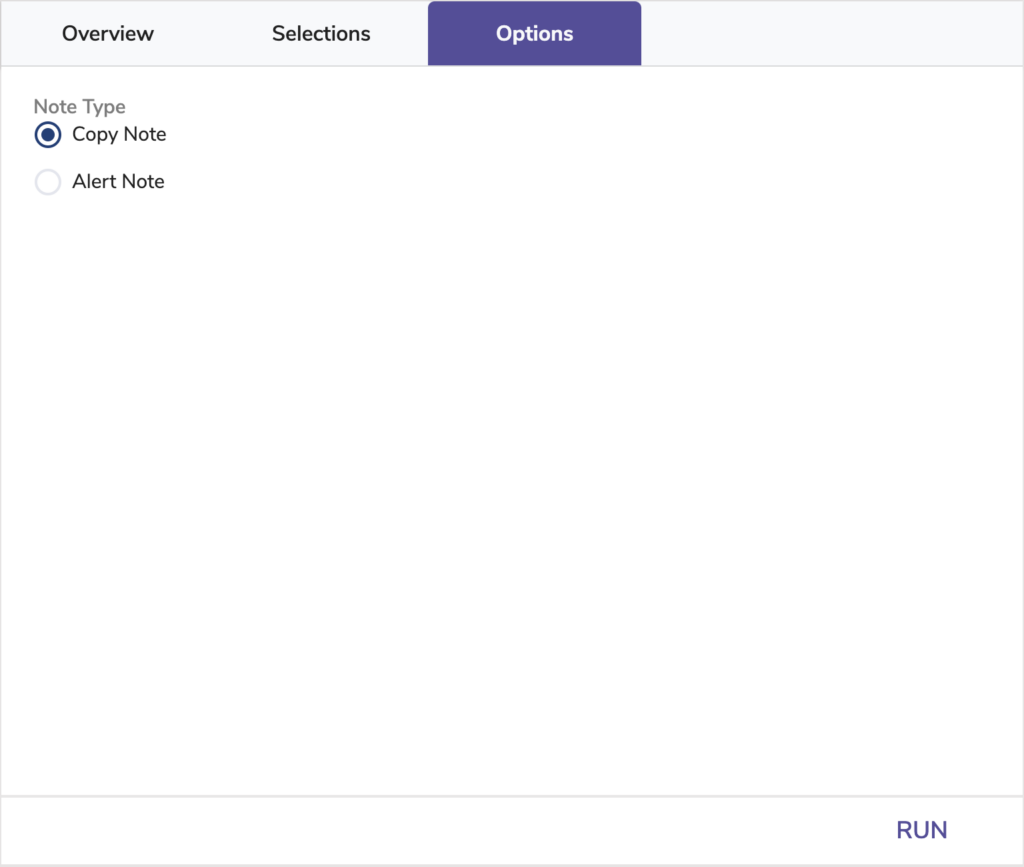
Adds a Copy or Alert note to selected copies.
The new note will append to the end of the note field.
| Copy Notes are automatically added when a copy is lost, found, discarded, or returned from being discarded. |
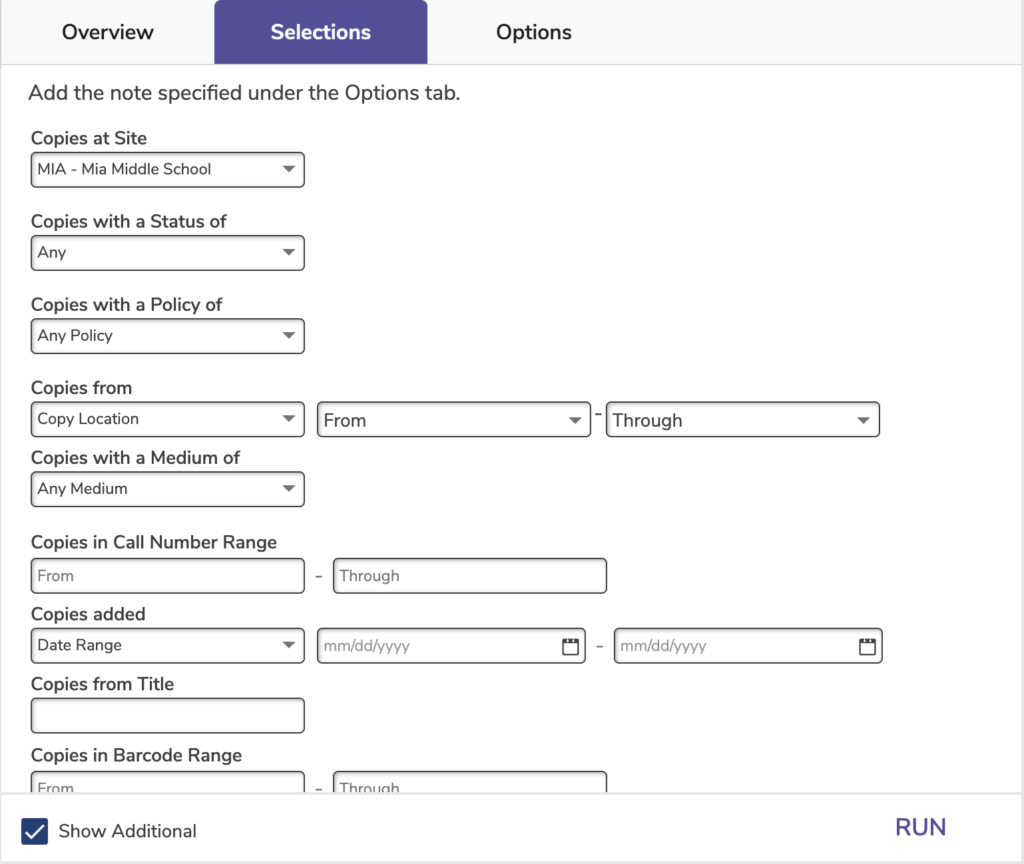
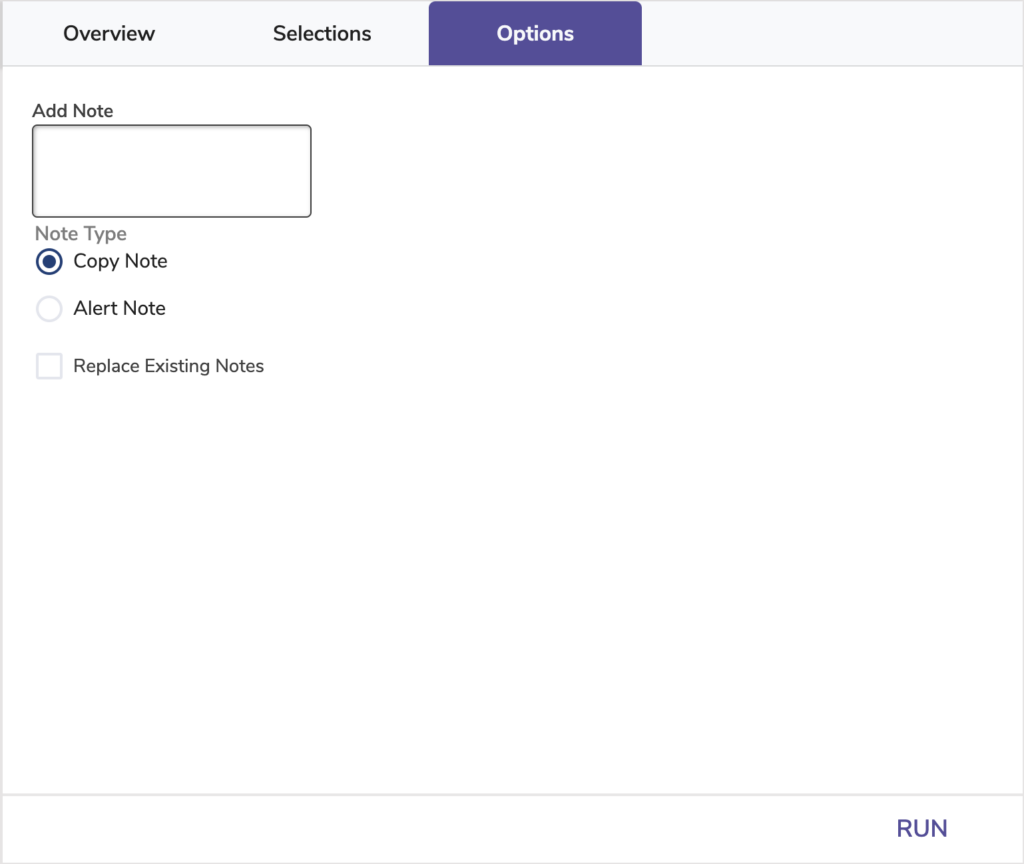
Add Note: Type the note you would like to add.
Note Type: Choose the type of note to add.
Replace Existing Notes: When checked, this option removes all existing notes of the chosen type and completely replaces them with what’s in the Add Note field.
Changes the shelving (852_c MARC tag) of selected copies
| “Copy Shelving” is a localization term that can be altered in Terminology Preferences. |
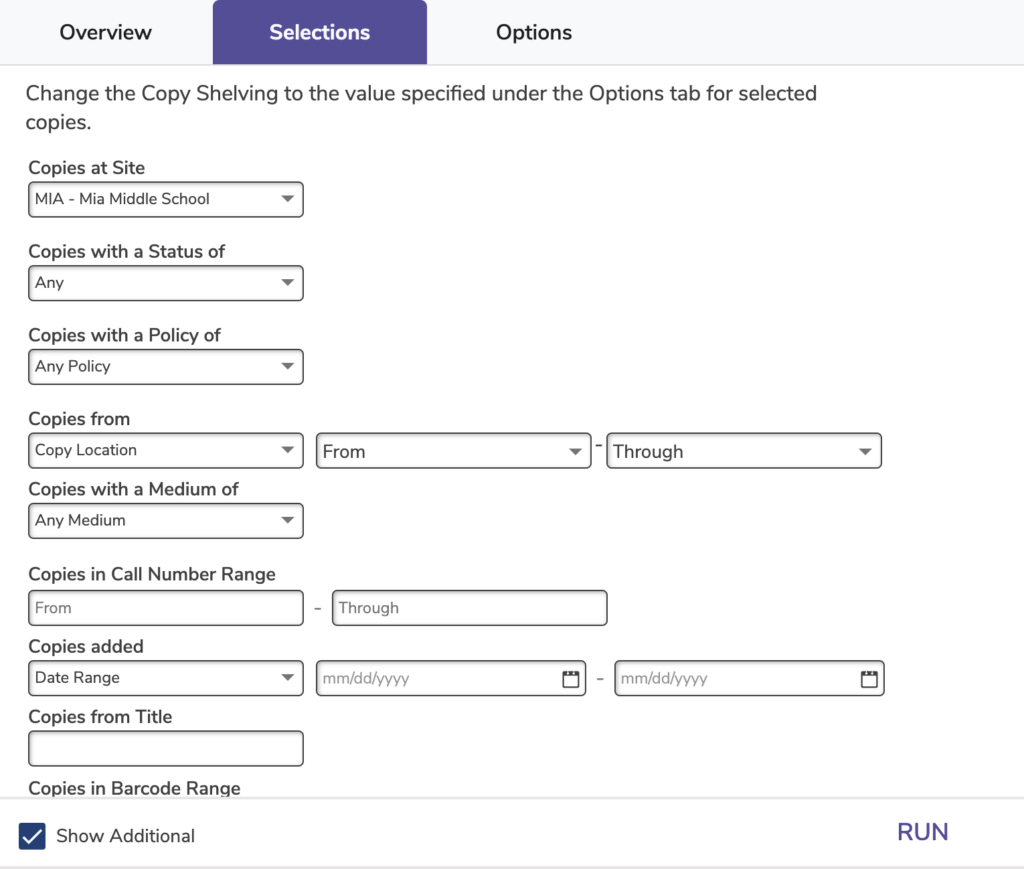

Change Copy Shelving to: Specify the new shelving you would like selected copies to have.
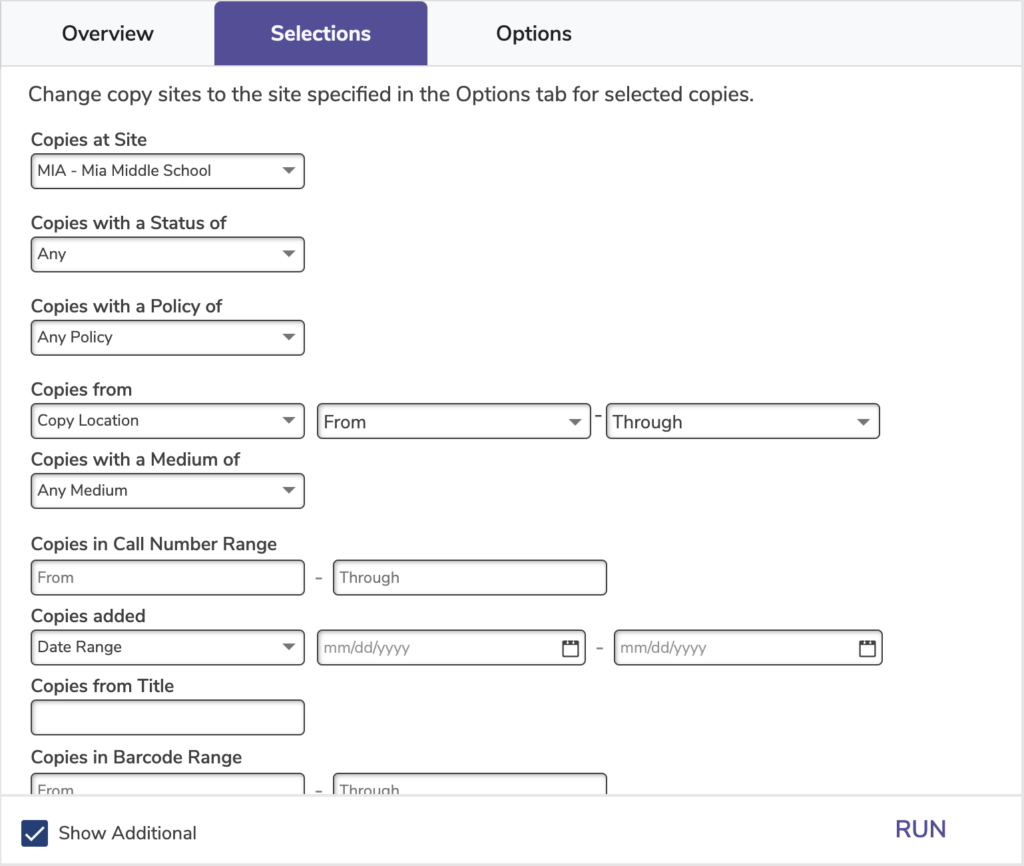
Changes the location (852_b MARC tag) of selected copies
| “Copy Location” is a localization term that can be altered in Terminology Preferences. |
Use:
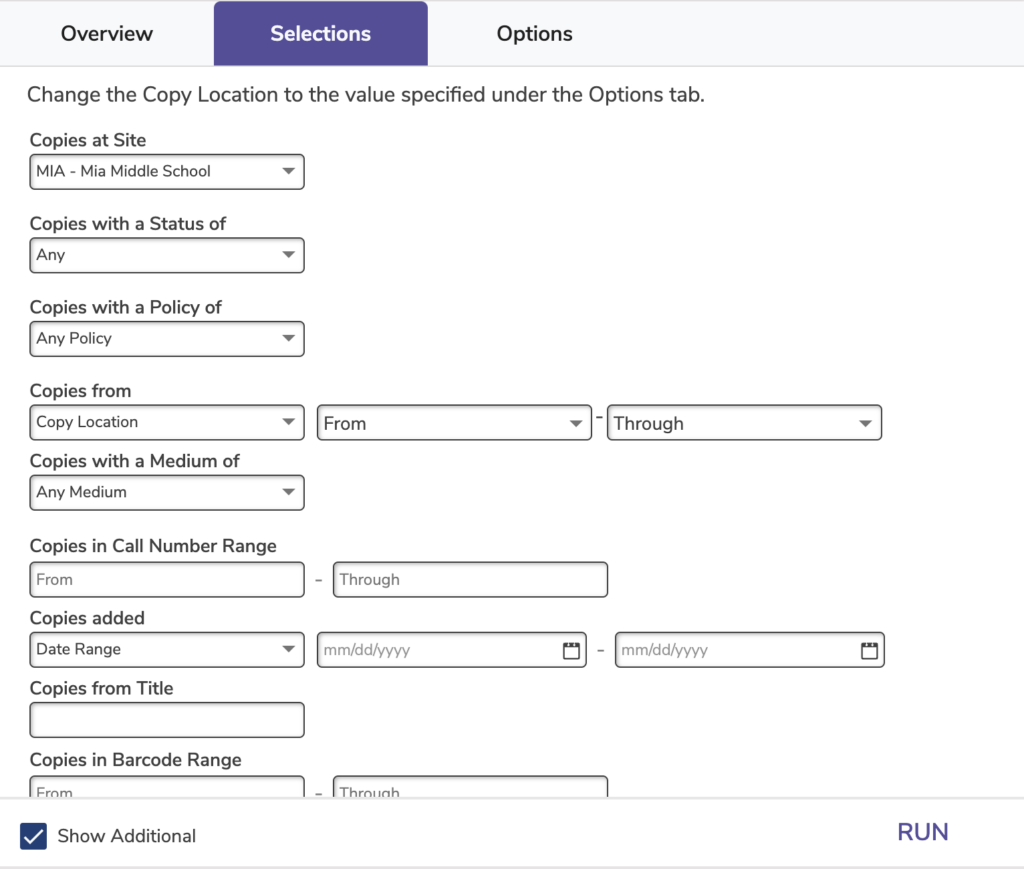

Change Copy Location to: Specify the new location you would like selected copies to have.
Changes the funding source of selected copies
| “Copy Location” is a localization term that can be altered in Terminology Preferences. |
Use: Run this utility with the Copies added selection after importing new items to add a funding source. You can then run yearly usage reports for donors and other sources.


Change Funding Source to: Specify the new funding source you would like selected copies to have.
Changes various components of selected copy call numbers (prefixes, case, slashes, and matching to title call numbers)
Use:
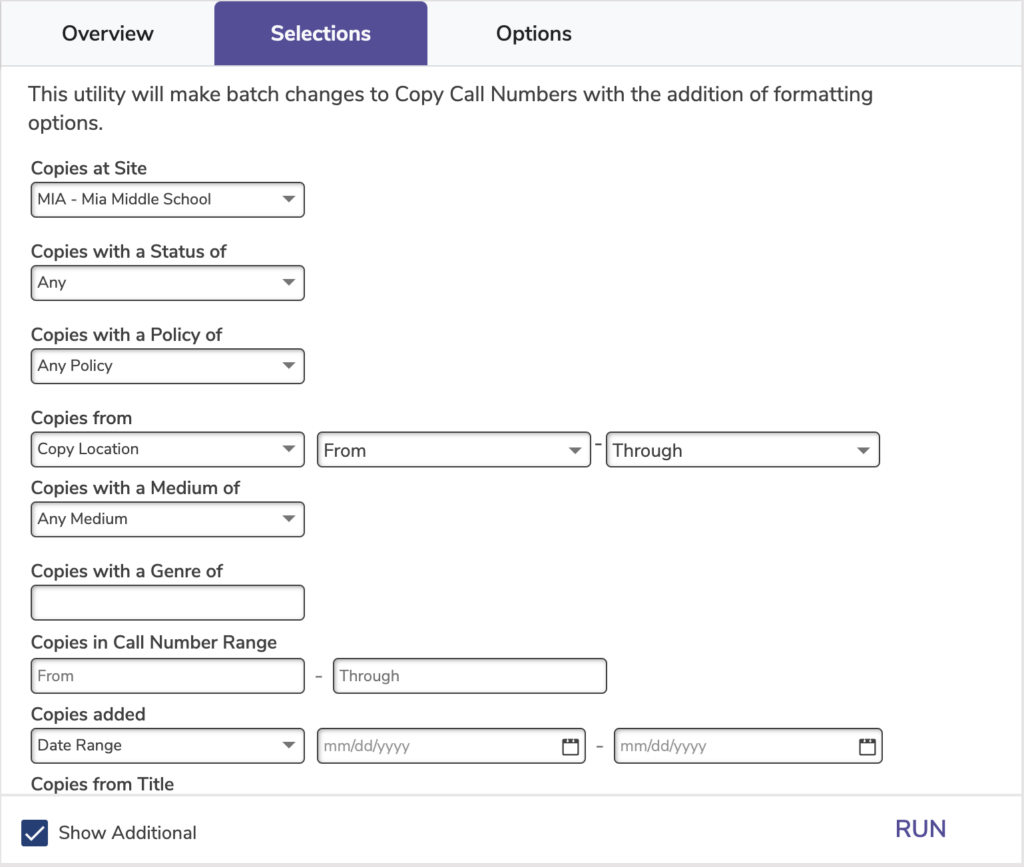
Copies with a Genre of: This selection includes all terms that look similar. For example, a selection for “Fantasies” would also include “Fantasy.”
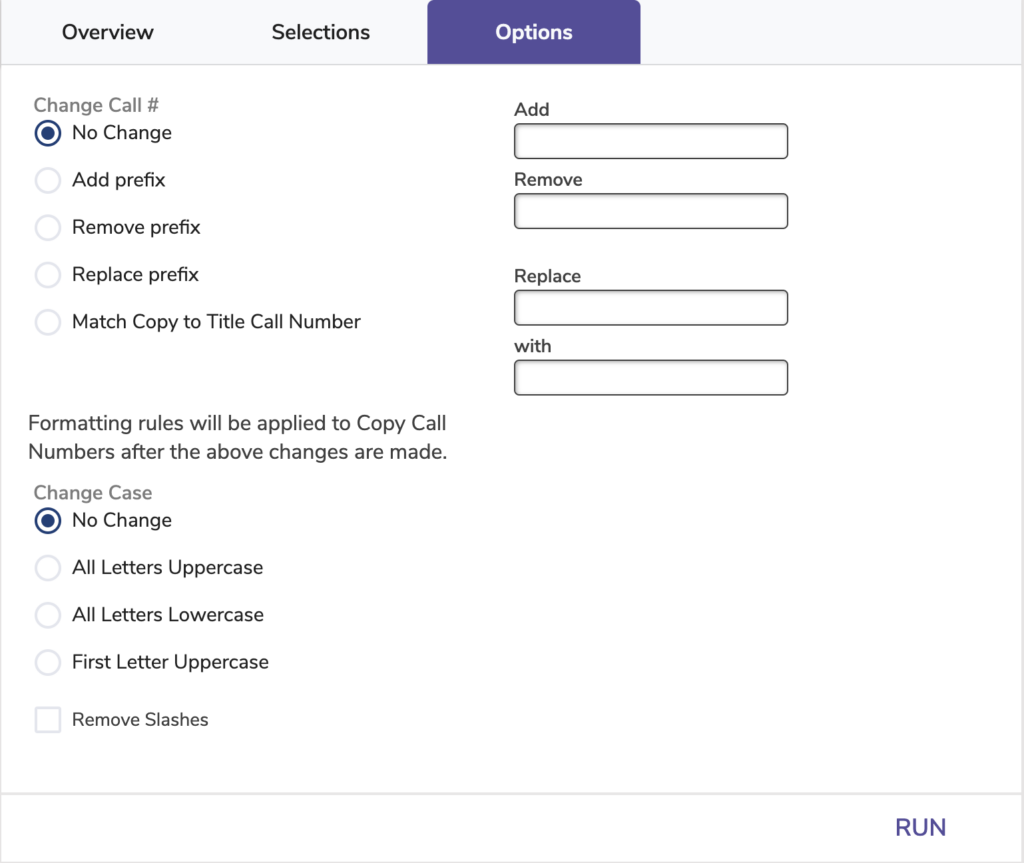
No Change: Choose this option if you don’t want to make any prefix changes.
Add prefix: Appends the new prefix entered into the Add field to the front of selected call numbers. If adding a prefix results in exceeding the 50 character limit, that call number will be skipped.
Remove prefix: Removes the text entered into the Remove field from selected call numbers. Additional spaces are removed as well if there are still characters left.
Replace prefix: Replaces the existing call number entered into the Replace field with the new call number entered into the with field. The Replace field isn’t case sensitive (e.g. “fiC” would replace both “FIC” and “fic”). If replacing a prefix results in exceeding the 50 character limit, that call number will be skipped.
Match Copy to Title Call Number: Changes selected copies’ call numbers to match the title call number.
| Removing and replacing only affect the first word of a call number. For example, if the original call number is “FIC BIO,” you could change “FIC” to “P” but not just “F” to “P.” Also, you could change “FIC” to “P” but not “BIO” to “P.” |
No Change: Choose this option if you don’t want to make any case changes.
All Letters Uppercase: e.g. FIC BIO
All Letters Lowercase: e.g. fic bio
First Letter Uppercase: e.g. Fic Bio
When checked, this option will remove all forward slashes (“/”).
Changes the condition of selected copies
| You can customize your library’s condition codes in Preferences > Codes > Condition Codes. Usually these are used to indicate if copies are new or used. But they can also be used to add ratings for movies and graphic novels. |
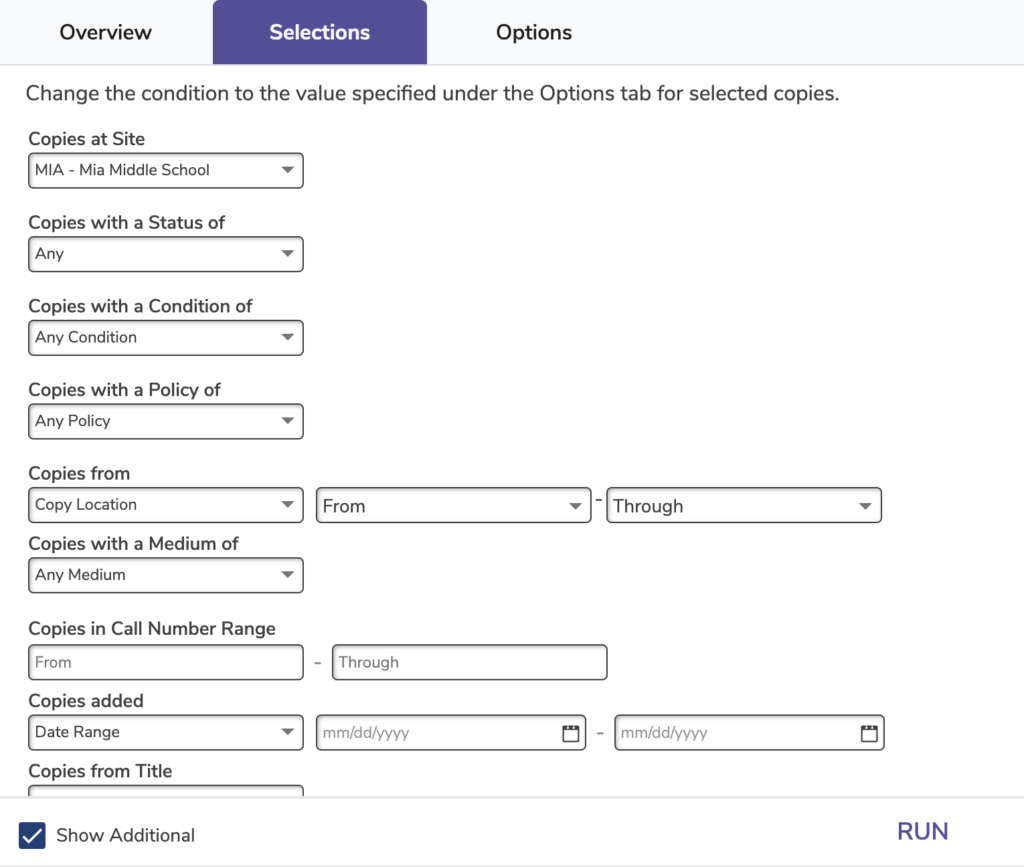

Change Condition to: Specify the new condition you would like selected copies to have.
Changes the policy of selected copies
| If you would like to update the due dates for checked out items based on the new policies, you will need to run the Recompute Due Dates utility after this utility. |
Use: Run this utility if you’ve made changes to your policies and they differ by site. However, if your policies are the same across all of your sites, use the Change Title Policy utility instead.


Match copy to its title policy: When selected, the utility will change copy policies to match that of the title.
Change Policy to: Specify the new policy you would like selected copies to have.
Changes the site (852_a MARC tag) of selected copies
Use: Run this utility if you have moved a bunch of copies to a different site or have accidentally imported copies to the wrong site.

New Site: Specify the new site you would like selected copies to belong to.
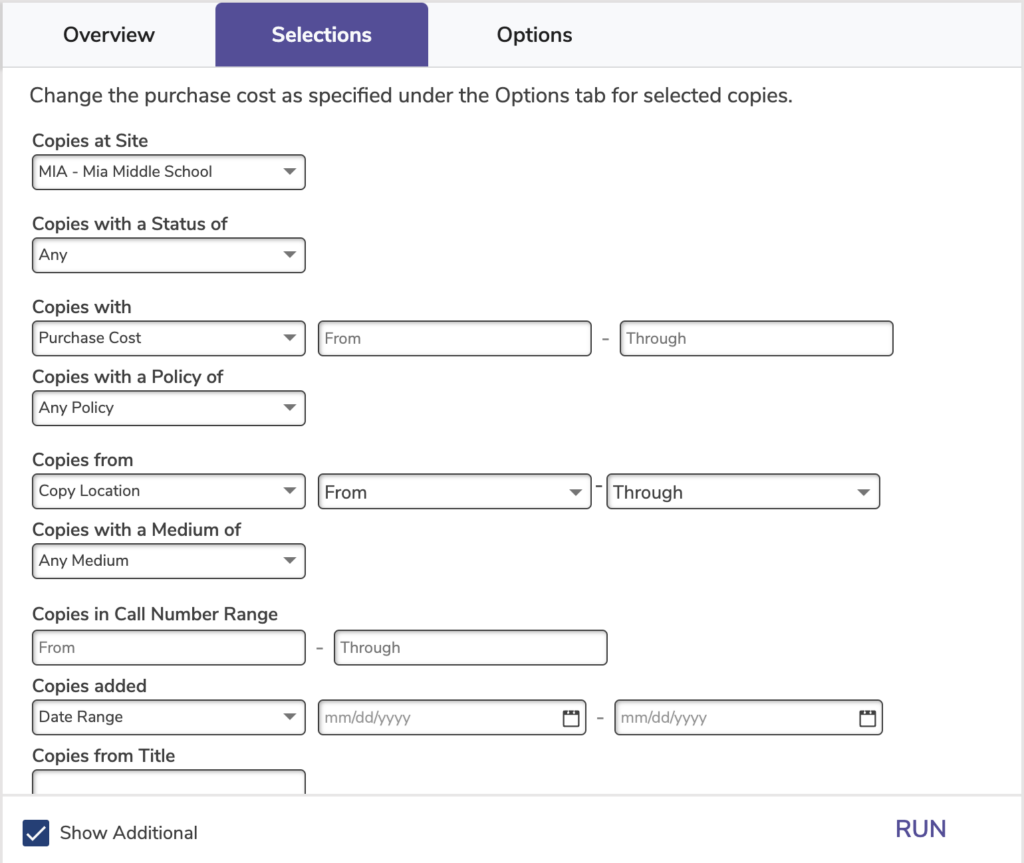
Changes the purchase cost of selected copies
There are four options when changing the purchase cost amount:
Use: Run this utility if you need to add purchase costs for inventory purposes or originally entered the wrong information.

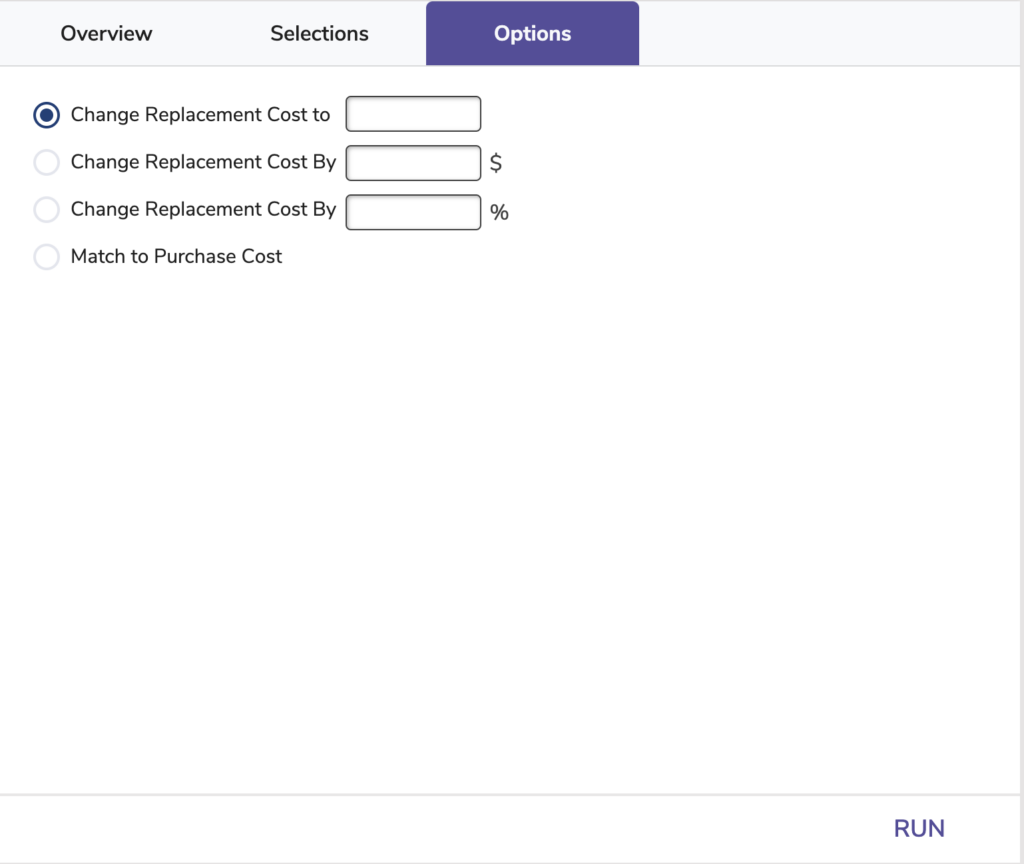
Changes the replacement cost of selected copies
There are four ways to change the replacement cost amount on the Options tab:
Use:

Changes the vendor of selected copies


Change Vendor to: Specify the new vendor you would like selected copies to have.
Checks out selected copies to the specified patron or system patron
Note that this utility will check the copies out even if a) the patron has reached their policy limit or b) the item was checked out to a different patron before. Reference the summary file after you run this operation in order to review any of these important details.

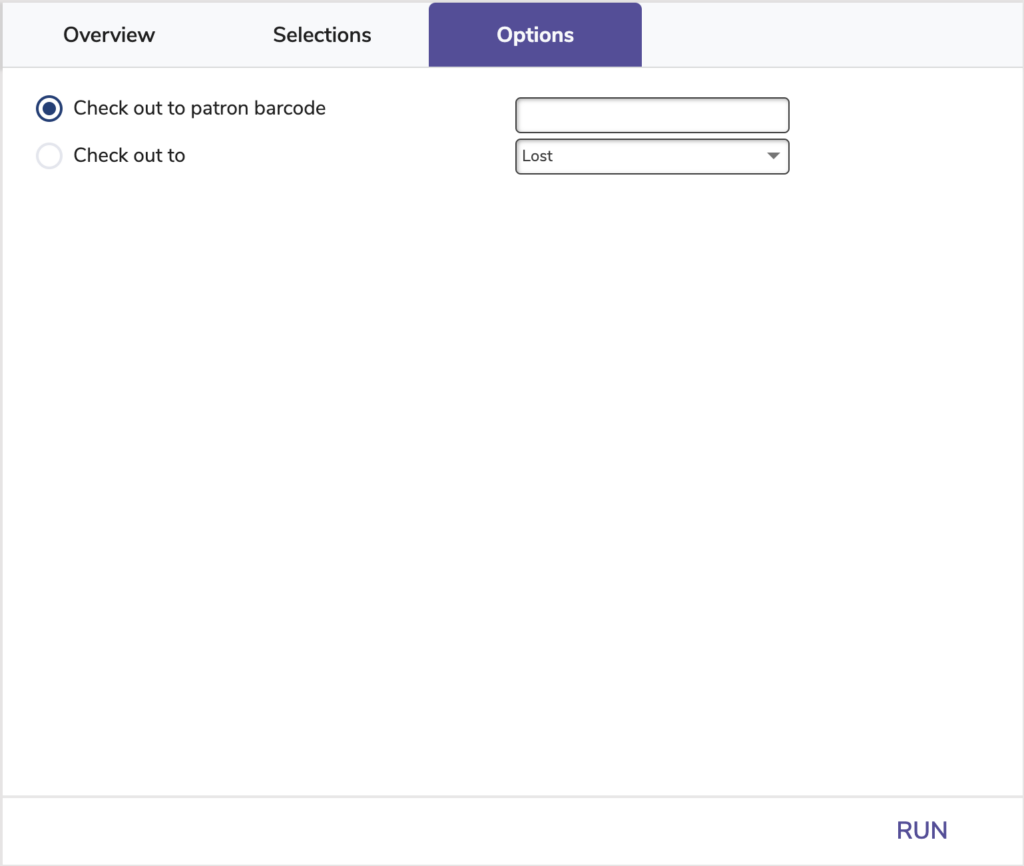
Check out to patron barcode: Specify the barcode of the patron to whom you would like to check out selected copies.
Check out to: Specify the system patron to whom you would like to check out selected copies.
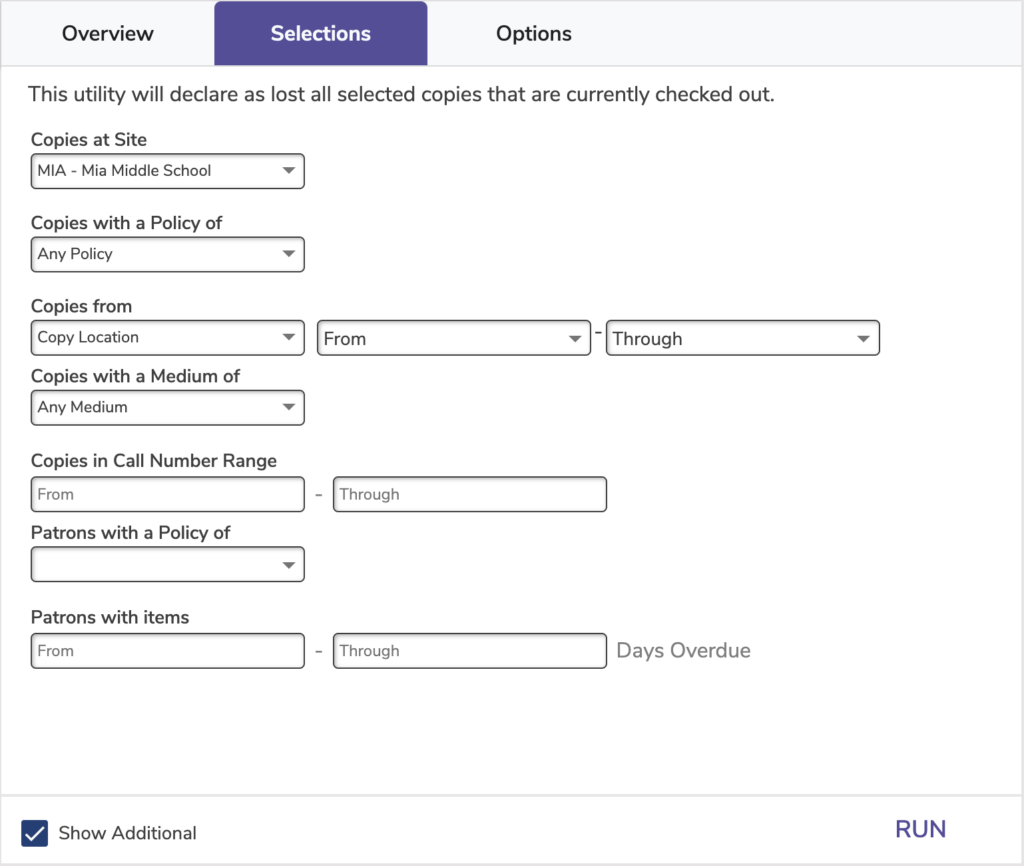
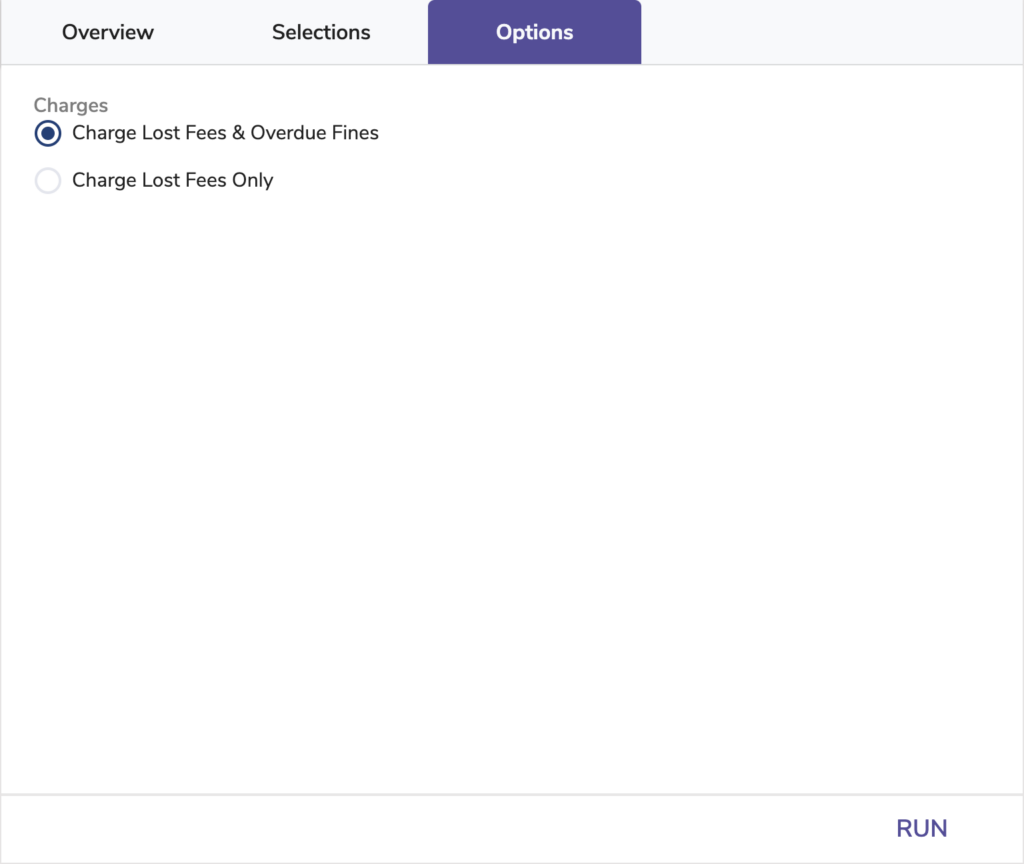
Declares as lost (checked out to System Patron 1) selected copies that are currently checked out to patrons
Use:
Declares as discarded (checked out to System Patron 2) all selected copies with an Available status that have not been inventoried since the specified Inventory Start Date
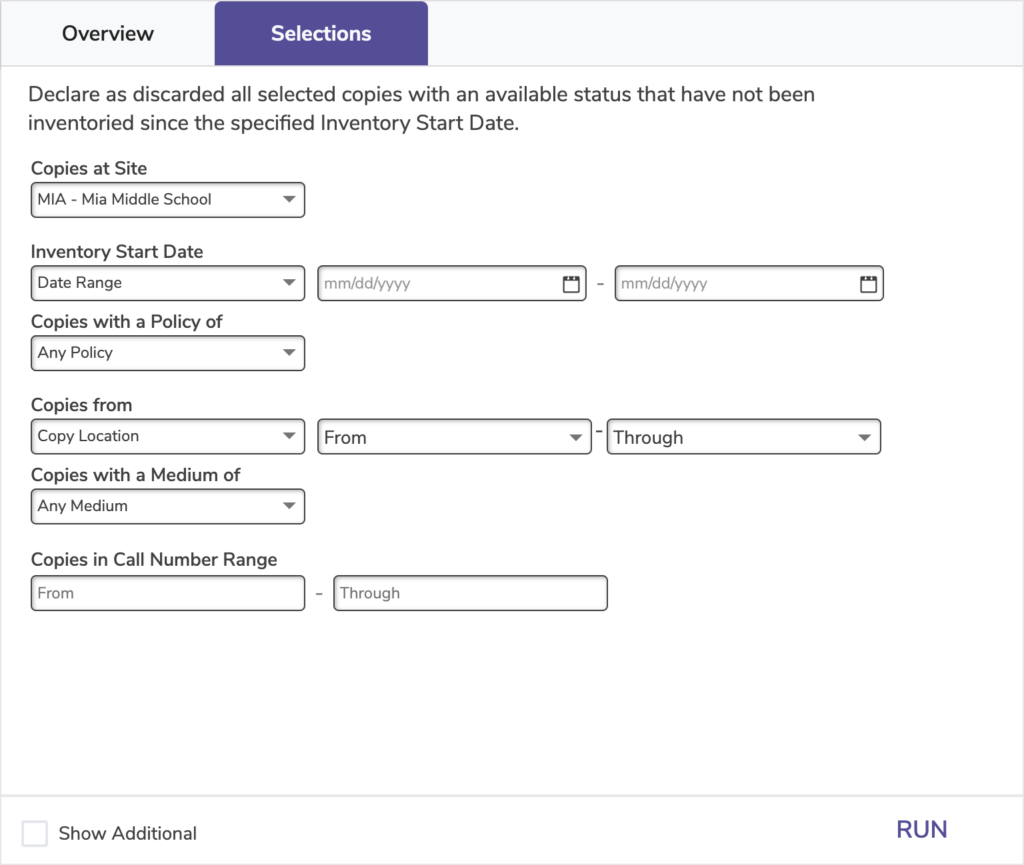
Inventory Start Date: Enter an inventory date in MM/DD/YYYY format. This field is required.
Declares as lost (checked out to System Patron 1) all selected copies with an Available status that have not been inventoried since the specified Inventory Start Date

Inventory Start Date: Enter an inventory date in MM/DD/YYYY format. This field is required.
Moves selected copies from the Union Site to the specified site
| InUnion Site copies always maintain a status of In Processing. Even when you move those copies, they will still have the In Processing status. Bookdrop your recently moved copies or run the Check In Processing Copies utility to change their status to Available. |
Use:
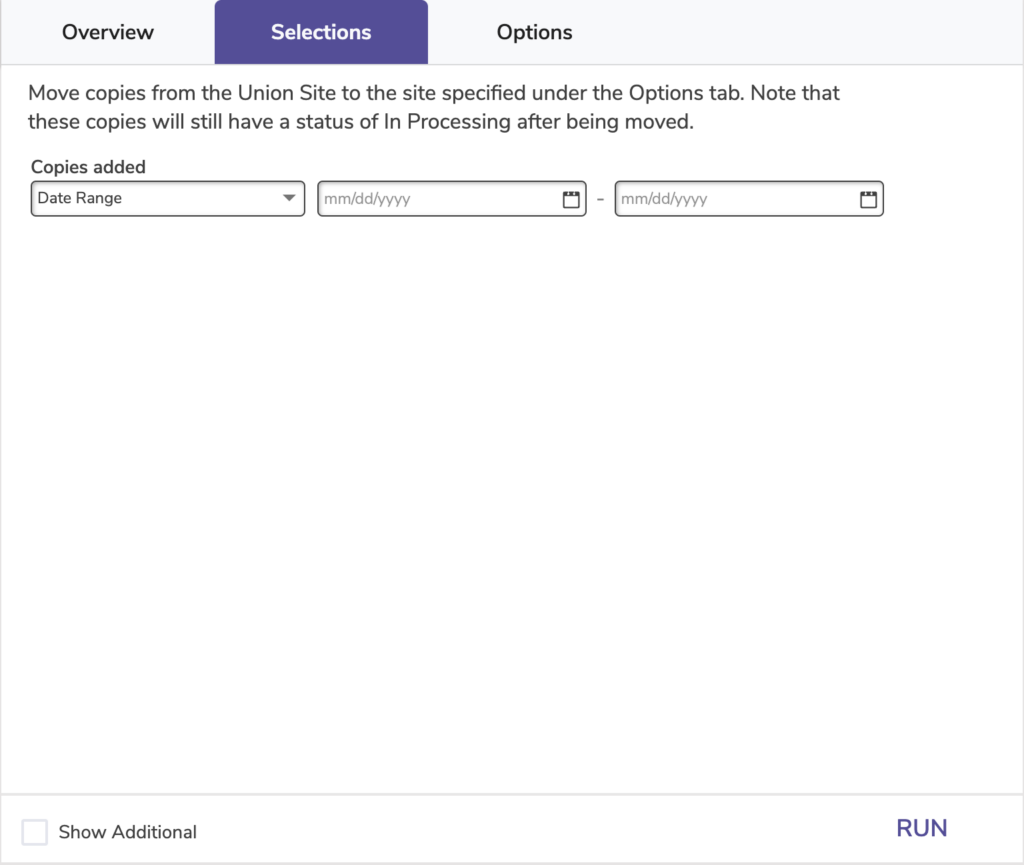

Copies added: Enter the date range or relative date of when the copies you would like to reassign were added.
New Site: Specify the site to which you’d like to move the Union Site copies.
Removes selected copies that have been archived (checked out to System Patron 6)
Use: Run this utility to clean out old records if you’re approaching your item limit.


Copies Archived: Select copies by date range to ensure that only copies archived a long time ago are removed.
Remove Titles with No Copies: When checked, this option also removes remaining title records with no other copies once the archived copies are removed.
Removes selected copy records
There are three ways to handle copies that are checked out:

Remove Titles with No Copies: When checked, this option also removes remaining title records with no other copies once the selected copies are removed.
Checked Out Copies: Choose what to do with copies that are currently checked out.
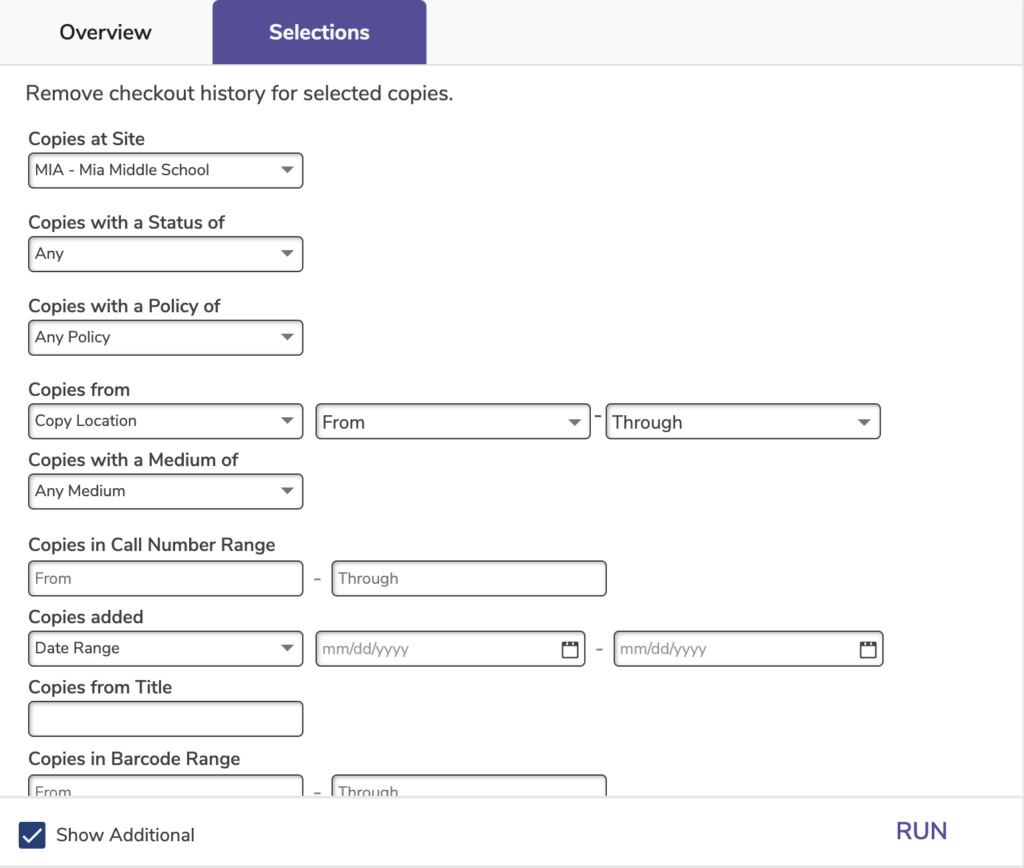
Removes the check out history of selected copies
What kind of copy history does this utility remove? Everything in the Previous checkouts section of a copy’s statistics is cleared. However, the Checkout Count remains the same, and nothing in the copy record—including notes—is removed.
Removes all notes of the specified type for selected copies
Use: Run this utility to remove outdated notes a past librarian added to various copies.

Note Type: Specify the type of note to remove from selected copies.
Removes selected copies that have been discarded (checked out to System Patron 2)
Use: Run this utility to clean out old records if you’re approaching your item limit.
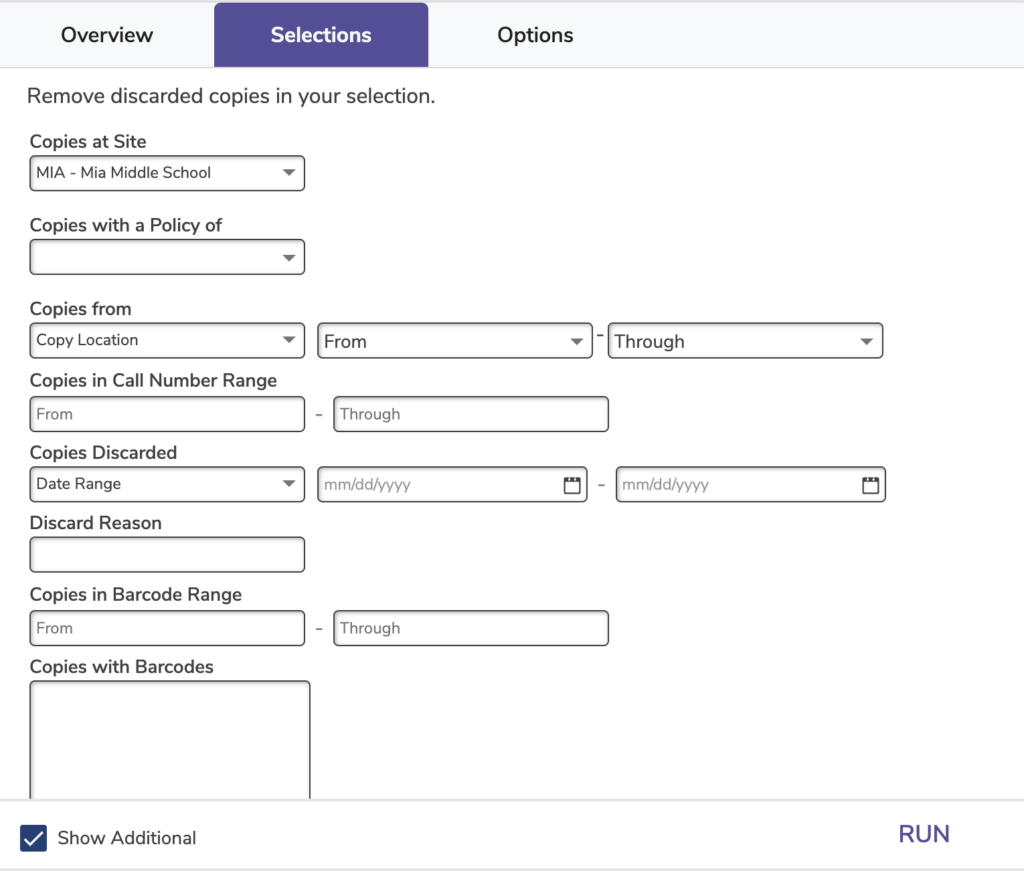
Copies Discarded: Select copies by date range to ensure that only copies discarded a long time ago are removed.
Remove Titles with No Copies: When checked, this option also removes remaining title records with no other copies once the discarded copies are removed.
Removes selected copies that have been declared lost (checked out to System Patron 1)
Since copies can be lost in different ways, there are three types of lost copies you can remove:
| Since lost copies are often found and returned, we recommend waiting at least a year to remove them. Use the Copies Lost selection to ensure only those lost a year ago or longer are removed. |
Use: Run this utility to clean out old records if you’re approaching your item limit.

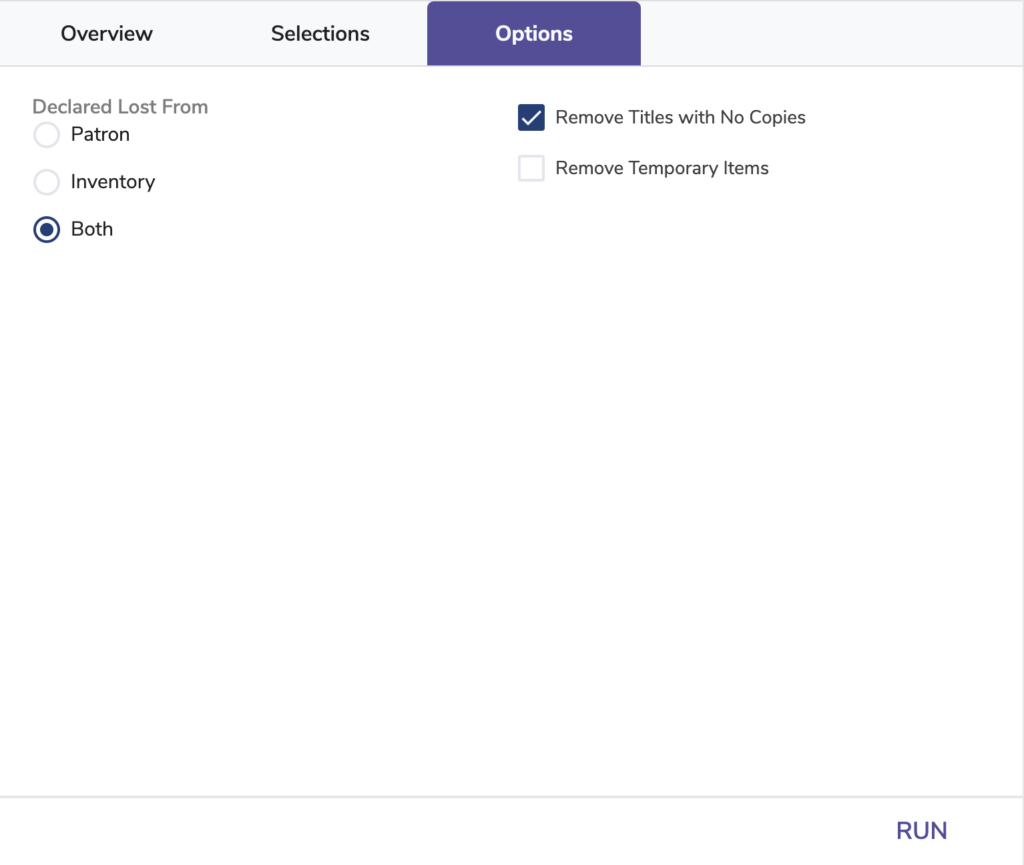
Copies Lost: Select copies by date range to ensure that only copies lost a long time ago are removed.
Declared Lost From: Choose which type(s) of lost copies to remove.
Remove Titles with No Copies: When checked, this option also removes remaining title records with no other copies once the lost copies are removed.
Remove Temporary Items: When checked, this option also removes temporary items that fit the rest of the Selections and Options.
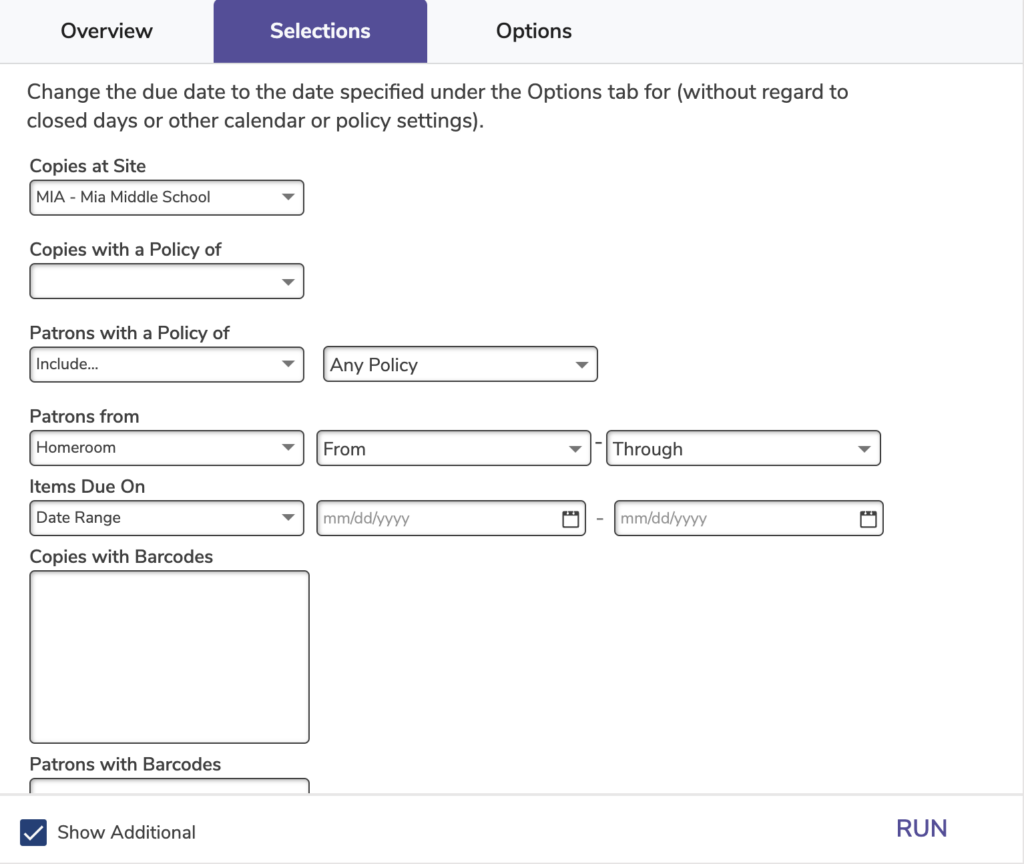
Changes the due date of checked out items to the specified date
The due date is changed without regard to loan periods, policies, or closed dates.
Use: Run this utility if there’s a snow day or other unexpected library closure and you need to adjust due dates so patrons aren’t penalized.
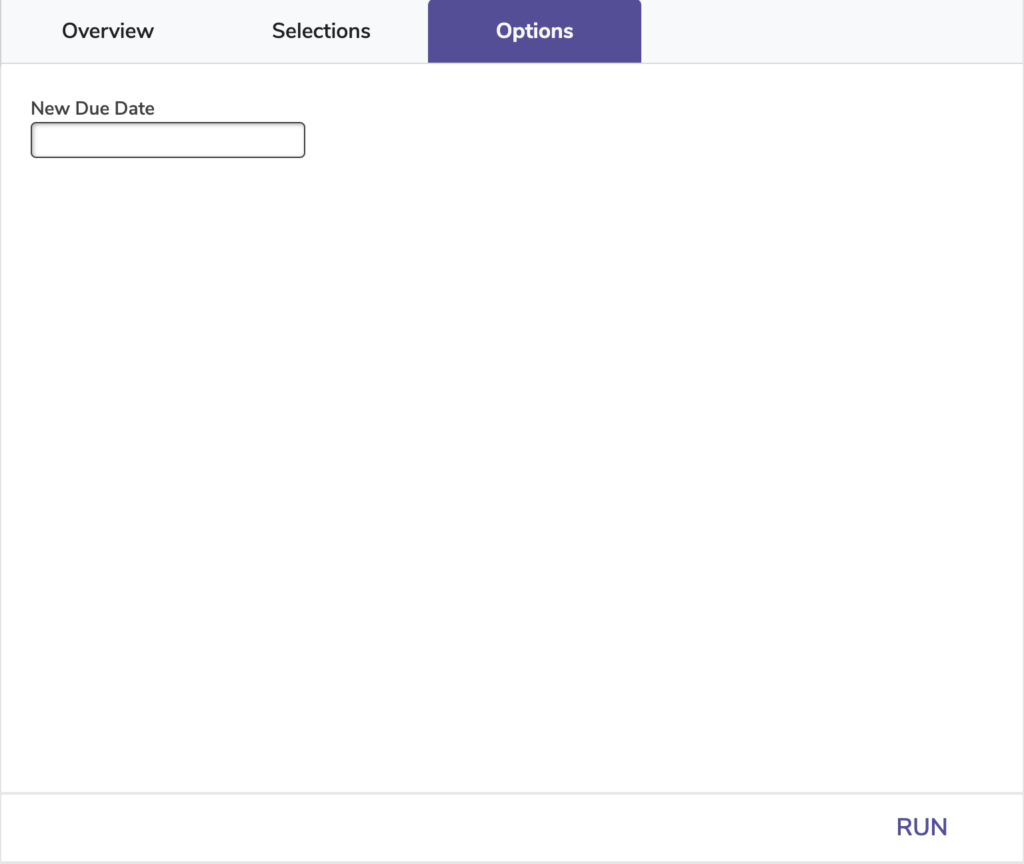
New Due Date: Specify the new due date for checked out items in MM/DD/YYYY format.
Checks in all selected copies at the specified site
All fines, holds, and returned lost items are processed with default actions.
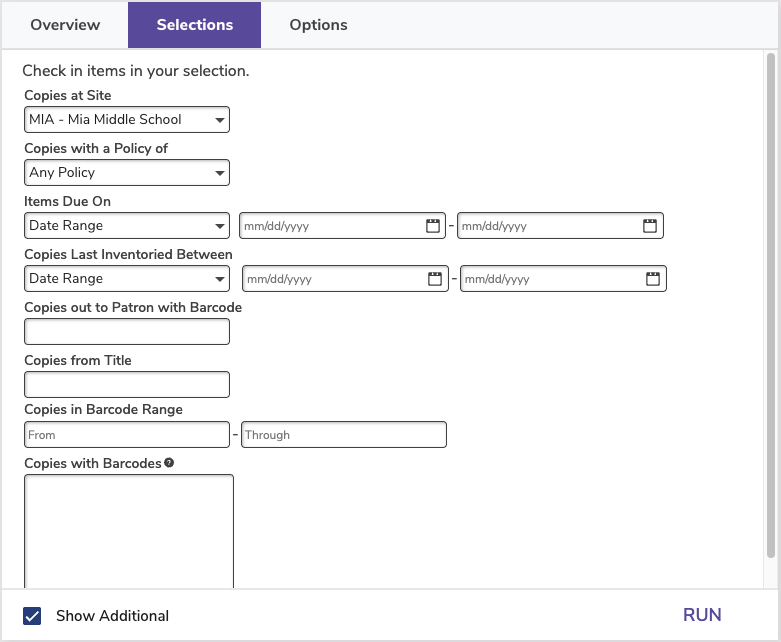

Check In Site: Specify the site at which you would like to check in the selected copies.
Checks in all selected copies that are currently archived (checked out to System Patron 6)
All fines, holds, and returned lost items are processed with default actions. Checking in archived copies will make them available for circulation again.
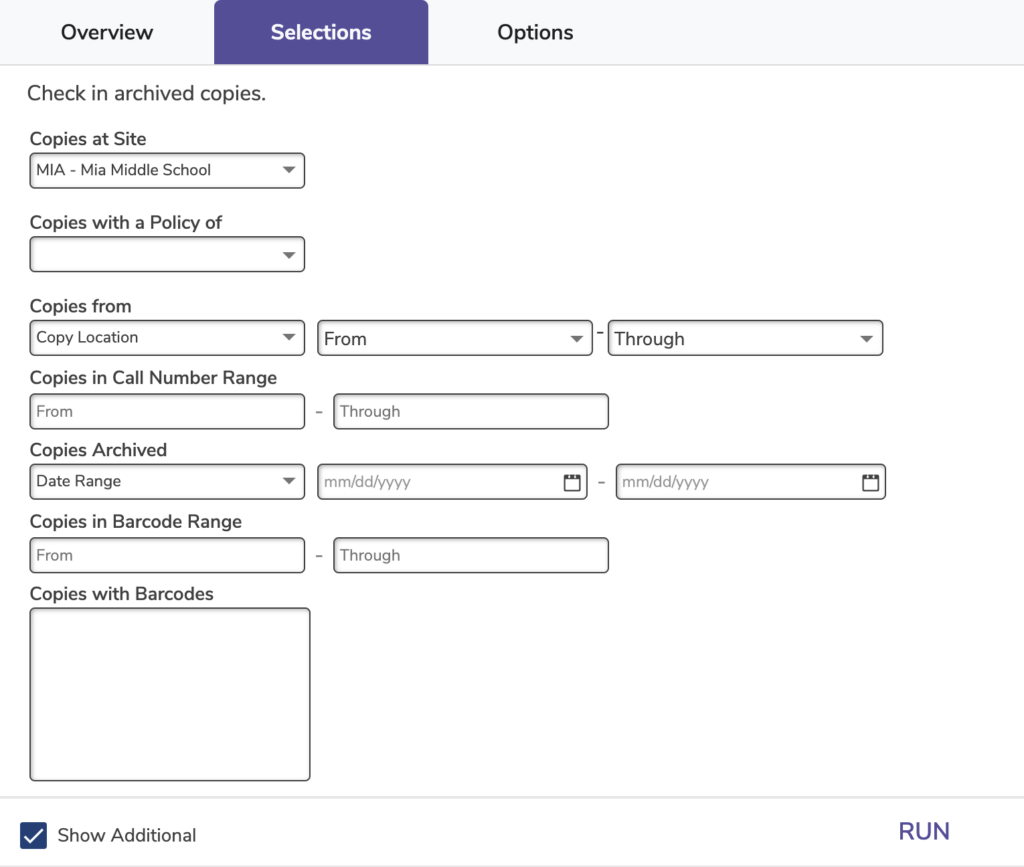

Check In Site: Specify the site at which you would like to check in the selected copies.
Checks in all selected copies that are currently discarded (checked out to System Patron 2)
All fines, holds, and returned lost items are processed with default actions. Checking in discarded copies will make them available for circulation again.
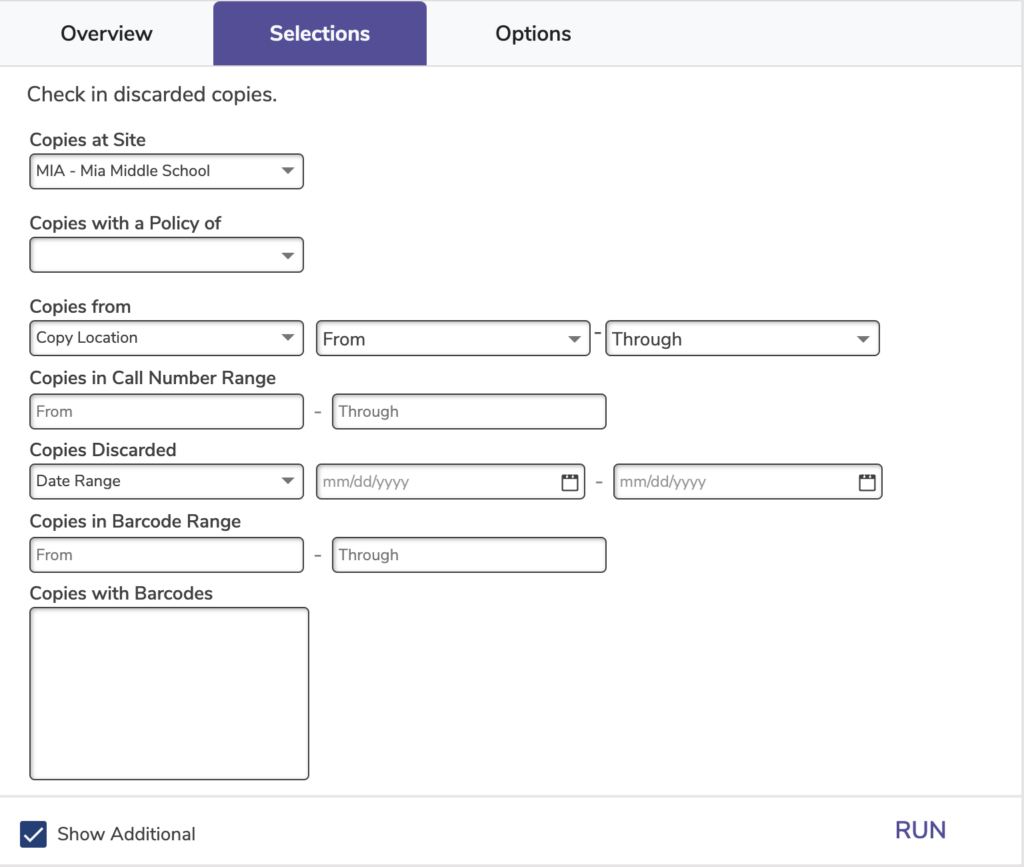

Check In Site: Specify the site at which you would like to check in the selected copies.
Checks in all selected copies that are currently lost (checked out to System Patron 1)
All fines, holds, and returned lost items are processed with default actions. Checking in lost copies will process fines and make them available for circulation again.
Use: Run this utility if a bunch of items were accidentally declared as lost through inventory or other utilities.
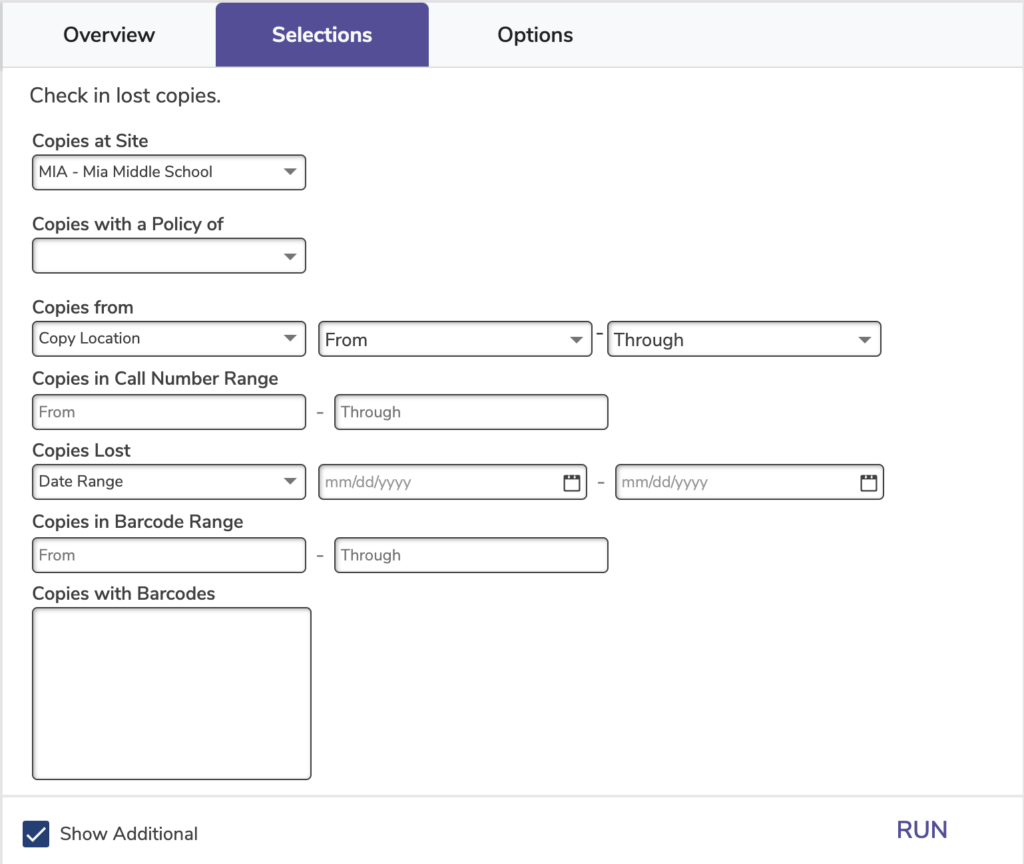

Check In Site: Specify the site at which you would like to check in the selected copies.
Checks in all selected copies that are currently in processing (checked out to System Patron 7)
All fines, holds, and returned lost items are processed with default actions. Checking in processing copies will make them available for circulation.
Use:
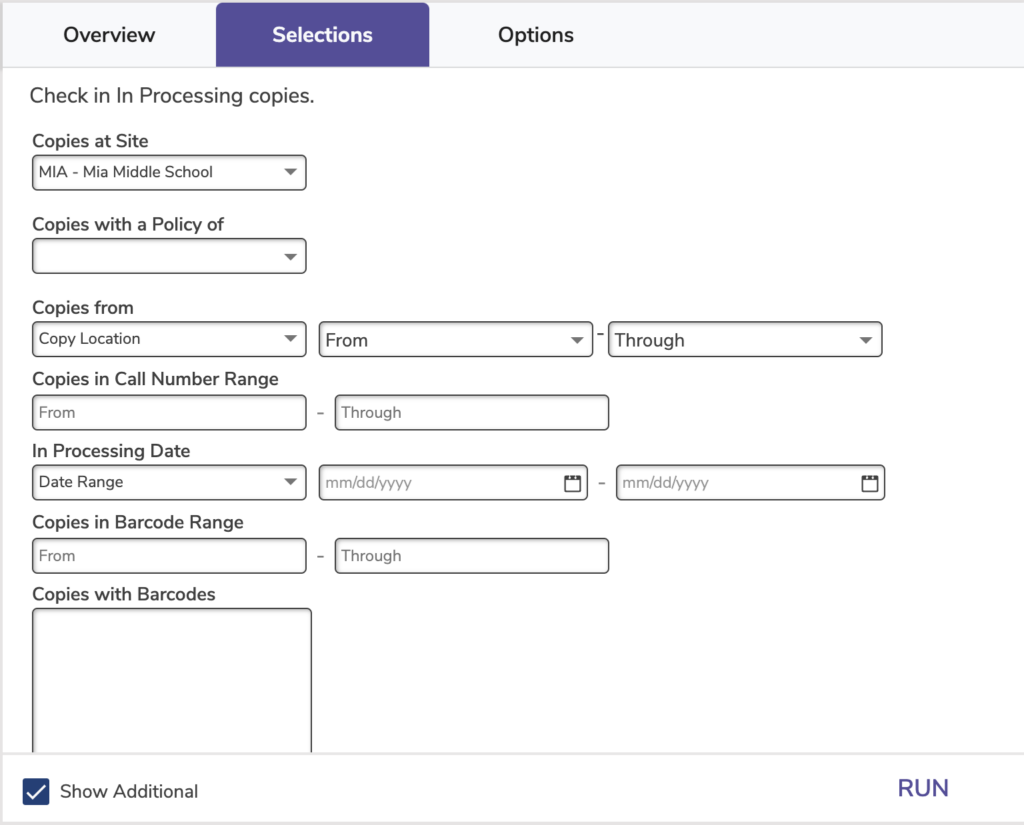

Check In Site: Specify the site at which you would like to check in the selected copies.
Recomputes check out periods and fines for items that are already checked out
Use: Run this utility after changing title or patron policies that affect fine rates, check out periods, in-stock hold lengths, and more. You may also need to run this utility after running the Change Patron Policy, Change Title Policy, or Change Copy Policy utilities.
*Note that this utility will not recompute due dates for items that have been renewed.

Removes all Circulation statistics older than the specified date
| This action is not normally required. Only run this utility if you are certain those statistics are no longer useful for your reporting. |
Use:
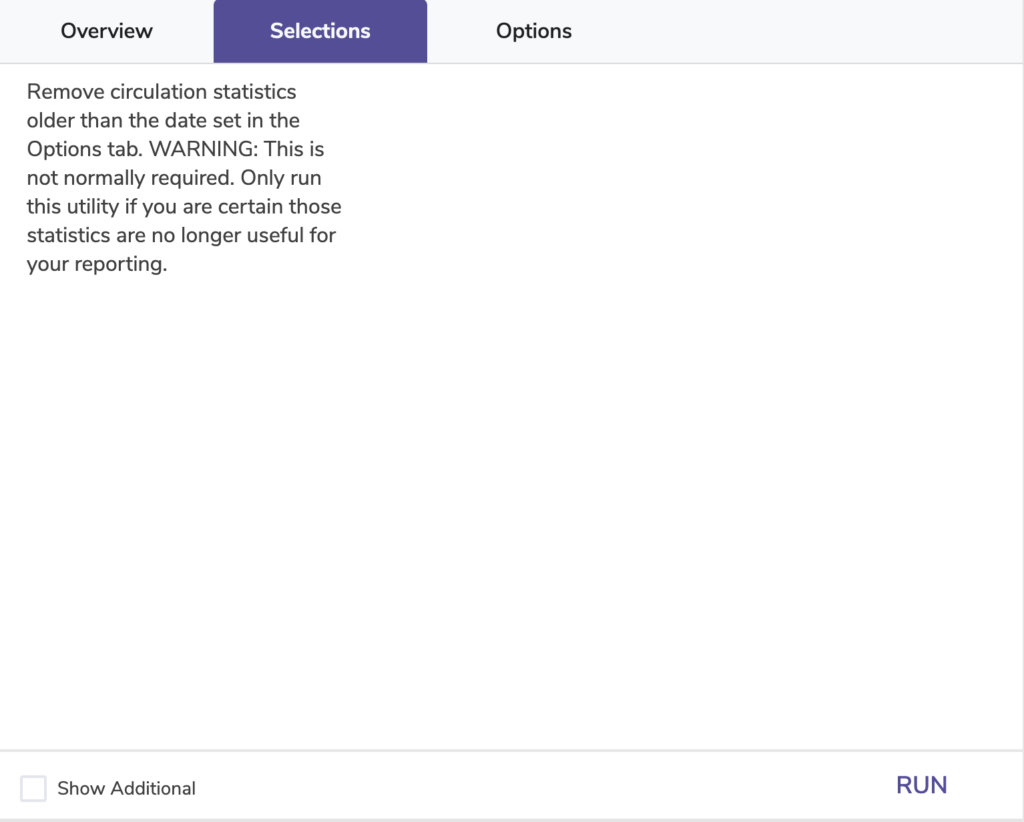

Remove Statistics Older Than: Enter a date in MM/DD/YYYY format, and all Circulation statistics from before that date will be removed. If you don’t enter anything, it will default to five years before the current date.
Initiate a renewal (with respect to policy and preference settings)
The utility finds all checked-out items (based on the selections), and renews them according to loan period of the policy.
Use: Run this utility if there’s a snow day or other unexpected library closure and you need to renew items so patrons/teachers aren’t penalized.
Automatically renew items checked out by teachers, by selecting the patron policy.
To set up automatic renewals for any of your patrons, you run this utility with Items Due On set as a relative date for ‘today,’ and run the utility every day.

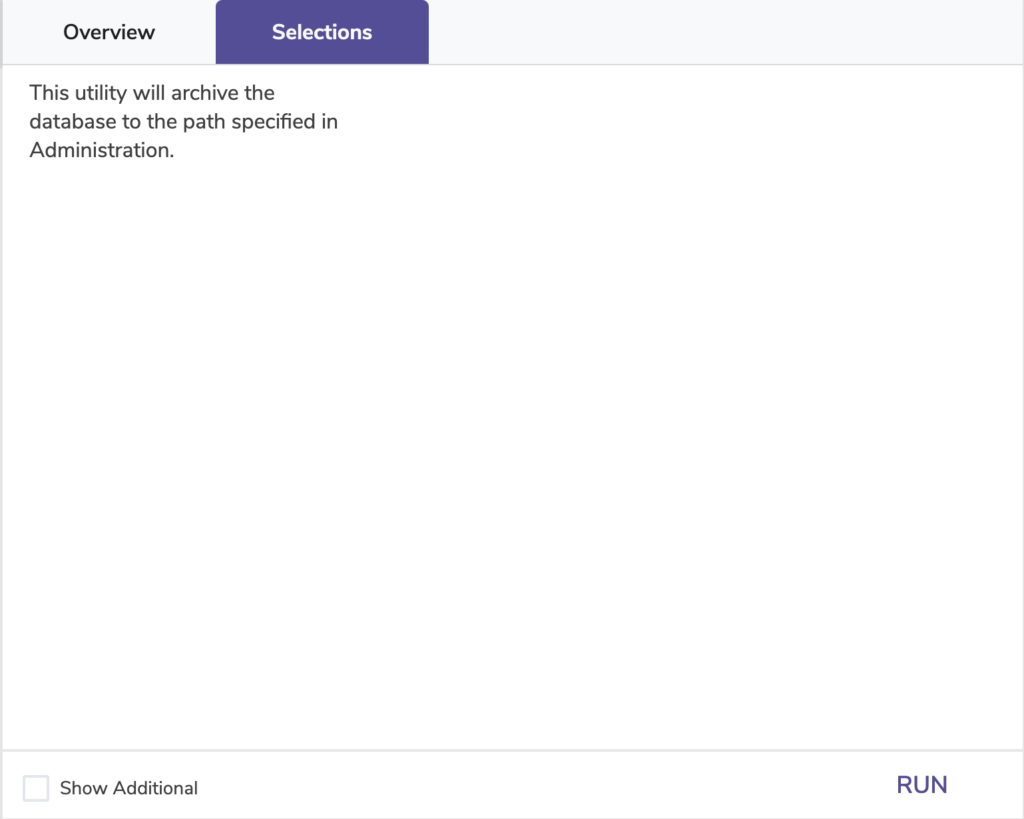
| Run this utility to create an archive before running a major operation. That way, you can restore your old data if something goes wrong. |