Reports, Labels, and Notices have joined the makeover and are now three separate categories. You can read more about the changes and watch our training videos for all the details on the new format.


Exporting is the process of moving information out of Alexandria and preparing it for use in other software applications.
To access it directly, add /export to the end of your Alexandria URL.

Related Tips

Field Mapping
Complete Export List

Export FAQs
With our general templates, you choose the information you want to export, whether it be for all—or a specified group—of patrons, items, and more.
Exporting item and patron records does not affect the data that exists in your Alexandria database. Only a copy of that information is exported; the original record remains intact. You can export copy, title, patron, and other records from Alexandria in MARC, MircoLIF and Tab Delimited formats.
Take some time to explore exports and set up a few Saved exports to easily access and run in the future.
Create exports that only include pertinent information: patron fines, circulation groups, patrons, and items. You can also schedule exports and deliver their output via email, FTP, etc.
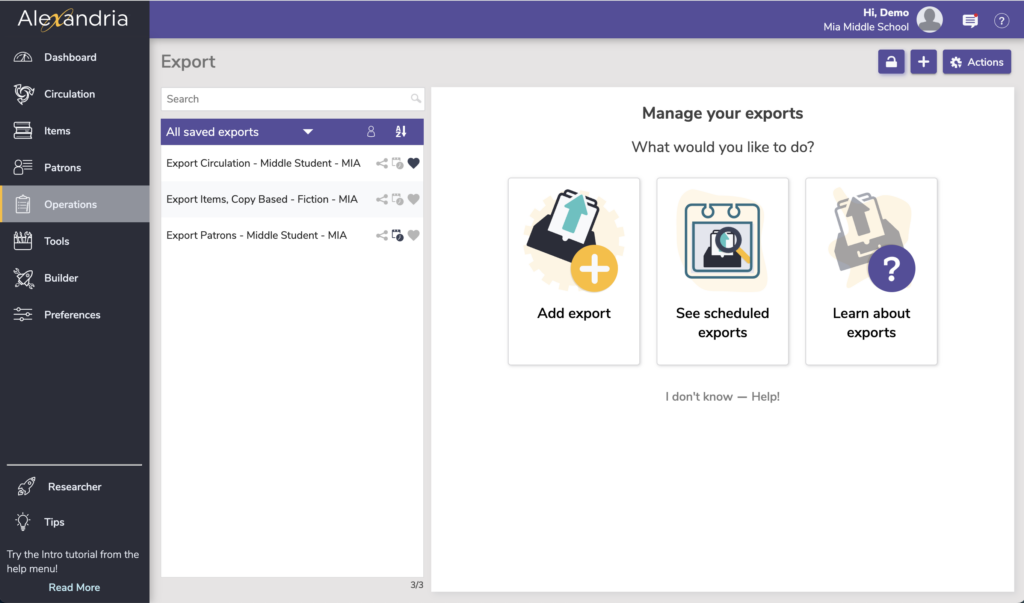
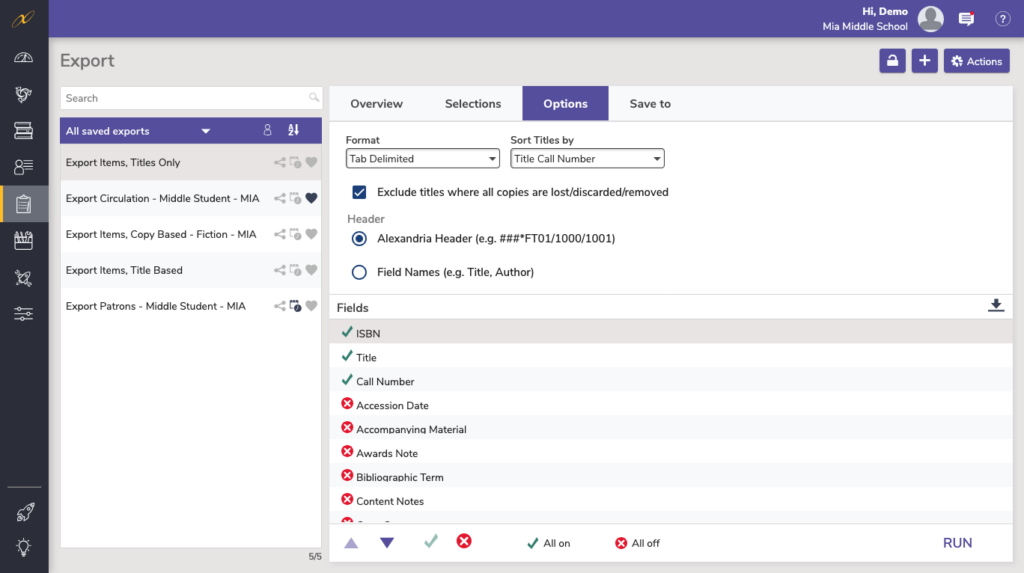
All Saved Exports
Alexandria makes it easy to build your own frequently-used, custom exports. The All Saved Exports section on the left contains custom exports that you (or others) have created, saved, and shared. Keep in mind that saved exports only retain the selection criteria used to create the export, not the results of the export itself.
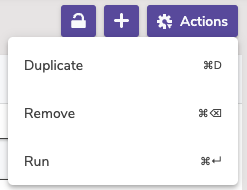
Saved exports can then be run, modified, duplicated, or removed.
Add export. Add a new export.
See scheduled exports. See a list of all scheduled exports.
Learn about exports. Go to the complete exports list on the support center.
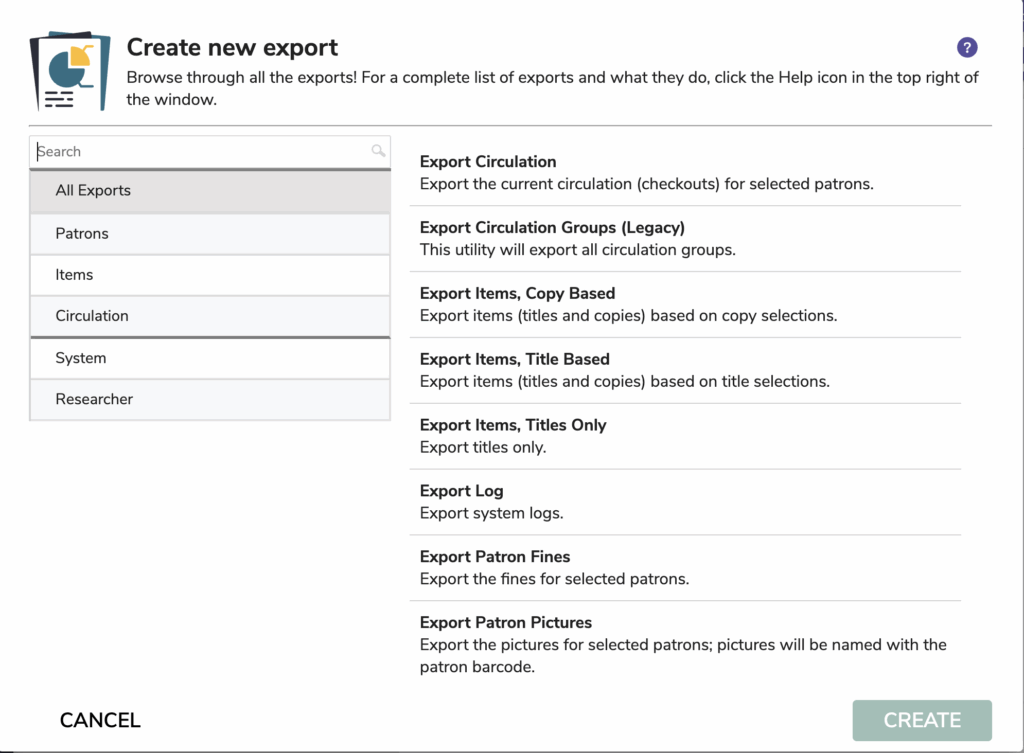
Here are the categories of exports available for you. See also the Complete Exports List at the bottom of this page.
The Overview tab serves as an export summary. It includes the name (e.g. Export Circulation), export creator, usage notes (e.g. Run at the end of each month to import into our money management software.), and allows you to mark it as a favorite or shared.
Name your saved export and include any notes as to the purpose of the export. You can also mark it as a favorite.
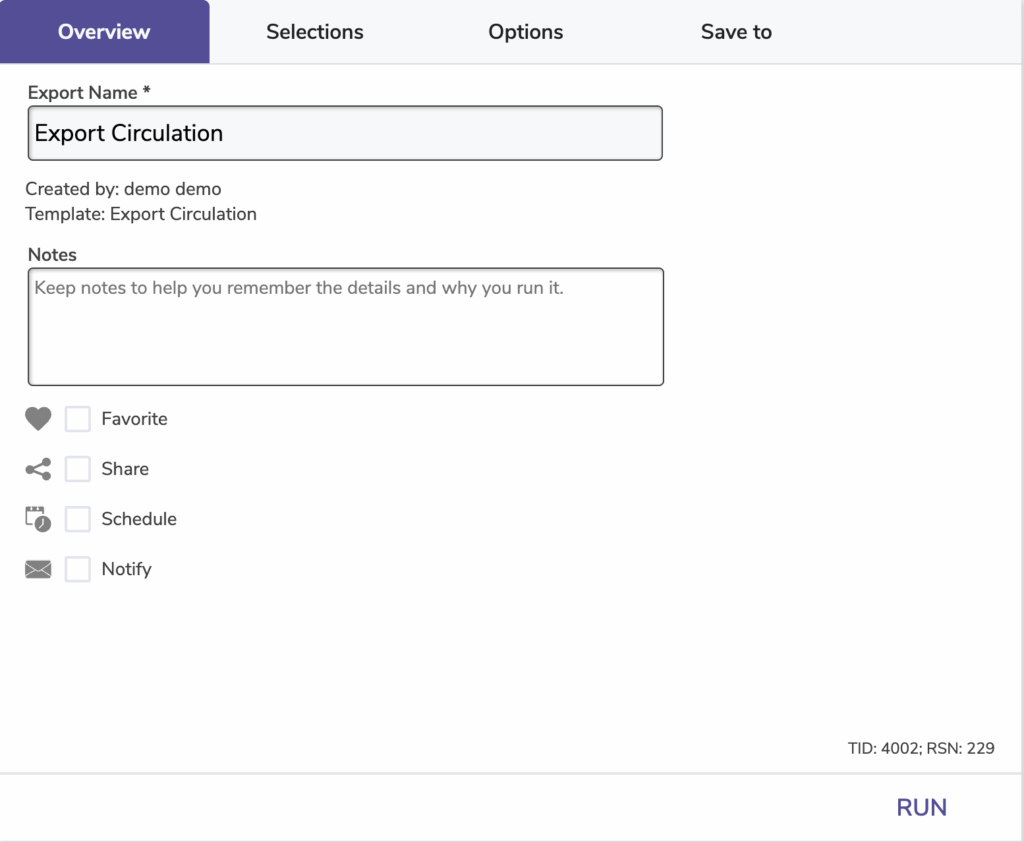
Export Name. Enter or edit the name of the export here (e.g. Export Unpaid Fines).
Created by. This information is automatically populated with the creator’s name and site ID code.
Notes. You can provide general usage notes here.
Favorite. Mark the export as a favorite. You can filter the results in the Export Selection pane to show only those marked as Favorite, which is especially helpful if you find yourself running the same exports regularly.
Share. Mark the export as shared. You can filter the results in the Export Selection pane to show only those marked as Shared. Sharing frequently-used exports with other operators is often helpful when particular exports are frequently performed.
Use these settings to schedule this export to run on a regular basis. For example, if you want it to run every Saturday at 10:00 p.m, set the following:
 | The scheduled time is the time the export is added to your Operations queue. Depending on how busy your queue is, the export may or may not be complete at that exact time. |
Schedule. Check this box to unlock the scheduling capabilities.
Frequency. This dropdown menu allows you to specify how often you would like to repeat this export: Once, Daily, Weekly, Monthly, or Yearly.
Around. Choose the time of day, including a.m. or p.m., to run the export.
Here you can enable an email confirmation and link to download the file to be sent to the recipient(s) of your choice once the export is complete.
Enable Email Notification. Check this box if you want to enable email notifications to be sent upon completion.
Email Notification To. Enter the recipient email addresses. You can provide more than one email address separated by commas.
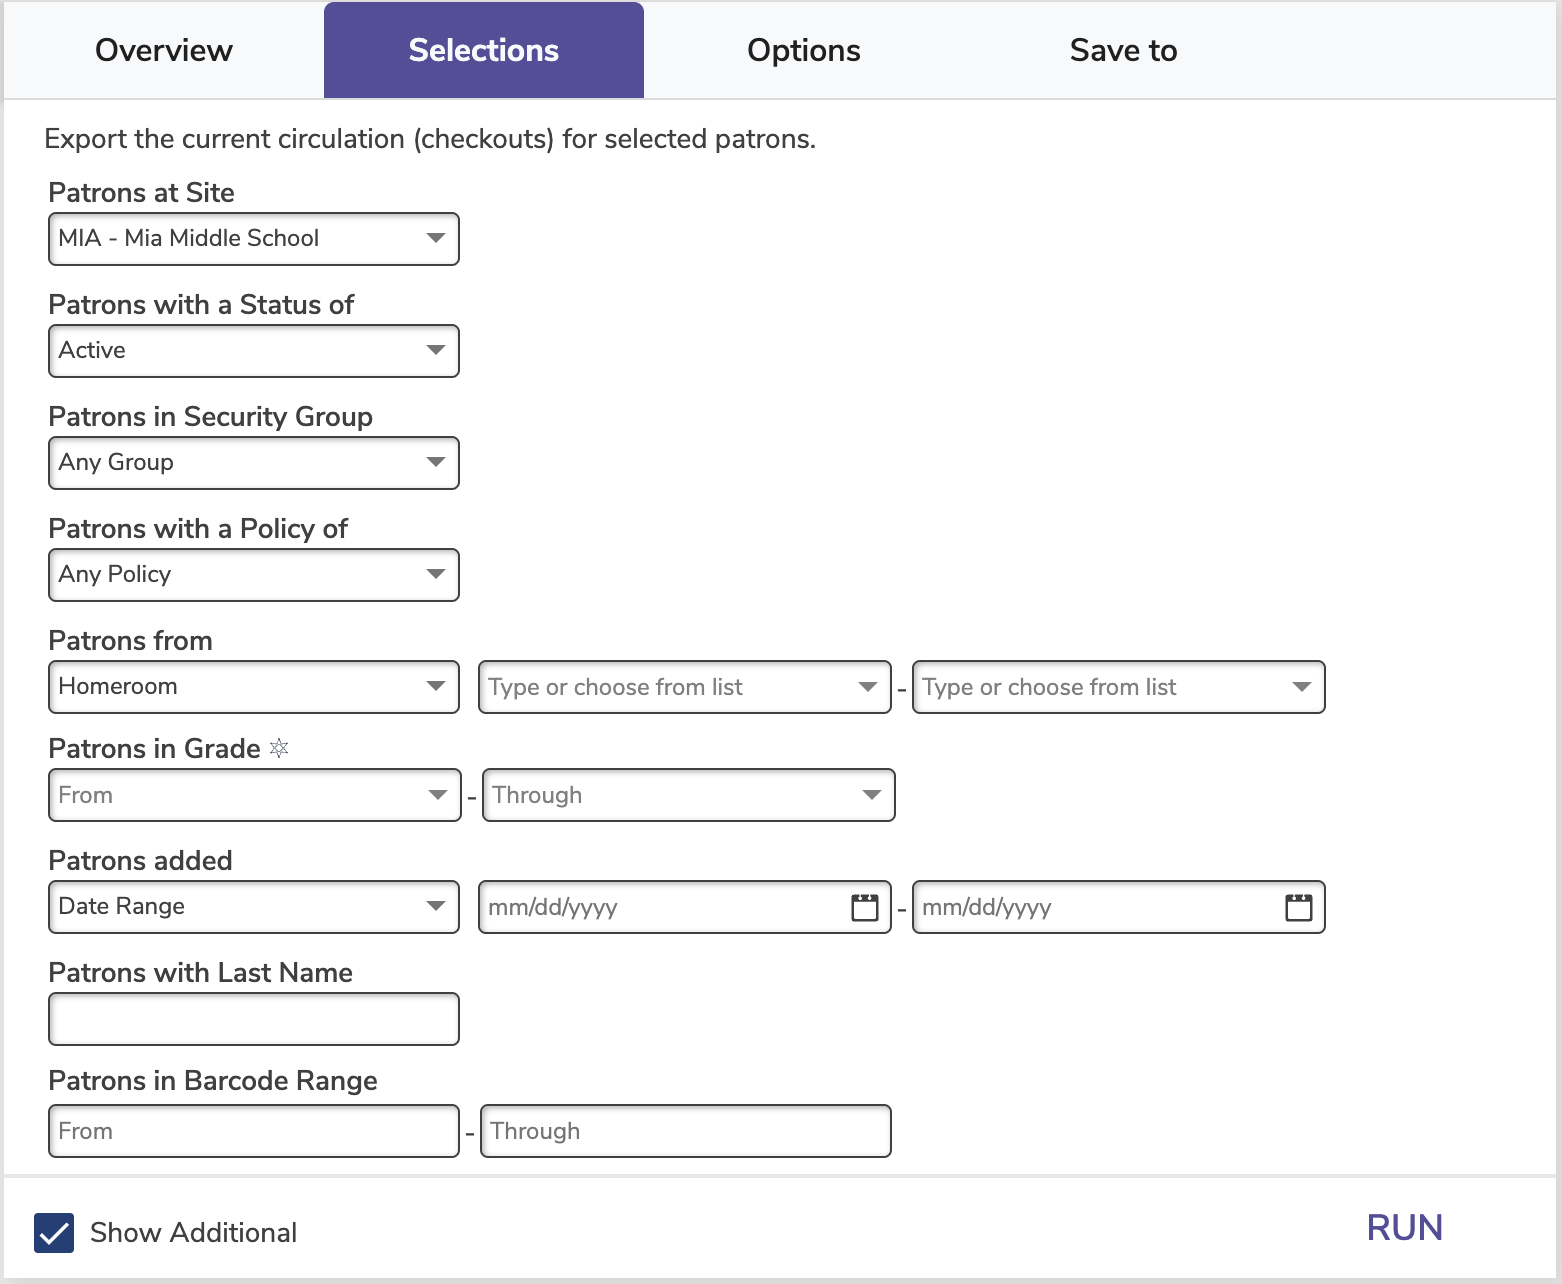
The Selections tab is where you build, format, arrange, limit and/or expand the export to suit your needs. If you find some of your exports lacking the necessary selection information, try checking the Show Additional Selections box for more options. The settings in this tab vary per export.
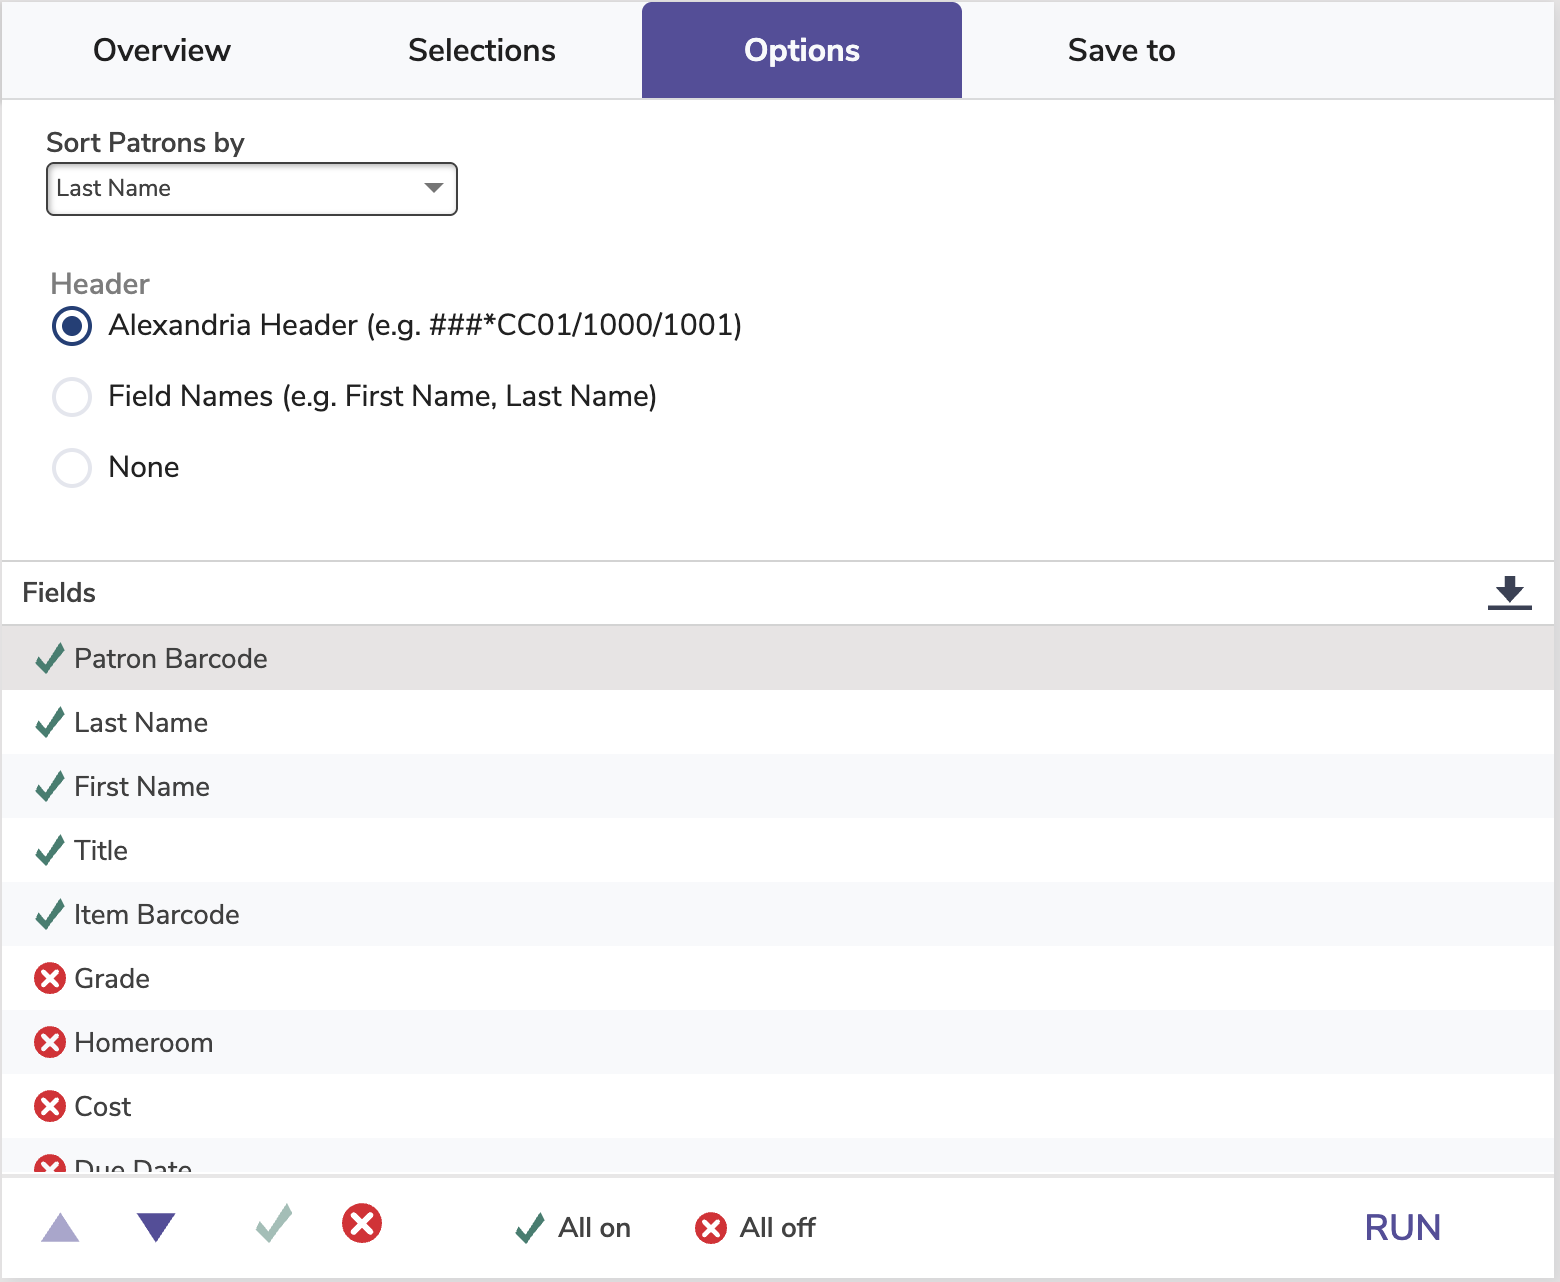
Choose sort and format options here. The settings in this tab vary per export.
Open an export, then go to the Options tab and click Select Fields. For an Items exports, the Tab Delimited format must be selected.
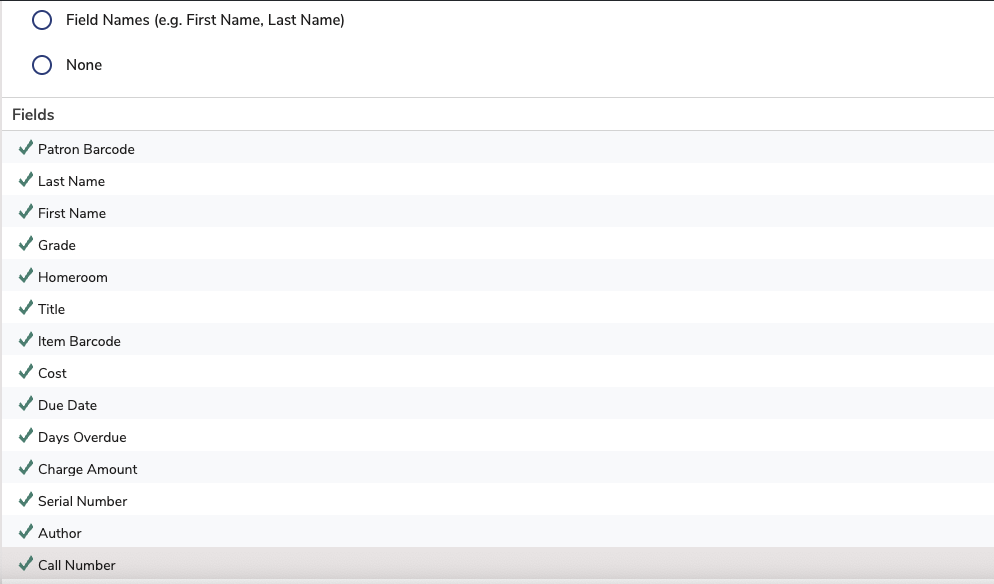
Specify which fields to export and in what order they will be included in the file. Data is imported in sequential order. Use the up and down arrows to change the order of the fields, or click on a field to exclude it from the import. Fields with a green checkmark will be exported, and fields with a red x will not.
When you’ve finished selecting and ordering the fields, click Set, then save or run your export.
See Import Field Mapping for fields that are exported.
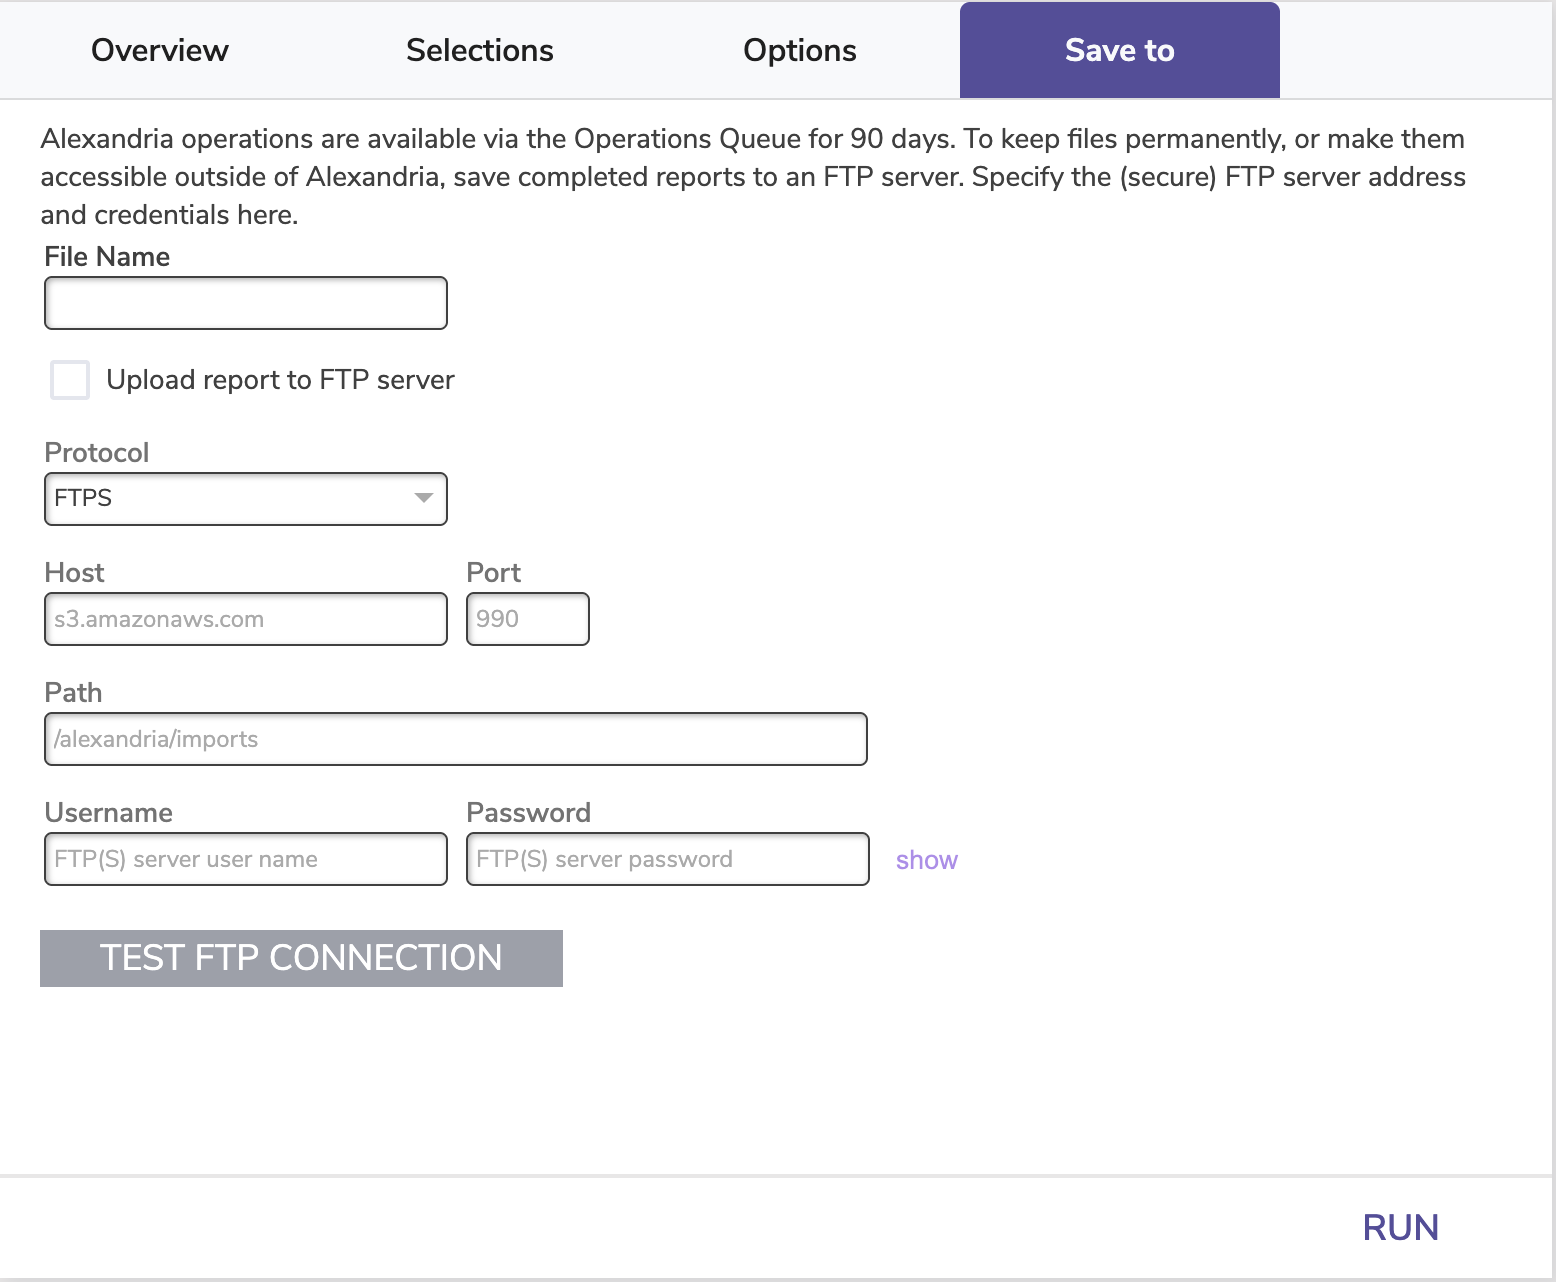
Alexandria can save finished exports to an FTP server. These options allow you to specify the (secure) FTP server address and username/password credentials. See also COMPanion FT Service.
Textbook Tracker Export interface is the same as Alexandria Library (just with different colors). The exports that are available, and the selections/options, will vary.

(Alex/TT)
Export patrons in a tab-delimited format.
Export the pictures for selected patrons; pictures will be named with the patron barcode.
(Alex/TT)
Export the fines for selected patrons.
Export items (titles and copies) based on copy selections.
Option to limit data to the selected site only.
Export items (titles and copies) based on title selections.
Export titles only.
Export textbook records in delimited format.
Export circulation / transaction records for review or backup.
Export the current circulation (checkouts) for selected patrons.
(Alex/TT)
Exports a log of the system. Usually you will use this only at the direction of Customer Support.
Log timestamp: Enter a date range or relative date of system log information you would like to export. The default is from the current date at midnight to the current date and time. It will export as a tab-delimited .txt file.
Log Source: Select Circulation to just export circulation logs.
(Alex/TT)
User Sessions export shows login/logout/session data. Data is typically available for the last six months.
Log timestamp: Enter a date range or relative date of system log information you would like to export. The default is from the current date at midnight to the current date and time. It will export as a tab-delimited .txt file.