You can! First, navigate to Preferences > Patrons > Patron Defaults tab. In the Barcode Settings section, specify the beginning number for auto-assigned barcodes – choose a number that doesn’t conflict with your item barcodes and has enough room to continue sequentially for all future patrons. Learn more in Patron Preferences.
Patrons
Use the Patrons module to create, view, modify, and remove patron and operator record data.
To log in directly, add /patrons to the end of your Alexandria URL.
Resources
Use Patrons Management to create, view, modify, and remove patron and operator record data.

Navigation
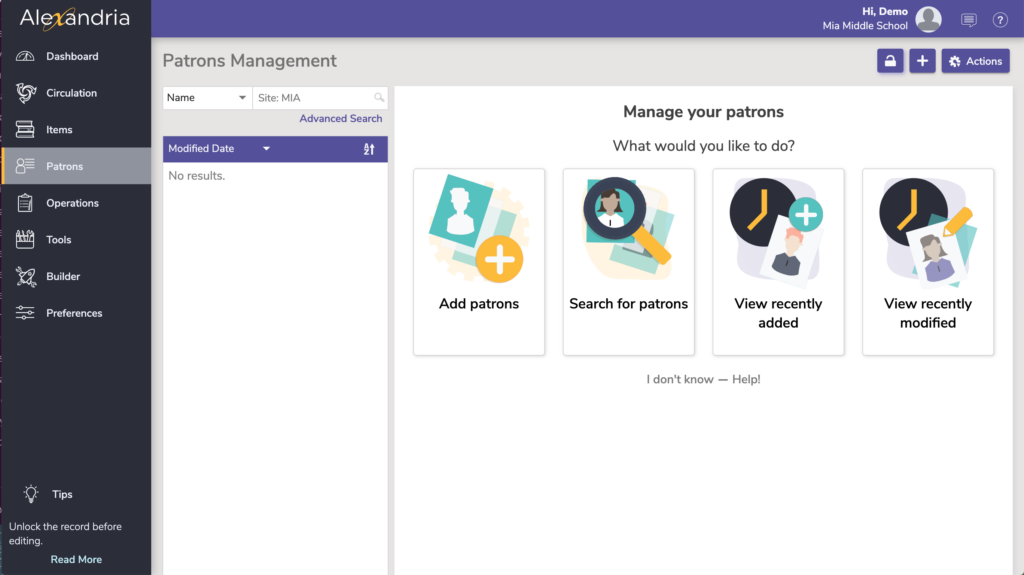
Patrons Management includes a few important and distinct areas:
- Patron controls on top, which includes the Actions Menu.
- Records List on the left.
- The No Results pane or Current Record pane on the right.
Search for and click on a patron, then click the padlock icon to unlock the record for editing. If you are switching between Patrons and Circulation, the current record in one will become the current record in the other.
Searching for patrons in Patrons Management and Circulation (lookup) is restricted by the sites you (as an operator) have access to.
Add Patrons
When unlocked, select the plus in the top right to add patrons, or if no record is currently pulled up, you can select the Add patrons card on the Patrons landing page. See Managing Patrons for more information.
Actions Menu
- Remove Patron. This selection permanently removes the selected patron or operator record. Be sure to address any items checked out or fines owed before removing the patron.
Remove Patrons Step-by-Step Instructions
There are times you may need to remove patrons who no longer use your library or operators who are no longer authorized to access the Alexandria. Use Remove Patron to permanently remove the current patron or operator and ensure the security of your site(s).
When a record is removed, all associated information is also removed. For example, removing a patron also removes all history and statistics and any holds or reservations that the patron had pending. To remove a patron with items checked out, be sure to have them return all items to the library or record them as Lost.
How to Remove Patrons
- Log into Patrons by adding /patrons to the end of your Alexandria login URL.
- Locate the patron you wish to remove.
- Select (highlight) the patron you’d like to remove from the Records List of results on the left.
- From the Actions drop-down menu, select Remove patron.
- You will be asked if you’re sure you’d like to permanently remove the selected patron; click Remove to delete the record or Cancel to keep them in your database.
- Patrons shouldnot be removed if they still have items checked out. If a patron owes any fines or charges, you canstill remove them, but their fines will be cleared from the system.
 | Removing a record is permanent and cannot be undone without manually re-entering their information or recovering the information from one of your database archives. |
- Merge duplicate by barcode. Merges the current patron record with another that’s specified by barcode. All lists, reviews, charges, checkouts, holds, history, and more from both records will be kept.
Merge Patrons Step-by-Step Instructions
Merging Rules
The “keep” record is one you want to keep, and the “merge” record is the one you want to copy data from and delete.
If a field is blank in the “keep” patron record but filled in the “merge record”, the final record will use what’s in the “merge” record’s field:
| “Keep” Record | “Merge” Record | Final Record |
| Griffith | Griffith |
If the same field is filled in both the “keep” and “merge” records, the final record will use what’s in the “keep” record’s field:
| “Keep” Record | “Merge” Record | Final Record |
| Dibbs | Griffith | Dibbs |
All General, Category, Contact, and Alert Notes on the “merge” patron record will append to notes on the “keep” patron record:
| “Keep” Record | “Merge” Record | Final Record |
| Needs to meet with librarian | Mrs. Apple’s book club | Needs to meet with librarianMrs. Apple’s book club |
How to Merge Patron Records
 | Merging records is permanent and cannot be undone without recovering the information from one of your database archives. |
- Log into Patrons by adding /patrons to the end of your login URL.
- Locate the patron record you wish to keep (“keep” record).
- Select (highlight) the “keep” record from the Records List of results on the left.
- Make sure the patron record is unlocked.
- From the Actions drop-down menu, select Merge duplicate by barcode.
- In the Merge Records dialog, type the barcode of the patron you’d like to merge with the current patron (“merge” record). The barcode must consist of 3+ numbers. Click Continue.
- A confirmation dialog will appear. Review the details of the merge, and if everything looks correct, click Merge.
- The “merge” record will be deleted, and all data will be transferred to the “keep” record.
- Take a picture. Opens a window so you can take a picture of the patron if your device has a webcam.
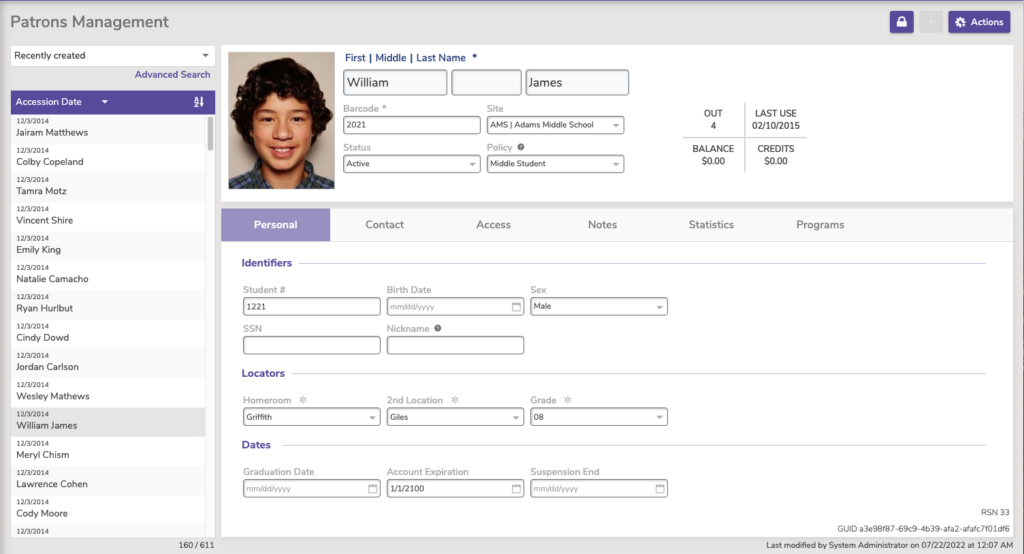
- Add a picture. This selection opens an operating system standard explorer window, allowing you to guide Alexandria to the location of your saved patron image. You can use GIFs, BMPs, PICs, JPGs (or most standard image files) as viable formats to add a picture to your patron record. When applicable, the picture will appear in the Personal Info tab of Patrons Management and in the Current Patron pane of Circulation.
- Remove picture. Once removed, the patron picture will default to what you have set in Preferences > Patrons > Patron Pictures.
- Patron History. Runs an individual Patron History report, which shows recent payments, credits, renewals, lost items, refunds, Lexile history, and returned items. The PDF will automatically download to your device. You can also run this report in Circulation via the actions menu for the Current Patron pane.
- Patron Details. View or print the details for the current patron.
See Patrons Tabs for more information about the Patron records.

Textbook Tracker
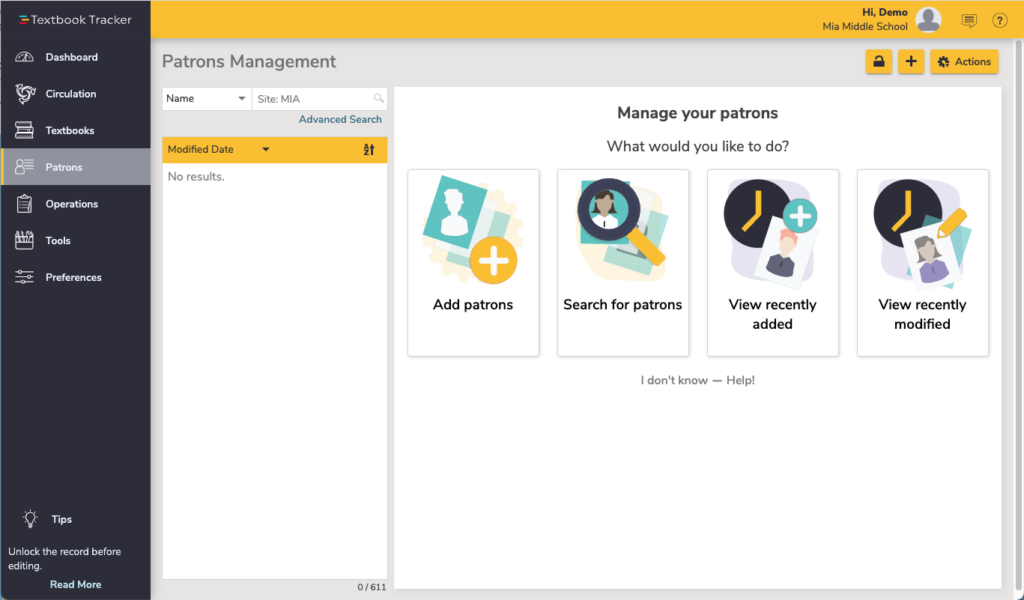
Alexandria and Textbook Tracker interfaces share a lot of similarities. Patron information is generally the same.
See the Textbook Tracker YouTube playlist.


