
Import Images
Learn how to import pictures for you patrons, or cover art for your items.
Be sure to review information on the main Imports page—especially Scheduling and importing from FTP.

Import Patron Pictures

Import Item Cover Art
You can import patron and item pictures into Alexandria, as long as the images are of a supported format, and in a zipped file. There are also strict file size limits; files that are too large will take too long to upload and will time out. ZIP files larger than 50 MB will need to be imported in the saved tab via FTP.
In Imports, choose Images from the Categories list. Here you can pick from 3 types of image imports: Patron Pictures, Item Cover Art, and Textbook Cover Art.
Import Patron Pictures
While you can add patron pictures one by one from Patrons Management, from a file or with a camera, if you receive student photos en masse then it’s much more convenient to import those photos.
During the import process, Alexandria will attempt to match pictures with patrons using the image filenames. For example, let’s say you have a student named John Doe whose Alexandria barcode number is 1080 and you would like to import an image of him in “.JPG” format. His picture file must be named “1080.jpg” so that Alexandria can match it to his barcode. If all your patron image filenames have been given valid patron barcode numbers (e.g. “1080.jpg”), Alexandria can successfully import individual pictures into each patron record, accessible afterward through the Personal Info tab of the Patrons management window.

The Patron Pictures import will match the filename by patron barcode OR Student #.
Match file name to. Choose between Barcode and Student # (community or government ID).
Existing patron pictures will be replaced with newer ones if found during import. If Alexandria is unable to match a filename with a patron during import, the picture will be ignored and noted as an exception in the Operation Information report.
You can import most standard image files (.png and .jpg) into Alexandria. Although they can be larger (or smaller), the default, optimal size for patron pictures is 240 pixels by 186 pixels at 72 ppi (pixels per inch) resolution. Larger images will be auto-sized and shrunk to fit within those pixel specifications if they’re revealed to be too large upon import.
Since image filenames essentially specify who gets new pictures, there are no additional import options.
Step-by-Step: Import Patron Pictures
- Go to Operations > Import.
- Select Add Import > Pictures > Import Patron Pictures.
- In order to work properly, the names of the image contained in the .ZIP file must match the patron’s barcode number and be in .png or .jpg format.
- On the File Source tab, click Choose File.
- Locate the patron image file on your computer, then click Open to select it for import.
- Since image filenames essentially specify who gets new pictures, there are no additional options required to import patron pictures.
- Click Run to send the patron image import to the Operations queue.
Import Item Cover Art
Pictures are worth a thousand words—we all rely on cover art when browsing the catalog. Alexandria can automatically add cover art, and you can add pictures right from Items Management. These instructions for importing apply to both Library and Textbook Cover Art.
During the import process, Alexandria will attempt to match cover art with items using the image filenames. For example, let’s say that you have The Wizard of Oz whose barcode in Alexandria is 4130 and you would like to import a “.JPG” picture of the item’s cover art. The item’s image file must be named “4130.jpg” so that Alexandria can match it to the barcode belonging to The Wizard of Oz. If all your item image files were created using item barcode numbers (e.g. “4130.jpg”), then Alexandria can correctly, individually import each cover art into your item record, later accessible through the Publication subtab of the Items management window.
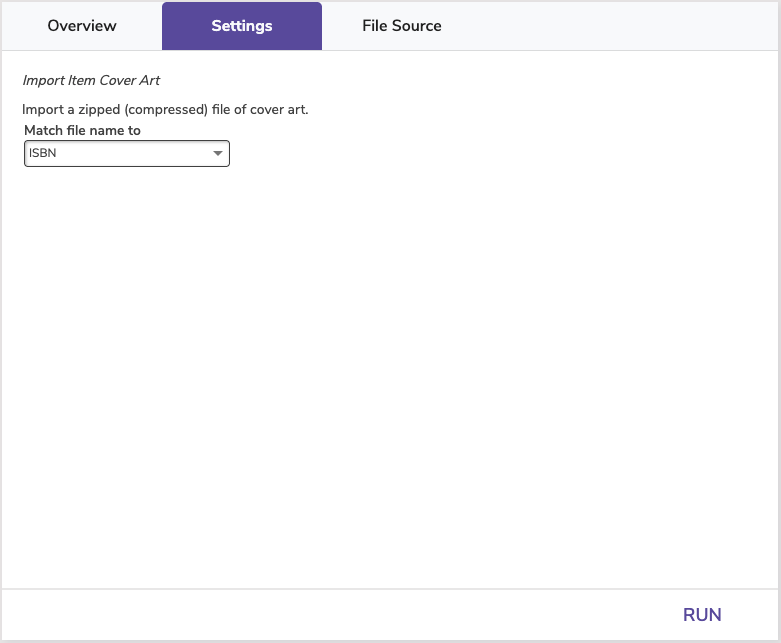
File names must match based on the setting here.
Match file name to. Choose between ISBN (or LCCN) and Copy Barcode.
Existing cover art will be replaced with newer ones if found during import. If Alexandria is unable to match a filename with an item during import, the cover art will be ignored and noted as an exception in the Operation Information report.
You can import most standard image files into Alexandria (i.e. .gif, .jpg, .bmp, .png). Although they can be larger (or smaller), the default, optimal size for item pictures is 240 pixels by 186 pixels at 72 ppi (pixels per inch) resolution. Larger images will be auto-sized and shrunk to fit within those pixel specifications if they’re revealed to be too large upon import.
Since image filenames essentially specify what items get new cover art, there are no additional import options.
Step-by-Step: Import Item Cover Art
To import item cover art from a directory shared network folder or portable memory storage device, following the steps below:
- Go to Operations > Import.
- Select Pictures as the import type from the Categories pane.
- Next, select Import Item Cover Art. Images filenames in the .ZIP file must match the item’s ISBN number and be in .PNG or .JPG format.
- Click Choose File in the File Source tab. This allows you to locate and select a 50 MB (or less) .ZIP file full of item cover art to import using your operating system standard explorer window.
- Once the item import file has been highlighted, click Open to prepare it for import.
- Since image filenames essentially specify what items get new cover art, there are no additional options required to import.
- When you are ready to begin, click Run to send the item cover art import to the Operations Management queue.
During import, Alexandria will attempt to match incoming cover art with existing items using the image filenames. If Alexandria is unable to match a filename with an item during import, the cover art will be ignored.
Every image imported or ignored will be documented in the Operation Information report in Operation Management.