Import Patrons
Read on to learn how to import patrons.
Be sure to review information on the main Imports page—especially Scheduling and importing from FTP.
See also…
Table of Contents
Imported patron data can come from any source that provides a text file in a tab-delimited file format; most word-processing and spreadsheet applications support files in tab-delimited format. In many cases, patron data is available in machine-readable format from your school’s office or from the district office. Check with your school or district office to find out how patron data is stored.
For example, you might be able to get patron information from the administrative office student database and import it into Alexandria. When students graduate from elementary to middle school, you can provide patron records that the middle school can import into their system.
Another use for export/import is to modify information in a group of records. Patron information can be exported, opened in another computer program, modified, then returned to Alexandria. Sometimes this is much easier than modifying records (one at a time) in Alexandria.
If you have a student information system that can export patron information in a tab-delimited format, please review Patrons Management to determine what fields you need to have included in the export.
File Types
For patron record imports, Alexandria accepts .txt, .tab, and .tsv file types. All tab-delimited format import files that don’t have a header will require field mapping.
 | Drag and drop Drag an import file from your computer and drop it in the File Source pane for a quick and easy import! |
About Patron Imports
There are several different imports or import settings that will determine how your records are processed. Note that as an operator you may have limited security to modify patron data.
| import TYPE | Old radio setting | use |
|---|---|---|
| Import Patrons: Add or Update | Allow Import to Modify Existing Records | Alex + TT Used to Add or Update Patron Records. Updates require barcodes. |
| Import Patrons: Add | Always Create New Records on Import | Alex + TT Used to add new patron records without modifying any existing data. |
Patron Import Settings
Set up how these imports will import the patron records. These differ between import types (add or update operations).
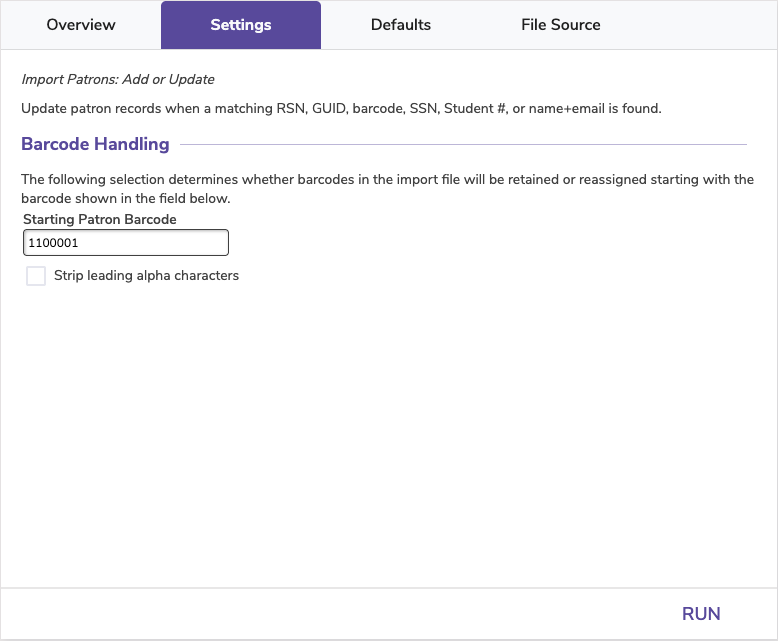
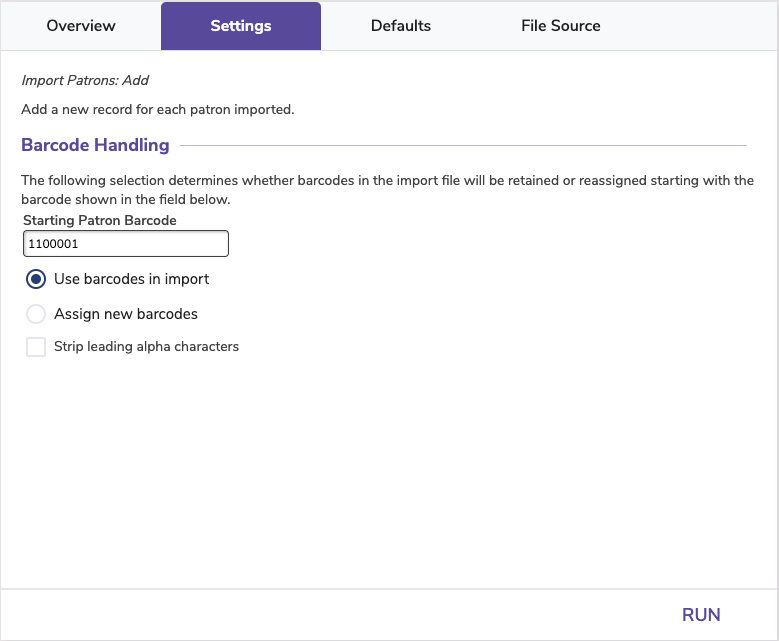
Barcode Handling
Barcodes in the import file will be retained; if a barcode is missing, the record will be added using the Starting Patron Barcode. Update operations require using the barcode in the import file (so it can match!).
- Starting Patron Barcode. If a new patron barcode number is required, Alexandria will begin assigning numbers beginning with this value. Alexandria always checks to see if a value is already in use, and if it is, a new number is automatically selected. This field defaults from your starting patron barcode defined in Preferences.
- Use barcodes in import. When this is selected, barcode numbers found in imported records are used as is during import. If a barcode is missing, it will use the Starting Patron Barcode. In the case of add only (not update), duplicate barcodes will be reassigned.
- Assign new barcodes. When this option is selected, all patron barcodes are reassigned using the Starting Patron Barcode number (above). You’ll want to use this option to force Alexandria to assign new barcode numbers according to the Next Barcode setting in your Patron Defaults preferences.
- Strip leading alpha characters. When checked, any barcodes being imported (or assigned on import) that start with alpha characters (i.e. letters of the alphabet) will have the starting letters removed before barcodes are saved. The default setting is Off. Reference our Barcode Guidelines.
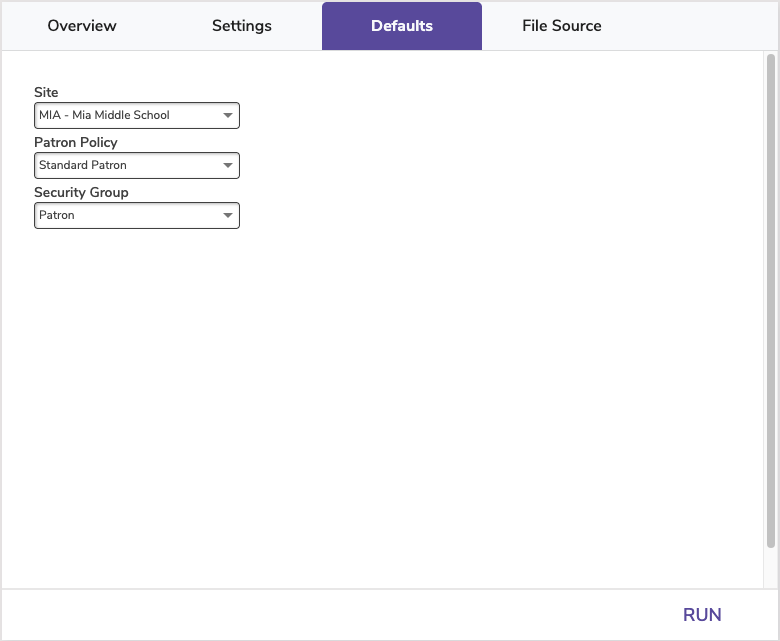
Patron Import Defaults
Specify information about the patrons that you are importing into your database. These defaults will not replace any information specified in the import file.
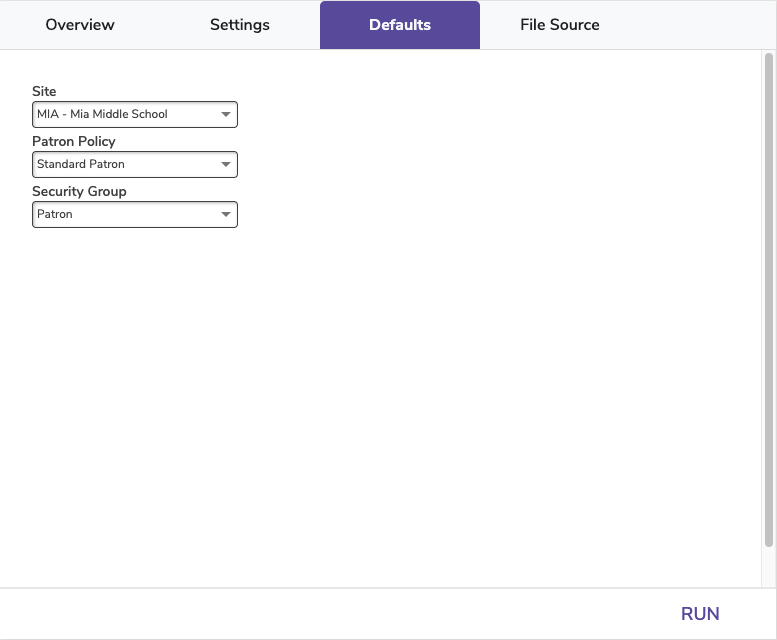
- Site. If the patron you’re importing doesn’t have a site defined in their import file, this field will apply a site in their patron record.
- Patron Policy. If the patron you’re importing doesn’t have a policy defined in their import file, this policy will be applied as the default. Default is Standard Patron.
- Security Group. If the patron you’re importing doesn’t have a security group defined in their import file, this security group will be applied as the default. Default is Patron.
Step-by-Step Instructions: Import Patrons
- Go to Operations > Import.
- Select Add Import > Import Patrons: Add > Create.
- Configure the barcode options on the Settings tab to either use the barcodes in the import file, or reassign new barcodes.
- On the file source tab, click Choose File.
- Locate the patron import file on your computer, then click Open to select it for import.
- If the patron import file is recognized, Alexandria will automatically sort, organize, and match the information to the correct, specified fields. If the patron import file is missing a header, it will not be recognized; Alexandria will ask you to set your patron field mapping in order to proceed.
- If you are not using a header, you must configure Field Mapping. Match data in the patron import file to specific Alexandria fields. Data from the import file is shown on the right-hand of the window while Alexandria field names are shown on the left.
- Patrons will be imported in sequential order; use the arrows to correctly align the fields of the import file. Click on a field to exclude it from the import. See Patron Field Mapping for more information on the fields that can be imported.
- When you have finished matching Alexandria fields to the information in your file, click Save.
- Click Run to send the patron import to the Operations Management queue. During import, in the Operations Management interface, you’ll see a progress bar.
 | Special note should be made of the Full Name field during patron import. If you have a patron with a combined first and last name (one that has not been separated by tab delimination), use this field to split the name into First and Last Name on import. |
Patron Imports
Choose the import that describes what you are doing—i.e. adding patrons only; or both adding and updating records.
Import Patrons: Add or Update
(Alex + TT) — Previously: Allow Import to Modify Existing Records
This import is used to add new records and update existing records at the same time.
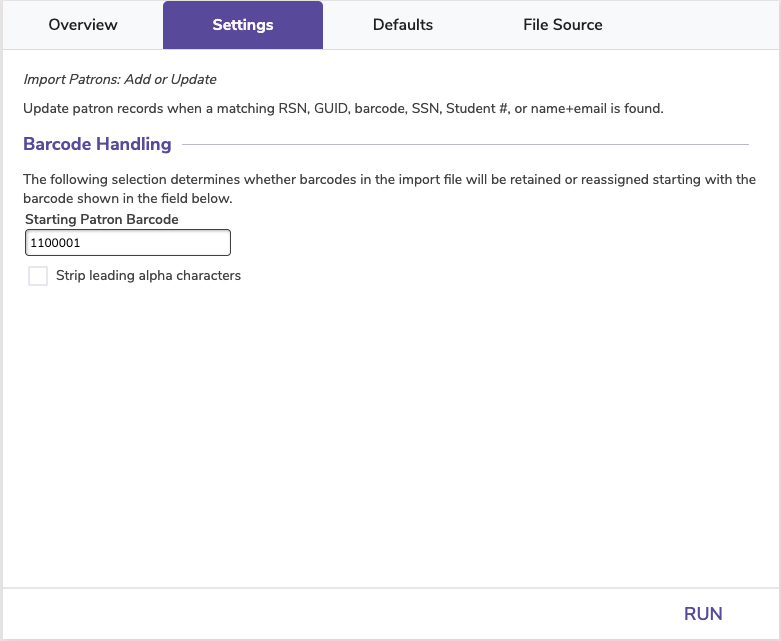
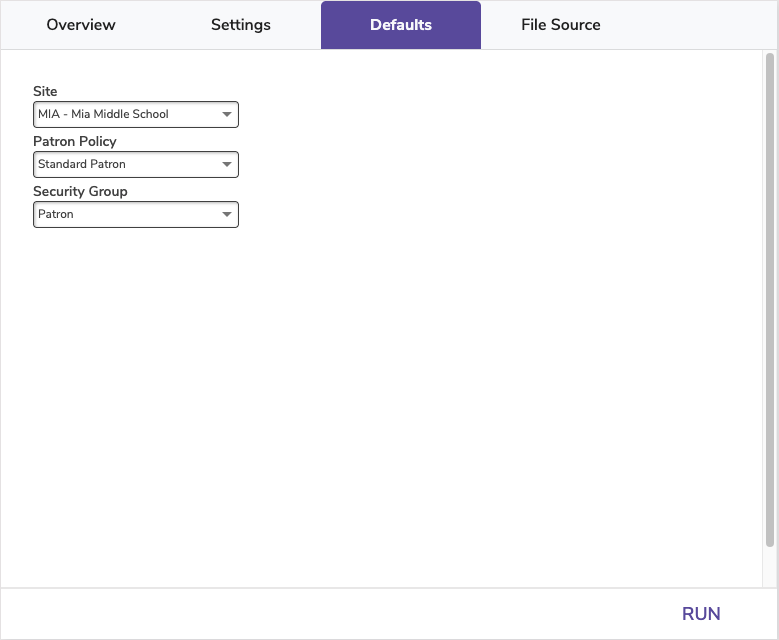
Update the patron record when a matching barcode, SSN, or Student # is found; if not, create a new record for each patron imported.
Alexandria attempts to locate an existing record that matches the newly imported record by comparing fields in the following priority order:
- RSN (Record Sequence Number) *
- GUID (Globally Unique Identifier) *
- Barcode
- Government ID (SSN)
- Community ID (Student #)
- Primary Email, First Name, and Last Name (all 3 are required)
For the import to update existing records, it must include at least one matching field. For example, if Alexandria cannot match records based on the RSN field, it will move on to GUID. If it cannot match records based on GUID, it will move on to Barcode. And so on.
*RSN and GUID fields are uncommon for most standard imports. SchoolDay and Clever utilize GUIDs, and RSN may be recommended at the discretion of COMPanion Customer Support for special circumstances. In most cases, Alexandria will attempt matching on Barcode, SSN, Student #, or Primary Email.
Once an existing record is located, Alexandria will stop trying to match on additional fields, and the matching record is updated with the new data.
If an existing record is not located, a new record will be created. New records are assigned barcodes and policies based on the settings you chose in the Settings tab of your import.
Import Patrons: Add
(Alex + TT) — Previously: Always Create New Records on Import
This import is used to add new records only. If you are using the barcodes in the import file, duplicate barcodes will be reassigned.
In this import, existing records are never modified by import. If a barcode being imported matches an existing one, it is reassigned. The Last Name field is required for Alexandria to create a new record upon import. Alexandria will assign other required fields, such as Barcode and Policy, if they are not specified.


