
Style Guide
Heading
Sub-heading
Title
Text
Callout boxes
 | Tip box for helpful additional information you want to highlight on the page. It is a table with the light yellow background with the tip of the week lightbulb image from the media library. Pattern: Tip Box |
 | Info box for additional information you want to highlight on the page. It is a table with light purple background with the Information symbol image from the media library. Pattern: Info Box |
 | Box for warnings/ important information you want to highlight. It is a table with the light red background with the Warning symbol image from the media library. Pattern: Warning Box |
Note there is a Lore ‘Alert message’ ; however, it doesn’t support links or allow you to change the icon. It looks nice if you need a very simple info box.
Images
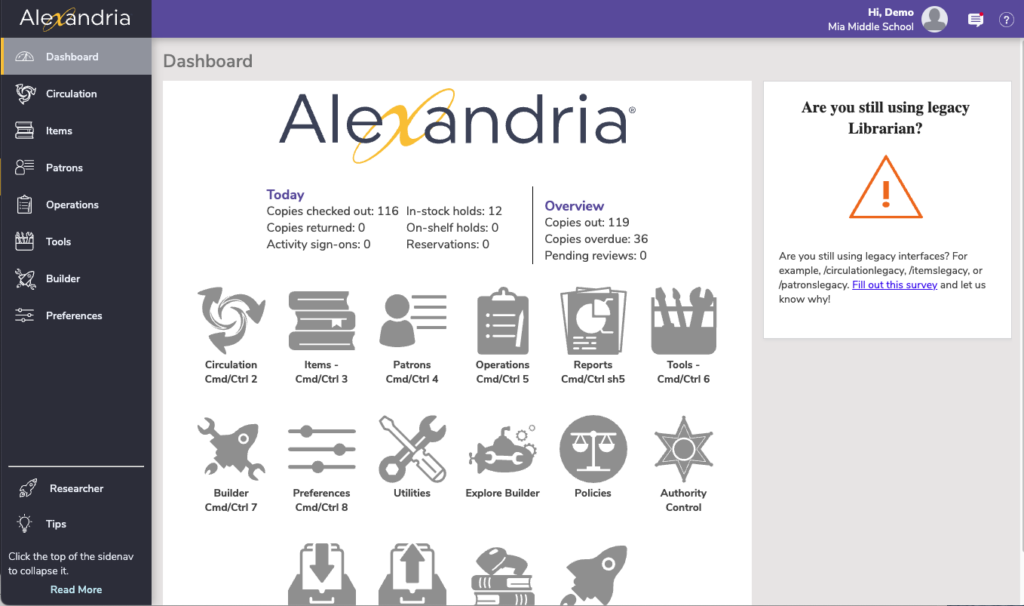
- Screenshots should be taken at 1366 x 768, and named in order of how you would find the image in the program, ie “Circulation Tabs Reserve an Item”. Typically they are .png files.
- Tip of the Week screenshots should be named “totw date descriptor” e.g. “totw 20240122 items”.
- Release notes images should be named “release ##-# descriptor” e.g. “release 23-8 patrons”.
- Stock pictures (from our account on https://www.istockphoto.com/) should be named “stock descriptor” e.g. “stock librarian”.
Before you upload the images, run them through Squash, and then resize them with a (max) width of 1600 pixels. (This is especially important for stock images because the file sizes are so large.)
Within wordpress, images should be set at 800 pixels width for full screen,
500 pixels for large popup windows,
and 400 for small popup windows.
To get images to show larger when clicked, pick the image and click the LINK button then choose expand on click.
PDFs / Files
For other types of files….
Recommended to name PDFs starting with PDF. Except install guides because those names have the part numbers, which organizes them already. Whitepapers may have WP tag on them.
Supposedly wordpress automatically generates thumbnails for pdfs. But right now Myra hasn’t been able to get this to work in any way outside the media library. Sooooo she has two methods: a pdf icon they can click on that downloads the pdf; or, you take a tiny screenshot of the pdf and name it “pdf-preview xxxxdescriptivename” and use that image on the page, and link the image to the pdf. (Upload the pdf to media library, and click it to get the url.) — see the Getting Started and Resources pages for examples of these.
Lists
- Only use numbered lists for step-by-step instructions. Separate steps into logical chunks, with no more than two related actions per step. When additional explanation or a screenshot is necessary, use a line break inside the list item.
- Use bullet-point lists to indicate a range of choices or non-sequential items.
- Lists should never go more than three layers deep.
- If any item in a list (ordered or not) forms a complete sentence, all items must begin with a capital letter and end with a terminal punctuation mark.
- If no items in an unordered list form a complete sentence, skip the capitalization and terminal punctuation.
- If the items in the list complete an unfinished introductory sentence, end all but the last item with a semicolon, add an “and” before the final item, and finish off with terminal punctuation.
Links
Link imperative sentences. Include a concise, contextual link whenever you’re referring to another page in Confluence or something on an external website. Do not link terminal punctuation. Prefer shorter links to long ones. Don’t include preceding articles (a, an, the, our) when you link text.
Don’t say things like “Click here!” or “Click for more information” or “Read this” or “this article”. Write the sentence as you normally would and link relevant keywords.
- No: Refer to our install guides for details.
- Yes: Refer to the Alexandria User Guide for details.
Anchor links
You can link to headings (or, any block) on any WordPress page. In the Block settings (to the right>) expand Advanced and fill in a simple html anchor. This anchor is now available on this page by linking to #anchortext, or on any other page by appending #anchortext to the url of that page. E.g. https://support.goalexandria.com/release-notes/upcoming/#upcoming
Navigation
In documentation, use bold font and a bracket (>) to display menu option selections or sequences of user interface clicks. For example, File > Print indicates that a user selects the Print option from the File menu.
- Don’t list the following UI element types unless needed for clarity or navigation: button, checkbox, drop-down button, field, icon, menu, link, radio button, or window. For example, write Click Save, not Click the Save button.
Page organization
The Support Center is organized the way the program is organized. The primary modules are listed in the topnav. Each module has a landing page that directs users to content for that module.
Pages are named after the module or section they belong to. Because nearly every preference is named after a module, each page includes “Preferences” in the title, e.g. “Circulation Preferences”.
We use the Lore theme, maintain loose writing guidelines. and you can find more info on our internal Support Center page.
Have fun!