
Subscriptions Management

Subscriptions Management makes it easy for you to track and manage your periodicals—including purchase price, publication frequency, distribution dates, remaining issues, and, if applicable, routing destinations.
To access it directly, add /subscriptions to the end of your Alexandria URL.
 | Routes has been combined with Subscriptions Management, and information regarding Routes is found on this page. |
Table of Contents
Subscriptions

Once subscription records have been created, periodicals can be received from the Subscription Management interface or by using the “E” command in the Circulation window.
As subscriptions are received, Alexandria updates existing subscription records and reduces the number of issues remaining. If you wish to permanently catalog periodicals on-the-fly, configure your settings to add new titles and/or copies on receipt. If desired, new periodicals can be immediately routed to requesting patrons (or groups of patrons) as they are received.
Select a subscription from the list on the left side. If you do not have any subscription records yet, click Add Subscription or the plus icon to create a new subscription record.
Actions Menu
The Actions dropdown menu contains specialized subscription-specific functions and other tools.
- Duplicate Subscription. Should you want nearly identical settings for a new subscription record, this allows you to make a copy of the current subscription, give it a new Subscription Name, and make whatever changes you require.
- Remove Subscription. This selection completely removes the selected subscription record from the Subscriptions pane. This can not be undone (i.e. subscription records can not be restored), so think twice before making this selection.
- Receive Subscription. This selection can be used to receive periodicals; it performs the same functionality as the “E” command in the Circulation window.
Information
The Subscription Information tab contains the following fields and drop-down menus which contain general information about the selected subscription:
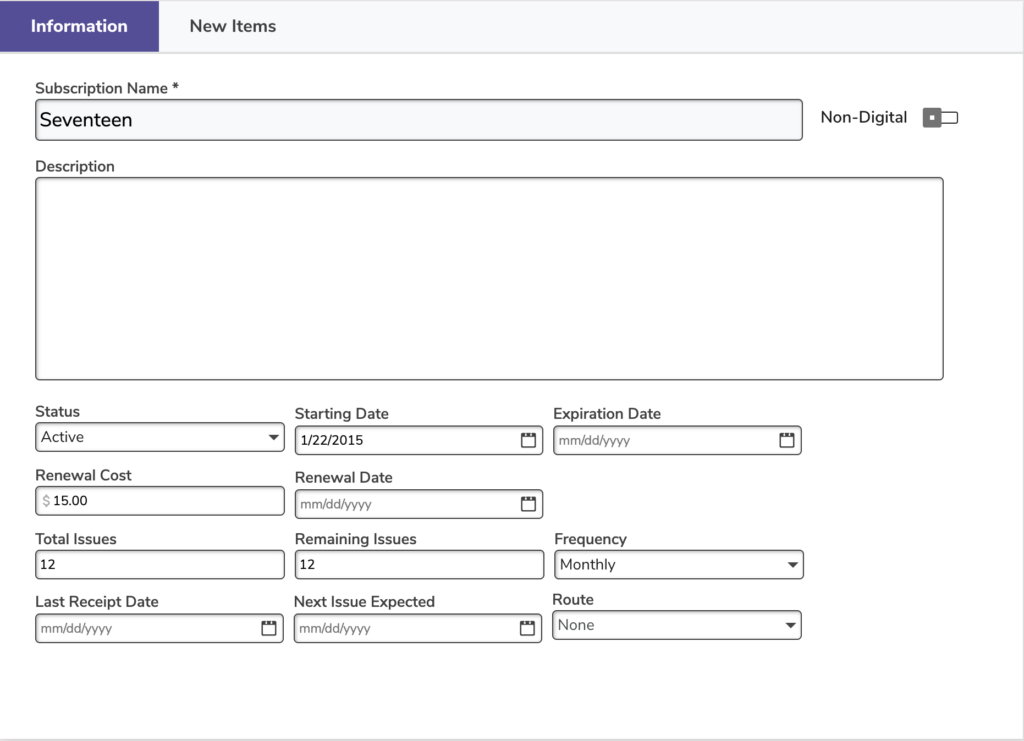
- Subscription Name. This is the name of the Subscription and can be anything you choose. For example, if you subscribe to the Wall Street Journal, you might call your “Subscription Name” WSJ.
- Description. Allows you to provide an optional, full description for the subscription; you may then enter additional information regarding the subscription.
- Digital/ Non-Digital toggle. Move to indicate digital or non-digital subscriptions.
- Status. Subscriptions that you are currently using should have an Active status. If a Subscription has an Inactive status, its will not be displayed in any of the Subscription selection drop-down menus used (i.e. you won’t be able to refer to this Subscription).
- Starting Date. Enter the starting date of the subscription here; this field is automatically populated when creating a new subscription.
- Expiration Date. Enter the date the subscription expires. This information is used solely for your reference, it is not used by Alexandria for any reports or calculations.
- Renewal-Cost. Enter the cost of subscription renewal. Use this cost to help manage library budgets. This information is used solely for your reference and is not used by Alexandria for any calculations.
- Renewal Date. Enter the date that you renew your subscription. Alexandria uses this date in reports as a reminder of when subscriptions need to be renewed.
- Total Issues. This field is mainly used to keep track of how many issues you’ve purchased in total; it never decreases or increases unless an operator manually adjusts it.
- Remaining Issues. This field contains the number of issues remaining in the subscription. As you receive issues, this number decreases to reflect the correct number of issues remaining. If you renew a subscription early, add the number of issues purchased to the Remaining Issues number.
- Frequency. Use this drop-down menu to select the subscription’s frequency; if you don’t adjust the Issues Remaining field in conjunction with the Frequency drop-down menu, then the Expiration Date field will default to today’s date. Default is Irregular.
- Last Receipt Date. This field displays the date the last issue was received, which Alexandria uses to determine if an issue is past due. This is updated when the Receive Subscriptions command is used. You can manually provide information to this field, but doing so will not update the subscription’s history record unless you use the Receive Subscriptions command. The Last Receipt Date can also be used in conjunction with the Frequency and Issues Remaining fields; if these three fields are supplied with sufficient information, Alexandria will automatically populate the Next Issue Expected, Expiration Date, and Renewal Date fields (unless information in these fields has already been manually provided).
- Next Issue Expected. This field contains a date based on your subscription frequency and determines when your next issue is expected. If the Frequency drop-down menu and Issues Remaining field are used, whenever you receive a subscription from the primary Actions menu, the Last Receipt Date will change, the Next Issue Expected date will change (depending on the Frequency selection), and the number of Issues Remaining will decrease by one. Also, if the current date is past the Next Issue Expected date (by even one day), the Issues Remaining will be decreased by one, the Next Issue Expected date will change it’s date based on the Frequency selection, and the history record for the issue will report Missing Issue the day after it was expected to arrive.
- Route. Select the routing slip you want printed when the issue is received. If you don’t want a routing slip printed, select None. The issue is automatically checked out to the Route’s Responsible Patron when the routing slip is printed.
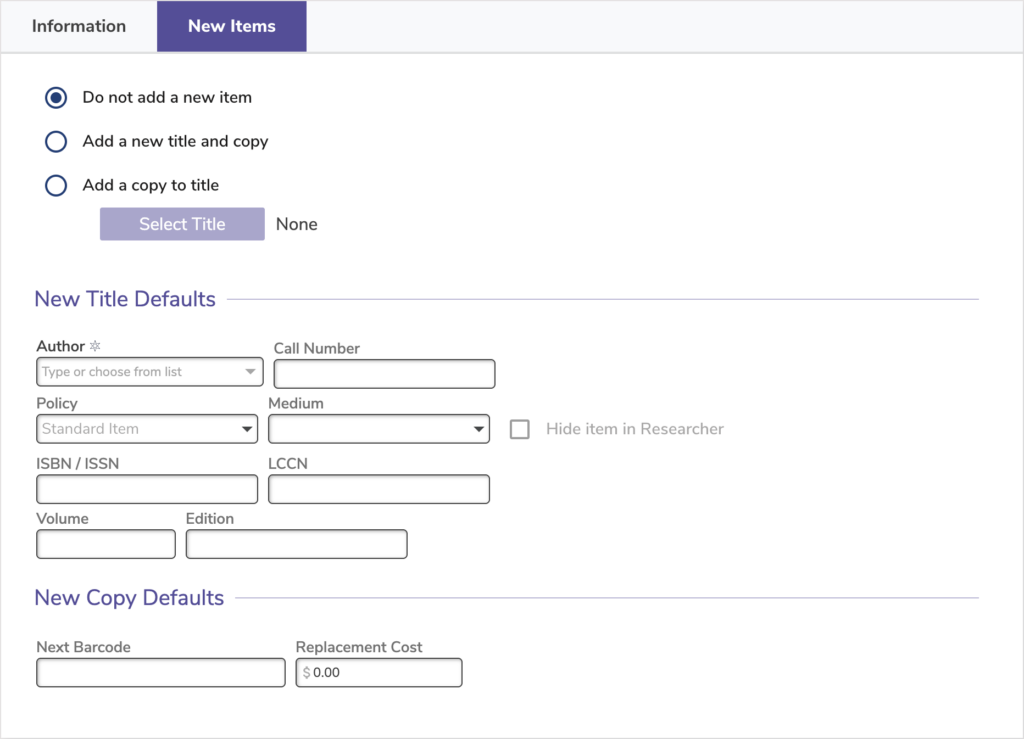
New Items
- Do not add a new item. If you select this option, received items are not automatically inventoried when they are received. Many libraries don’t inventory high frequency items. Instead, they use the temporary item check out capability. Alexandria will automatically place the dated receipts after the subscription name when the new record is added.
- Add a new title and copy. When you select this option, the Add Subscription Issue window is opened when issues are received; basically, this window is a simplified hybrid of the Items Management module’s Title Information and Copy Information tabs. The Add New Title and Copy will create a new title (and copy) every time a new subscription is received. Additionally, the Add New Title and Copy will append the issue received date (e.g. Feb 22, 2018) at the end of the title so that it is cataloged as something different from the last week’s title.
- Add a copy to title. When you select this option, the Add Subscription Issue window in conjunction with the Browse Items by Title window, which will allow you to select the title for which the copy will be added.
- Select Title. This button triggers the Item Lookup dialog, used for selecting the title for which to add copies.
Default Item Information
If you’re adding new titles and copies, use these settings to create your new item records.
- Author. Enter the author (if applicable) that will be assigned to an issue when it’s received.
- Call Number. Enter the copy call number that will be assigned to an issue when it’s received.
- Policy. Use this drop-down menu to select which policy will be assigned to an issue when it’s received.
- Medium. Medium code assigned to this record.
- Hide item in researcher. Checking this box will hide the subscription from search results.
- ISBN/ISSN. Enter the ISBN or ISSN for the periodical here. This information is used solely for librarian reference and is not used by Alexandria for any calculations.
- LCCN. Enter the LCCN for the periodical here. This information is used solely for operator reference and is not used by Alexandria for any calculations.
- Volume. Enter the title volume that will be assigned to a new subscription record when it’s received.
- Edition. Enter the edition information you want to assigned to a new subscription record when it’s received.
- Next Barcode. New subscriptions are assigned the next available barcode number (shown here) unless you assign them a number manually. You should configure this setting when you initially set up your subscription records so that new subscriptions are assigned barcode numbers that coincide with your numbering strategy. If left blank, your site’s Next Barcode preference setting is used.
- Replacement Cost. When an issue is received, you can assign it a default replacement cost.
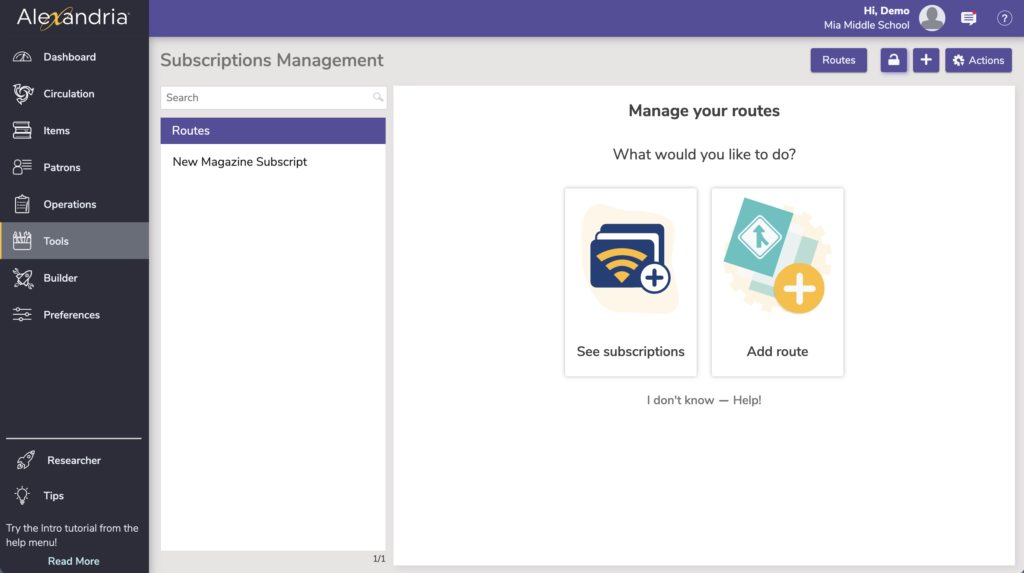
Routes
Routing lists are used to directly circulate items to a particular group of patrons who might find them useful or interesting. Valid route records include a unique name, patron responsible for receiving routed items, time period used for calculating routed item due dates, and a list of patron names and locations for the intended route. Once routing records have been created, you can visit Subscription Management and assign them to subscriptions; that way, new periodicals can be issued to patrons as they are received.
Add Route. This selection allows you to create a new route record. Responsible Patron is set to For Library Use (3) by default. The maximum number of routes is 250 per site. After that limit is reached, the ability to add new routes is disabled.
Actions Menu
- Duplicate Route. This selection duplicates the currently selected route.
- Remove Route. This selection permanently removes the route and all the associated routing list records.
Settings
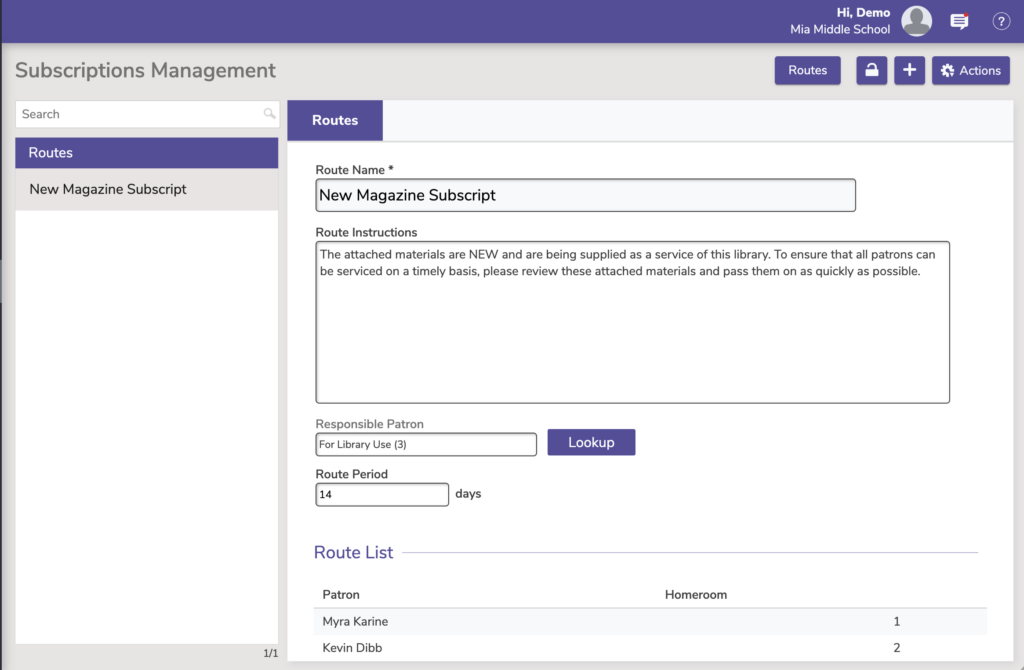
- Route Name. Route Names should be unique within a site to avoid confusion. A reasonable number of characters should be allowed, lets say 35.
- Route Instructions. The written directions that appear on routing slips for new routes are configured here. Default is:
- The attached materials are NEW and are being supplied as a service of this library. To ensure that all patrons can be serviced on a timely basis, please review these attached materials and pass them on as quickly as possible.
- Responsible Patron. This field must contain a valid patron name and barcode that the routed item is “checked out” to; default is the For Library Use (barcode 3) if the route is saved without a valid patron barcode. Only one patron can be attached to a route as the Responsible Patron.
- Route Period (Days). This allows you to set the default number of days allowed for the item to be routed; this is used in calculating the due date for routed items; valid range is 1-365 days. Default is 14 days.
Route List
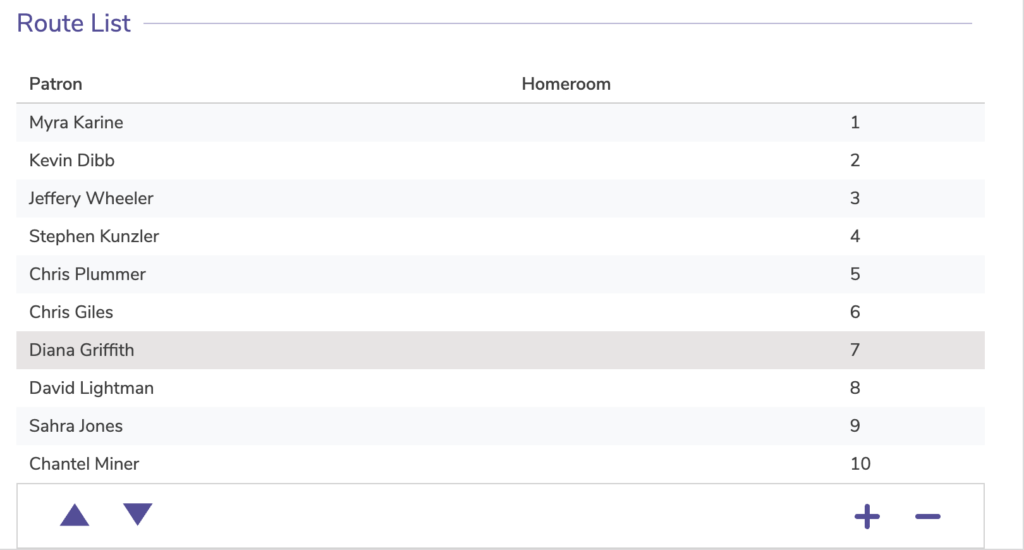
- ⏶Up. Move the selected patron up one line.
- ⏷Down. Move the selected patron down one line.
- + Add Patron. Clicking Add Patron allows you to add existing patrons to the Route List using the Patron Lookup dialog. Select a patron from the Patron Lookup dialog to add them to your route; click Cancel to close the Patron Lookup dialog without adding a patron.
- – Remove Patron. Clicking Remove Patron will remove the selected patron(s) from the Route List.