
Calendars
SYSTEM-A/TT

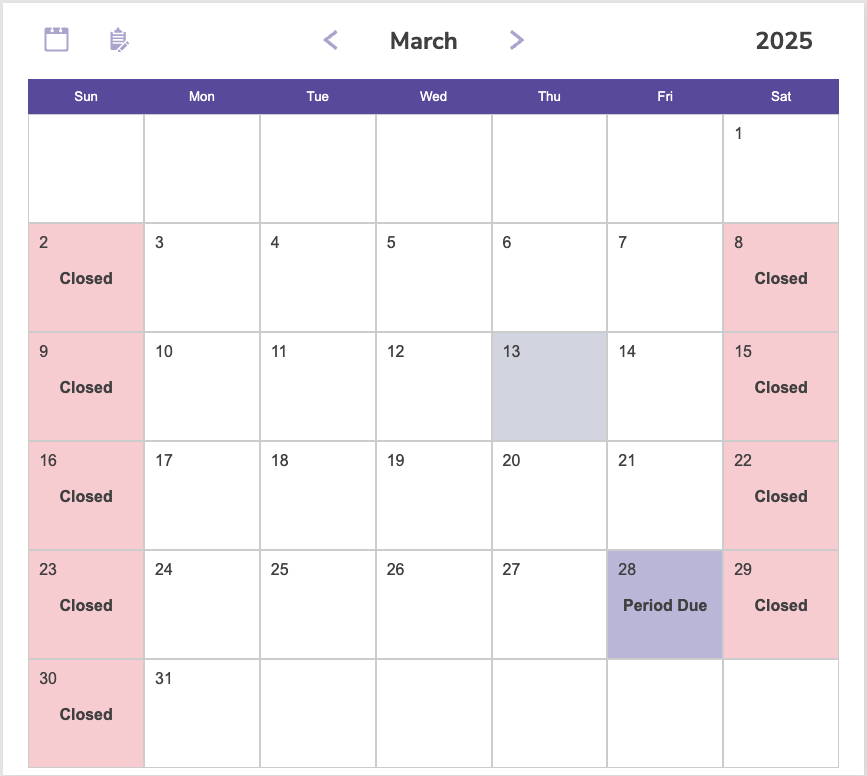
Set Closed and Period Due dates to match the different schedules of your library and library patrons.
To access it directly, add /calendars to the end of your Alexandria URL.
Table of Contents
Calendars are used to assign due dates, specify closed days, manage holds, and more.

Calendars allow you to create and assign custom calendars for each of your Policies; helpful for when you have patrons operating on different school levels or schedules. Alexandria provides calendars for the current year, the previous year, and three years in the future.
Navigation
- Select an existing calendar from the Calendars list on the left-hand side.
- Assign Period Due and Closed dates by clicking days on the actual calendar.
- To change the Closed date for the same day of the week for the entire selected month, click on one of the Sun through Sat buttons at the top of the calendar.
 | A Period Due date forces an item (on a particular calendar) to be due on that day; configure your Policies to Apply Period Due Dates. For example, if you set a period due date of May 13, 2025, all books checked out before May 13th—that normally would have been due after the 13th—will be assigned a new due date of May 13th. |
- Click on the white Add Note icon to add General Date Notes (available for all calendars). Notes are for the entire calendar, not a specific date.
Step-by-Step Instructions
Add a New Calendar
To create a new calendar:
- In Calendars lick the New (+) button.
- Provide the new calendar name in the blank field.
- Click ADD to create the calendar.
Remove a Calendar
To remove an existing calendar:
- Select (highlight) the calendar to be removed from the Calendars list on the left-hand side of the window.
- Click the Actions menu in the top right corner.
- Select Remove Calendar.
- Any policies that were using the deleted calendar will be reassigned to the Standard calendar. You cannot delete the Standard calendar.
Rename a Calendar
To rename an existing calendar:
- Select the calendar to be renamed from the Calendars list on the left-hand side of the window.
- Select Rename from the Actions dropdown menu. In the New Calendar Name roll-down, provide the new name for the calendar.
- Click OK.